


How to Install a Louver
If you love this project, grab your quick start DIY guide & subscribe to our blog!
First impressions are everything. If you’re looking for a simple way to add curb appeal to your home, gable decorations are the way to go. This post details the step by step tutorial for how to install gable decorations like this decorative louver.
I was shocked how easy it was to add this louver to the front of our house. We did it while our toddler was napping and only took us about 30 minutes from start to finish.

1) DECIDE ON SIZE AND LOOK OF YOUR GABLE DECORATIONS.
First things first, you need to decide on the size and design of your gable decorations of course so you can get them ordered.
2) FIND CENTER OF GABLE.
Grab your tape measure and find the center and mark accordingly.
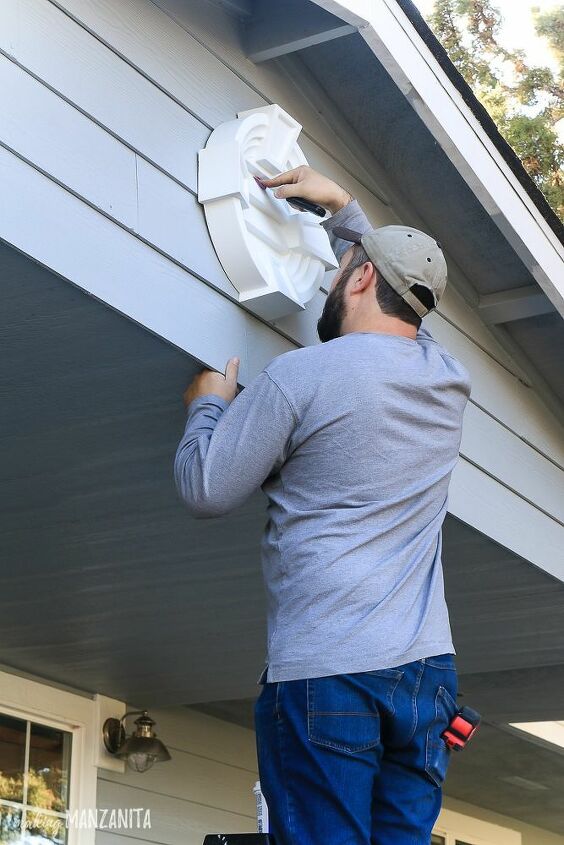
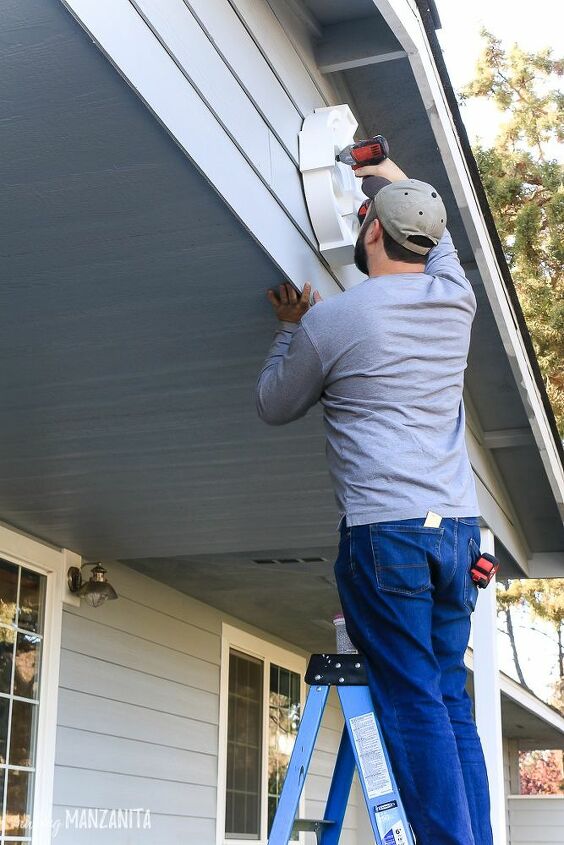
3) SCREW IN LOUVER WITH CONSTRUCTION SCREWS.
4) PATCH SCREW HOLES.
After adding the screws, you’re left with black holes that need some help. We covered these by simply adding a little bit of spackling. Once dry, you can sand smooth.
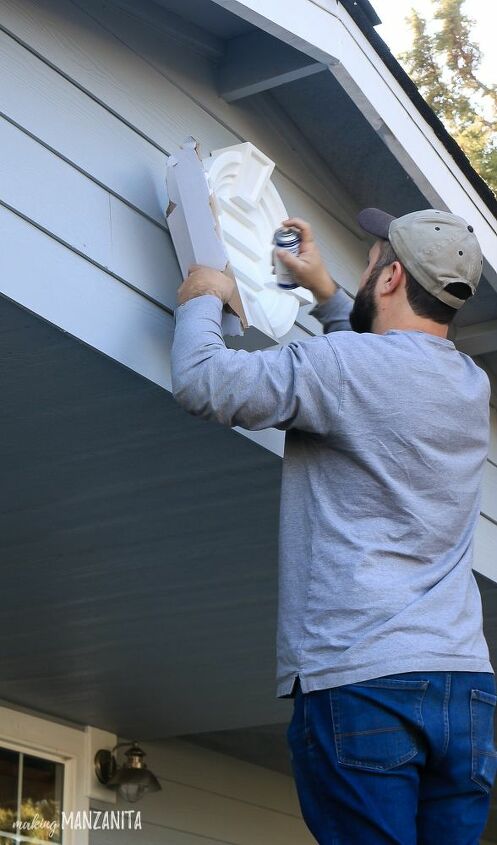
5) TOUCH UP PAINT.
6) STEP BACK AND SMILE.
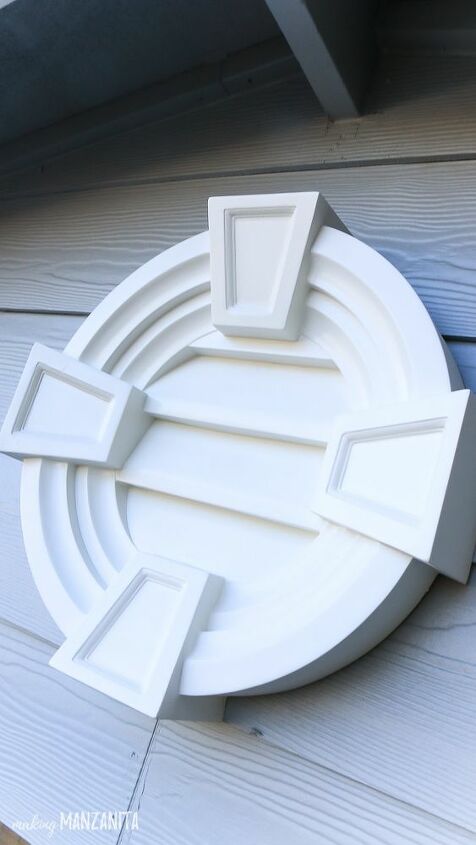
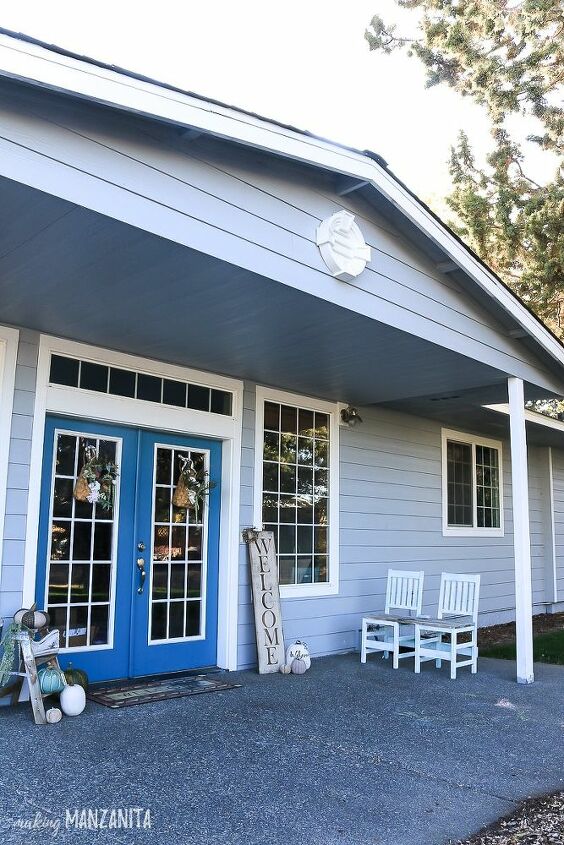
30 minutes from beginning to end…these gable decorations are just so darn easy! When you’re done, you can step back and smile at your new and improved home entry.
Resources for this project:
See all materials


Comments
Join the conversation
-
Very cute, the bees and wasp are going to nest anywhere,anyway!! Even through the slats in the front . Just keep it sprayed and enjoy your beautiful project and home !!!!
-
I'd like to see a full picture to see the final effect. Thanks.


Frequently asked questions
Have a question about this project?
Changes the plain gable look. Great focal point. Shouldn't the seam all around be caulked? Allows for moisture, bees, and wasps.