


Homemade Christmas Ornaments

Time to get crafty for Christmas! This year, skip the overcrowded and overpriced stores and gather with friends and family to make these inexpensive and homemade Christmas ornaments. All you need are a set of inexpensive clear, round ornaments and your creativity.
Learn how to make some amazing DIY Ornaments using these clear ornaments and accessories you may already have around the house. Accessories such as, buttons and glitter and spray paint! Oh my! This article includes tutorials for adorable button ornaments, gorgeous glitter ornaments, festive bottle brush ornaments and lux looking mercury glass ornaments. Learn how to use Mod Podge to make some really easy and unique Christmas ornaments. Or, craft a more personalized ornament for friends and family with another easy tutorial. We guarantee that after making some of these homemade Christmas Ornaments, this will be a tradition you will want to continue year after year.
See post: Brittany @ by Brittany Goldwyn|(Almost) No-Mess DIY Glitter Christmas Ornaments
Tutorial for Making DIY Christmas Ornaments
It’s amazing what you can do with a simple clear ornament ball. There are no shortage of ideas here. These clear glass ball ornaments are inexpensive and you can totally customize them any way you want! Use glitter or paint, or add some other adorable accessories. Get them to match your existing Holiday decor, or perhaps add to a friend’s by gifting them away. I hope these Christmas ornament ideas give you some good inspiration.
Let’s get started, shall we?
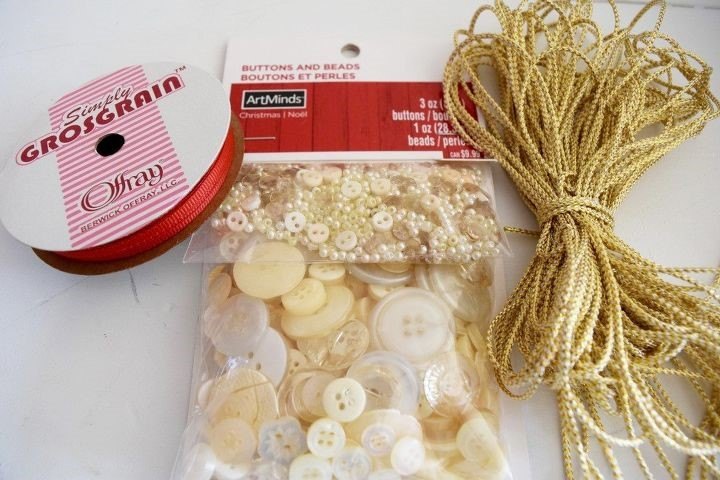
Step 1: Gather Your Materials
Here are the things you will need to make homemade Christmas Ornaments.
See post: Bobbie Byrd - Clumsy Crafter|Handmade Christmas Ornament - Bottle Brush Tree Diorama
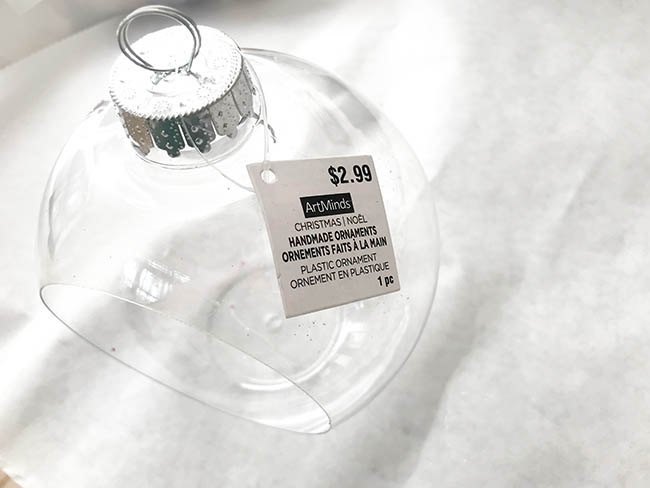
- A clear glass or plastic ball ornament - these can be purchased at craft stores and online.
- Floor Wax/Cleaner (will explain below), glue or mod podge (plus a paintbrush) - this will help the accessories and embellishments stick to your ornaments!
- Choose one of the following and/or read the DIY tutorials below: Glitter, paper (such as vintage sheet music), Paint, buttons etc. Or choose pine cones or bottle brushes to insert into your Christmas ornaments (as shown above). Let your creativity run wild or copy one of the fabulous ideas referenced here.
- Ribbon and/or hooks for decorating and hanging.
- Plastic bag or newspaper for covering your work area and easy cleanup!
Each of the following tutorials will also state any needed materials. Feel free to refer to any of the Hometalk articles for assistance - or simply ask your fellow Hometalkers in the DIY Forum.
See post: Karen’s Up on The Hill|DIY Button Christmas Ornament
Step 2: Prepare the Clear Glass or Plastic Ornament
Now that we have all our materials ready to go, you want to prepare your glass ornament for your embellishments. Clean your glass or plastic ornaments using soap and water or rubbing alcohol. Make sure it’s fully dry prior to moving to the next steps.
Step 3: Add Embellishments to the Ornament
Now for the fun part! Let’s give each of these ornaments our own personal touch. Follow the steps below for each type of ornament you wish to make. Or make them all!
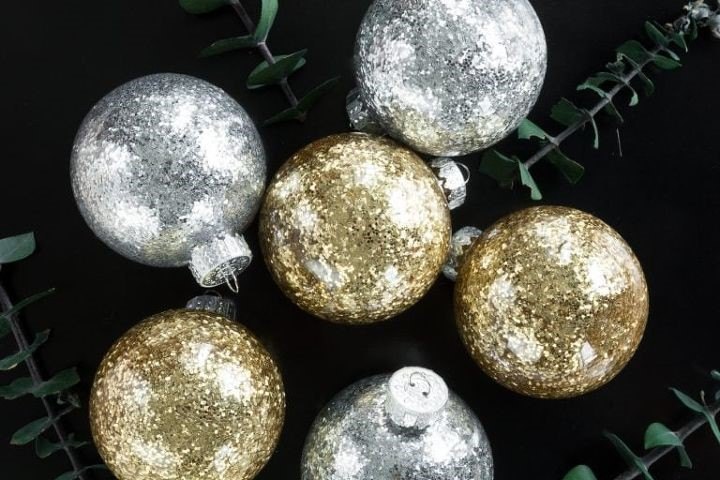
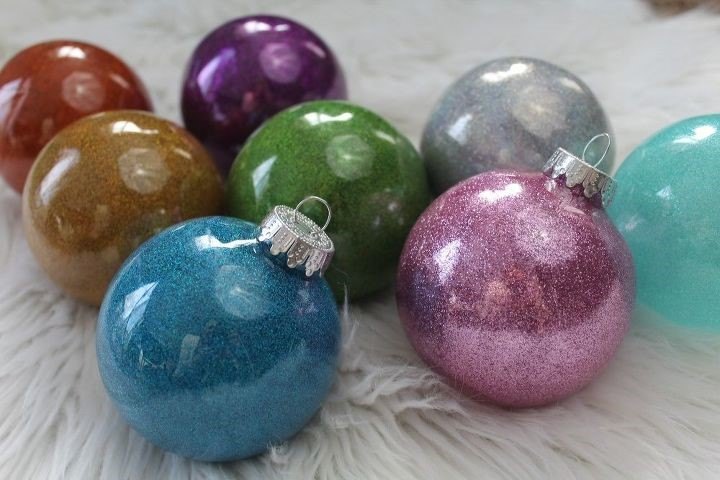
DIY Glitter Ornaments
See post: Brittany @ by Brittany Goldwyn|(Almost) No-Mess DIY Glitter Christmas Ornaments
- If using glitter, the best way to do this is to use Floor Wax. Yes, you heard that right! A popular product for this type of DIY Christmas ornament is Pledge Floor Care Multi Surface finish. Squirt a bit of this floor wax into your ball ornament. Swirl it around to coat the inside, but don’t shake it (it might bubble). Pour the excess cleaner back into the bottle.
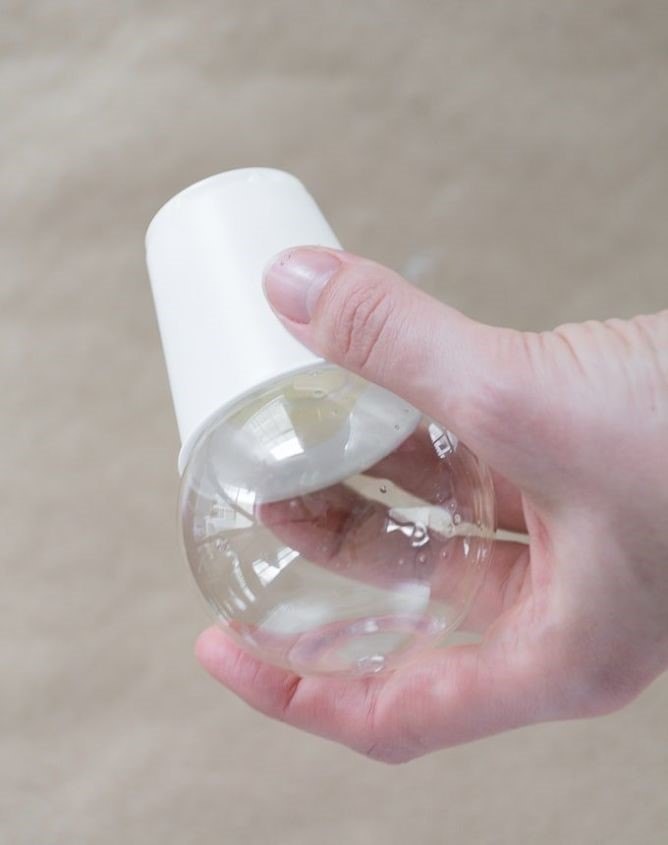
- Now get out the glitter! Here’s a mess free tip for you - use a funnel or a cup with a hole to prevent a mess of glitter everywhere. Just pour the glitter into the funnel and directly into the glass ornament. Swirl the glitter around until it’s nice and coated.
- Allow the ornament to dry a bit prior to putting the cap on.
- After it’s dry, you can glue the cap on for extra security.
- Tie your string or insert a hook and it’s ready to hang. Beautiful!
See post: Melissa Woods|Make DIY Glitter Ornaments with Pledge Floor Finish
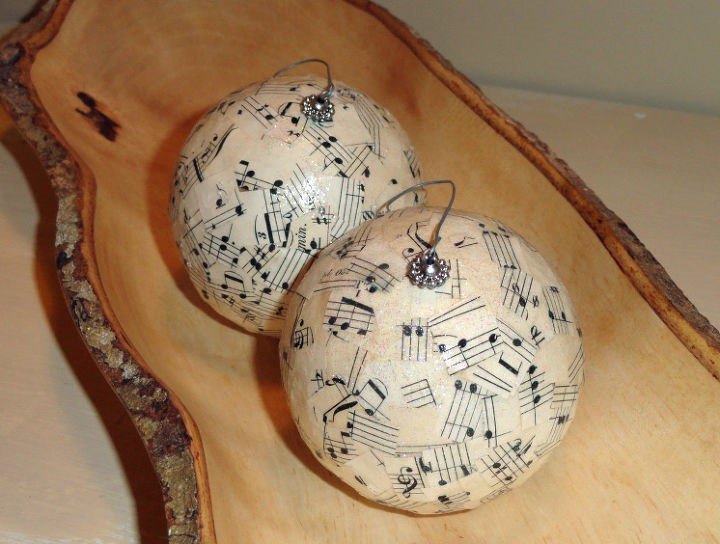
Paper Mod Podge Ornaments
- Cut small strips or squares out of your paper or music sheets.
- Use a paintbrush or a foam brush and dip it into your Mod Podge. Brush the back of the paper as well as the ornament with Mod Podge.
- Stick the paper to the ornament. Brush another layer of Mod Podge on top. Mod Podge doesn’t take long to dry so it’s best to work quickly.
- Continue this process with each one of your paper strips or squares until the ornament is completed covered.
- Allow Mod Podge to dry completely for 24 to 72 hrs. Then spray with an acrylic sealer if you want.
- Attach a pretty ribbon for hanging. Gorgeous!
See post: Rustic Crafts & Chic Decor - Renee|Song Sheet Christmas Ornaments
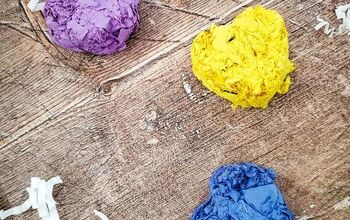
Handmade Painted Christmas Tree Ornaments
These handmade painted Christmas Ornaments can be so beautiful and you can make them in virtually any color you want! Read on to find out how to DIY these handmade painted ornaments. There are many ways to do this and we are including several ways and different ideas for you - choose one or all! All of these methods produce equally beautiful results.
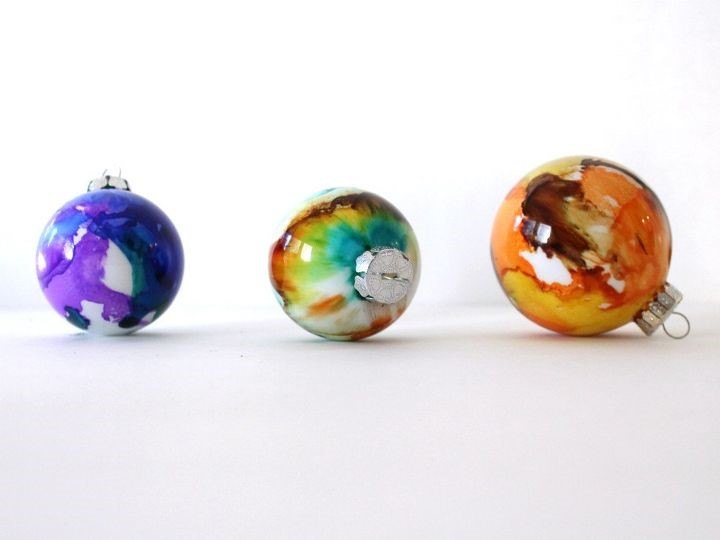
Alcohol Ink Christmas Ornaments
- First thing you want to do is squirt a bit of white acrylic paint on the inside. Then swirl it around until it’s fully covered.
- Now - brush on your rubbing alcohol and start using your alcohol ink on the ornament, one at a time. Create a beautiful pattern of pretty colors!
- Allow them to dry.
- Once dry, spray with an acrylic sealer. That’s it!
See post: Fiberartsy|DIY Alcohol Ink Christmas Ornaments
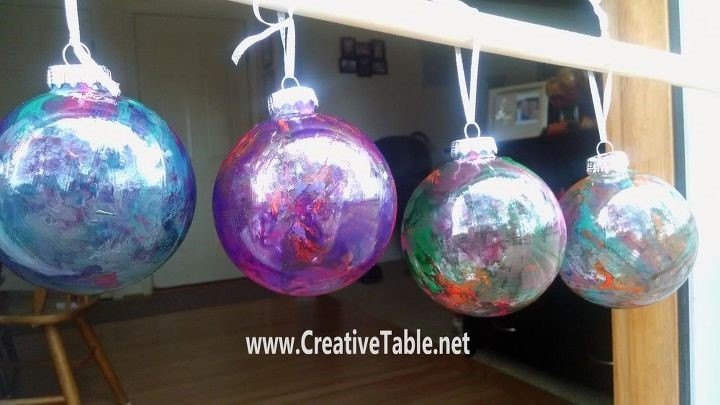
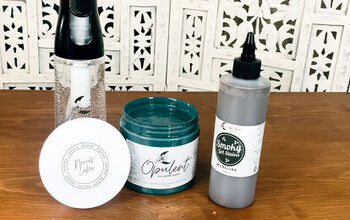
Stained Glass Look Painted Ornaments
- For a gorgeous stained glass look, take some Mod Podge and paint a layer on your clear ornament. Allow to dry.
- Now take some paint (Unicorn SPiT paint works well!) and a plastic bag, and smear the paint all over your ornament.
- It may look a little dull as it dries. But that’s ok. You are going to brush on a layer of clear gloss spar urethane and that will really bring out the shine!
- Allow the ornament to fully dry and then replace the cap and tie on a hook or ribbon. All done!
See post: Karen|DIY Christmas Ornaments - A Little SPiT Makes These Fabulous
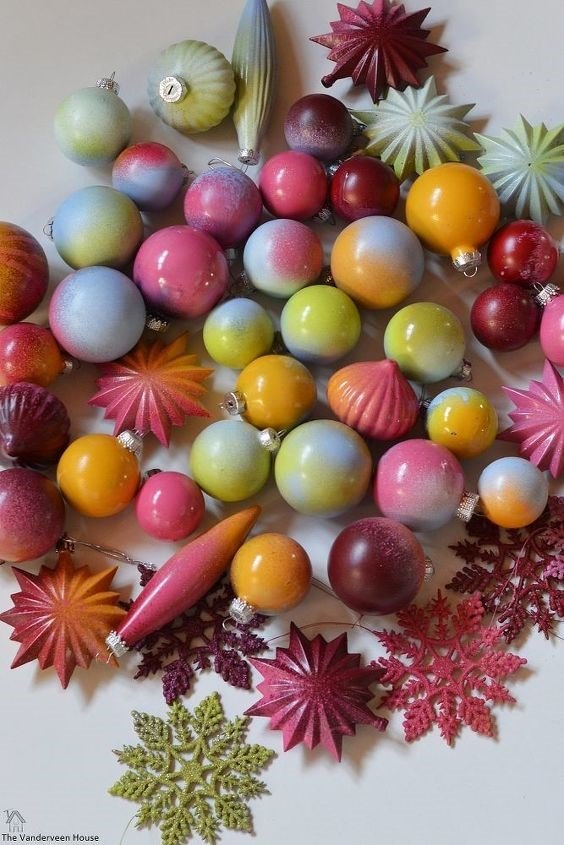
Easy Spray Painted DIY Ornaments
These ornaments can be made in a pinch! Do you have any extra spray paint laying around? Here’s a great way to use it up.
- Lay out your old ornaments (or new clear ones if using) and spray paint them. It’s helpful to spray them in an old cardboard box, which will avoid some of the mess. Allow that side of the ornament to dry.
- Now turn your ornaments over and spray the other side. It’s best to spray light coats as to avoid drips.
- Allow the ornament to fully dry. Now you have custom colored ornaments and it couldn’t be easier.
See post: Jessica VanderVeen|Spray Painted Christmas Tree Ornaments
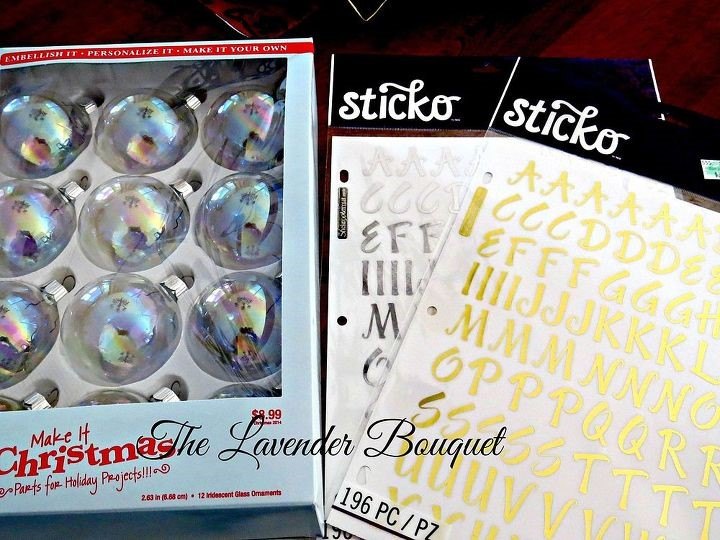
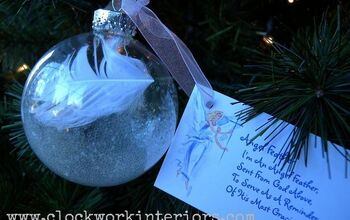
Personalized Christmas Ornaments
These personalized ornaments couldn’t get any easier! All you need, in addition to your clear glass ornament, is stick on letters. You can purchase these at craft stores or online.
See post: TheLavenderBouquet|DIY Monogram Christmas Ornament
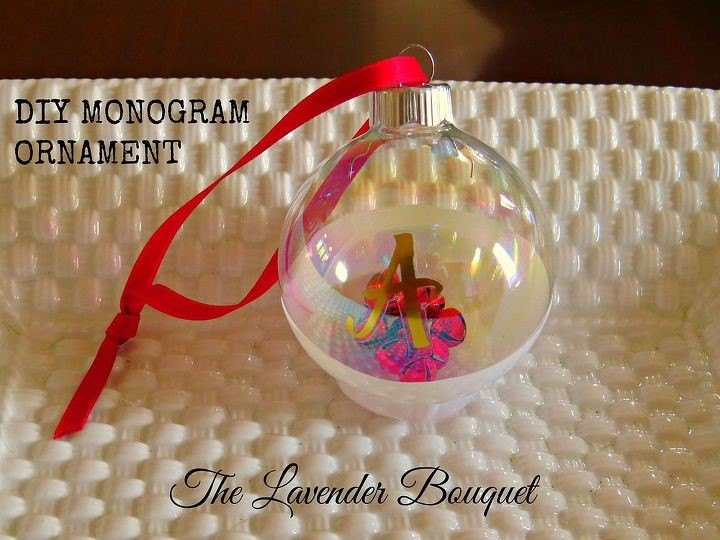
Follow these steps:
- Place your letter sticker of choice on the front of your ornament (wherever you determine that to be).
- Fill the inside of your Christmas ornament with greenery, ribbon, bells - anything Christmassy that tickles your fancy.
- Or start with the glitter ornament tutorial and then finish with this personalization. What a wonderful idea!
- Don't forget to replace the cap and tie on your hook or ribbon
This DIY ornament can be a lovely handmade, personalized gift that any person would love to receive.
See post: TheLavenderBouquet|DIY Monogram Christmas Ornament
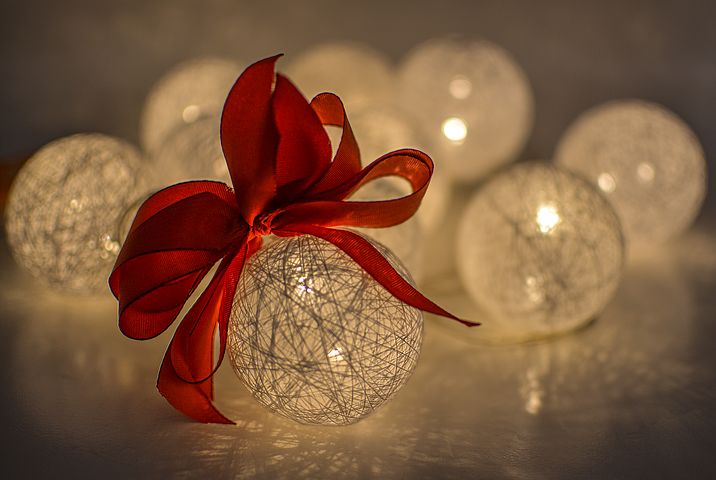
DIY Button Ornaments
How adorable are these easy to make button ornaments? Follow these steps to make these diy ornaments.
- Start off with clear ornaments and cover them in a layer of fabric or lace, securing them with glue
- Once your ornament is fully covered with the fabric, take your buttons and glue them to your ball, ensuring the ball is fully covered.
- That's it! You’re done! See? Super easy project.
- Simply hang on the tree for all to see.
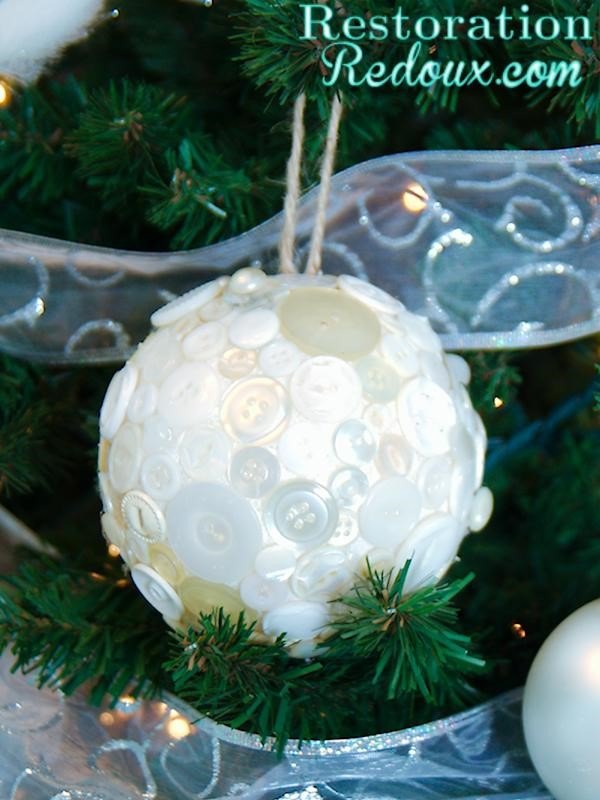
See post: Shanna Gilbert|Easy Button Christmas Ornament
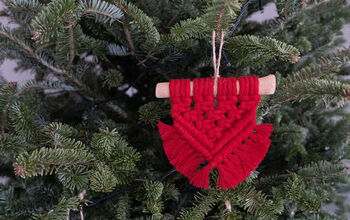
Bottle Brush Tree Diorama Christmas Ornaments
These bottle brushes are as popular as ever during the holiday season. If you aren’t placing them on your mantle or using them as gift toppers, try putting them into your open clear glass ornaments. This makes for a lovely little Christmas scene.
Here’s how to do it:
- Use open face clear ornaments. These can be purchased at Joann’s, Michael’s, and other craft stores around the holidays. You can also purchase them online any time!
- Gather up some faux snow, bottle brush trees (small enough to fit inside), and any other decorations you want to add. You will also need hot glue!
- After cleaning your ornament, hot glue your bottle brush trees in place. Now place some additional hot glue on top and around the sides of the tree bases. Gently press in a mixture of faux snow and glitter.
- Hot glue any additional decorations you have - like little holiday deer!
- Tie on a pretty festive ribbon and hang them up to display proudly.
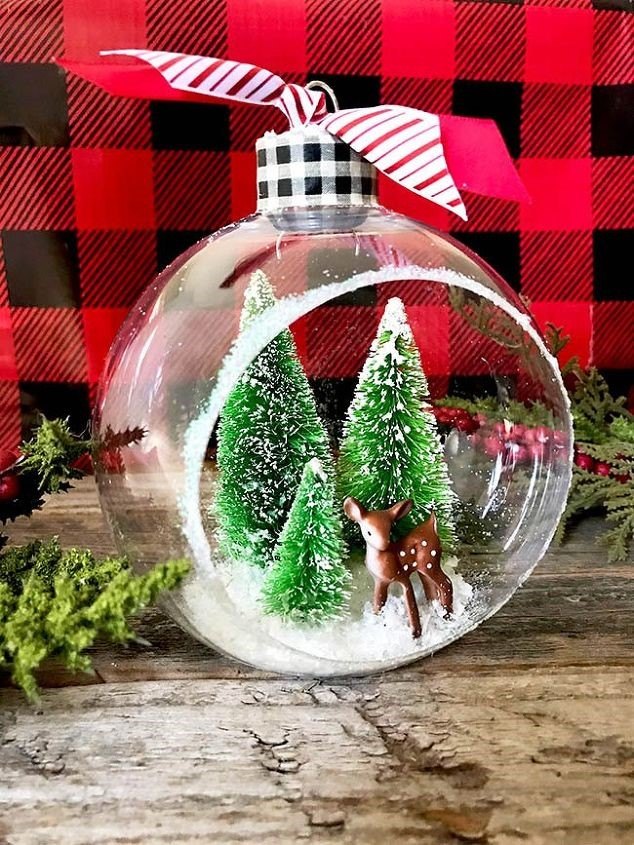
See post: Bobbie Byrd - Clumsy Crafter|Handmade Christmas Ornament - Bottle Brush Tree Diorama
Mercury Glass Christmas Ornaments
These mercury glass Christmas tree ornaments can be a fortune if you buy them from the store! However, these are incredibly simple and inexpensive to DIY, and not that messy to complete. These also use those easy to get clear ball ornaments!
Here’s how to make them:
- You will need Rustoleum Mirror Effect and Rustoleum Copper spray paint to give these that vintage, mercury glass look. You will also need white vinegar and a hair dryer.
- Place a few drops of vinegar in the clear ornament (of course, take off the cap first!).
- Now spray the copper spray paint followed by the Mirror Effect directly into the clear ball ornament.
- Use your hair dryer to blow dry the inside of the ball, drying the spray paint. You can also roll the ornaments in your hand to help spread the paint around.
- It should take a couple minutes to fully dry - then simply reattach the top and you’re finished!
These look just as expensive as the store bought ones, without the designer price tag.

See post: The Painted Hinge|DIY Mercury Glass Christmas Ornaments
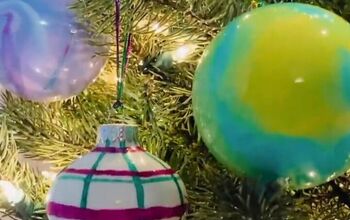
DIY Embossed Christmas Ornaments
Finally - for our last tutorial - we have these amazing, DIY faux embossed Christmas ornaments! These ornaments are so fun to make and you’ll have them finished in no time. Grab your ornament and some puffy paint and acrylic paint and let’s go!
- Draw a design on your clear glass ornaments. Perhaps a snowman? Maybe a Christmas tree? Or a snowflake!? Just trace your design with simple puffy paint - doesn’t matter what color.
- Allow the puffy paint to dry.
- Now take your acrylic paint and paint the entire Christmas ball, including over your puffy paint design.
- It may take more than one coat until it completely covers and looks opaque.
- Allow this layer to dry.
- All done! Simply hang it up on your tree.
Now that you know how to make Christmas ornaments, you won’t need to bother with those overcrowded stores or spend a lot of money. The handmade ornaments can really be the best ornaments because those are the ones that have the stories and memories behind them. Don’t forget to gift these pretty DIY ornaments to your friends and families too.
Do you have any great ideas for DIY Christmas tree ornaments? Do post it for us on Hometalk! We would love to see!
Written for the Hometalk community by: Karen | Decor Hint


Frequently asked questions
Have a question about this project?