


Faux Marble Top Table

This old 1976 yellow laminate table top was in a camper I am currently renovating. I painted a faux marble finish on top to give it an updated look.

Best paint primer!
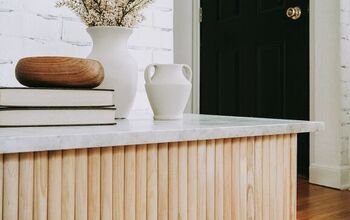
Here is the new finished look!
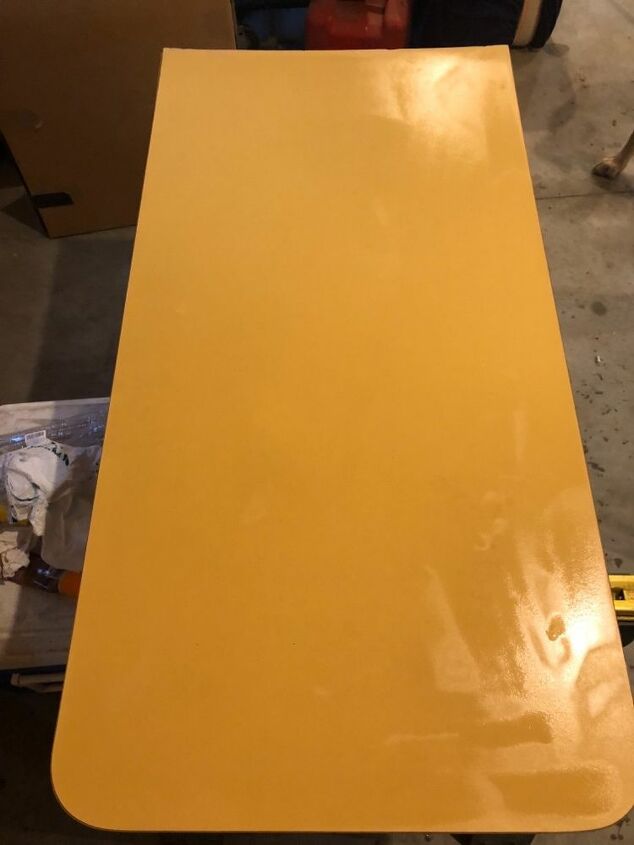
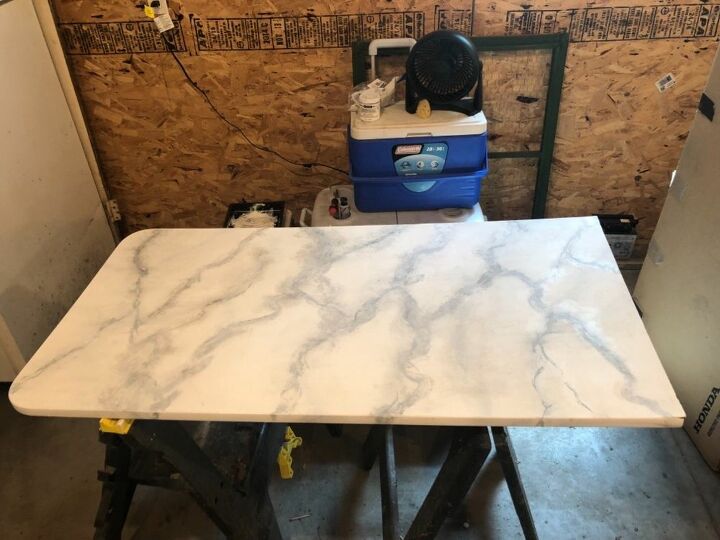
Here is the table taken out of my 1976 Coachmen Cadet camper that I am currently renovating. First thing we did was obviously remove it from the camper and then wash it down with TSP.
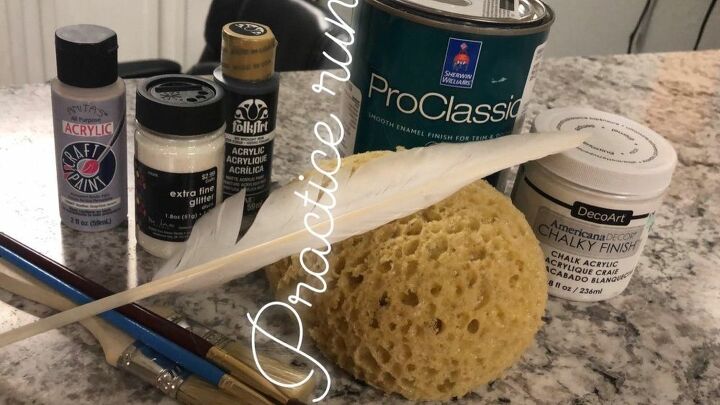
I’m a big believer in trying to use products you have on hand before going to buy new (if possible) You will also need a good thick primer. I used Zinsser Stain Blocker primer (not pictured) White chalk paint. The Sherwin Williams can is a dark grey color I had leftover from a previous project. Then I used a light grey and black craft paint I also had on hand. An assortment of different sized craft paint brushes, feather, and sponge.
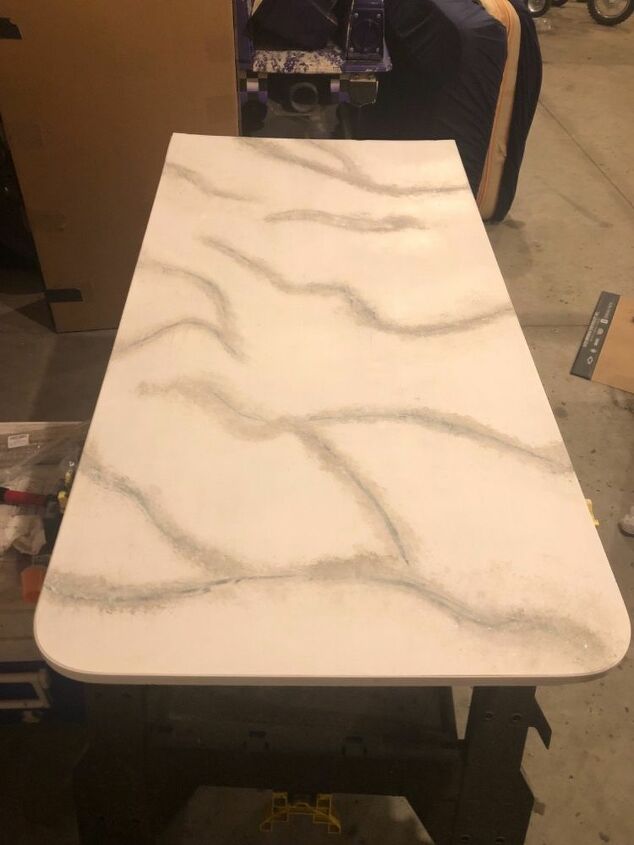
This project took over the course of a week. I started by painting 2 coats of primer. Then I painted 2 coated of white chalk paint (any white will work) it doesn’t have to be chalk paint. Like I said it is what I had available. Once all your white is MOSTLY dry (you don’t want the white completely dry) start with veins. I would definitely suggest looking at multiple types of marble and decide how much veining you like. And have a picture on hand to help mimic. Remember this is not a perfect look (which I really struggled with) and the veins should all go the same direction. Take your feather and dip in grey and almost twirl the feather between your fingers as you lightly vein. You then will want to take a lightly damp sponge and blot the veins to smear them. This is where the white not being fully dry helps to blend the veins as well. I then take a larger brush and feather over the whole top of the table to fan any lines I don’t like.
After I do the grey veins (I ended up using 2 shades of grey a light and dark) go over that with a fine brush and use some black to give depth and dimension. Do the same technique with sponge to blot and blend and large brush to feather and smooth. In this picture I still wasn’t fully satisfied and thought the veins were darker than I wanted so I lightly went over the whole table with the white. I blotted over the veins with white paint and feathered with a larger brush again to smooth.
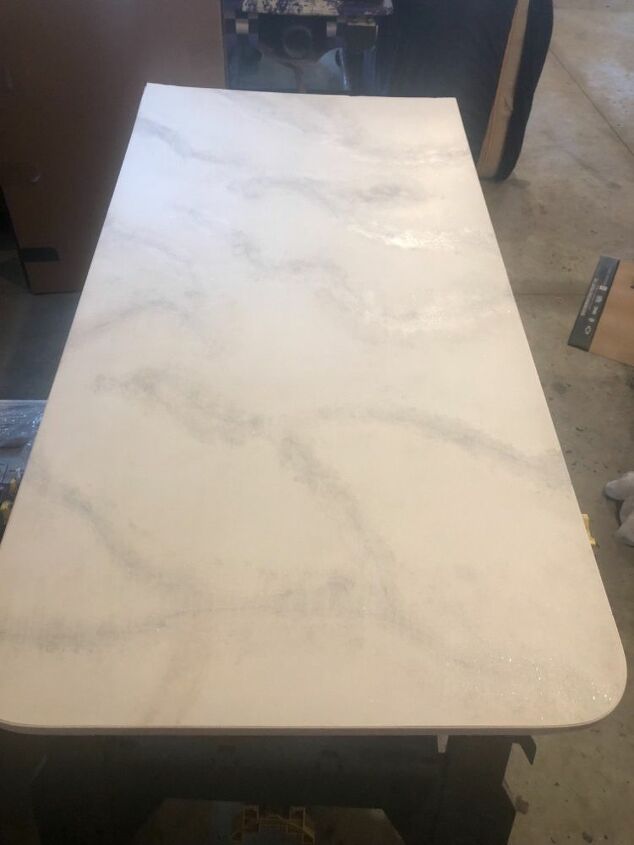
By now I had a good technique going and added more veins which created even more definition. At any time if you’re unhappy with the look you can always use more white to erase what you don’t like. I did this multiple times when trying to create an imperfect look. Like I said I struggled most with making my veins to look natural. Don’t forget to do the edges on your table as well. Finally I lightly sprinkle the table with an iridescent glitter since some marble has a sparkle effect.
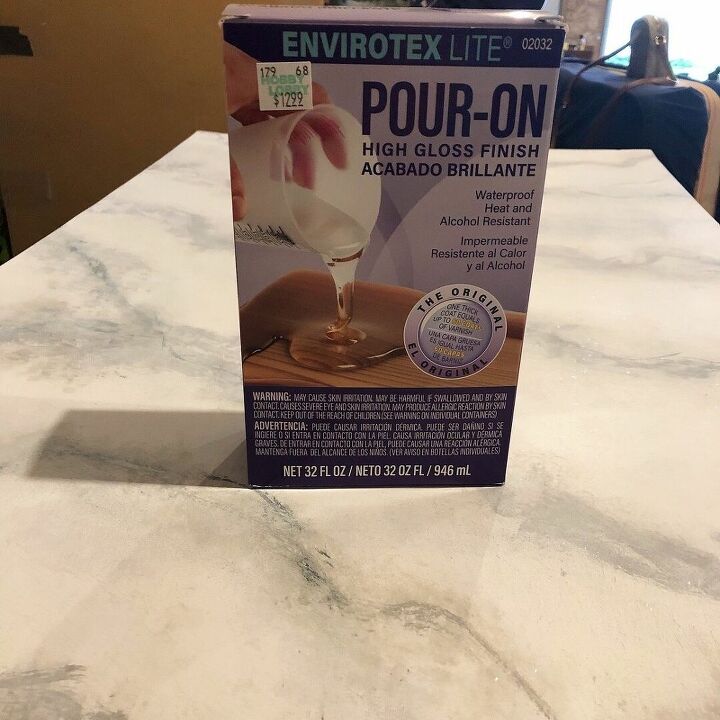
I used Envirotex Light epoxy to seal my table. I can’t stress this enough....you need to follow these instructions precisely to work. In large areas it will help to have an extra set of hands when pouring and smoothing the epoxy. You will need 2 disposable mixing containers, 2 stir sticks, straw to blow out air bubbles, I used Zinsser wallpaper covering tool to smooth the epoxy out.
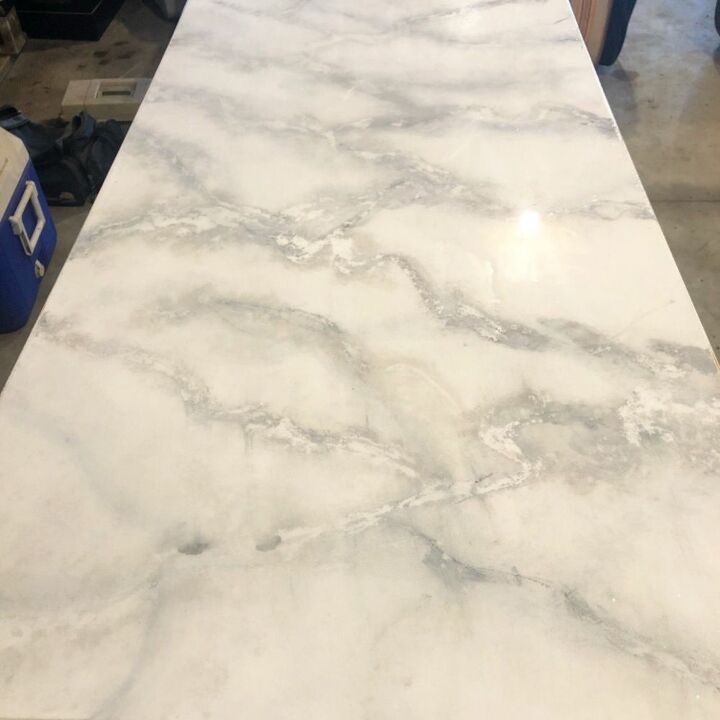
Finally finished after working on this a whole week! I’m so pleased with the outcome for my very first try.
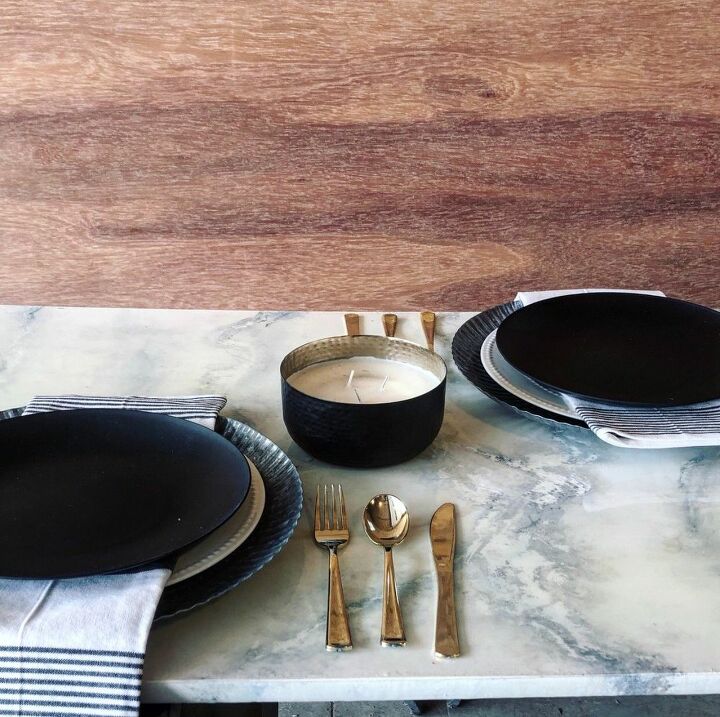
Bon Appétit
Resources for this project:
See all materials


Comments
Join the conversation
-
WOW, this is the best marble look makeover I have seen to date!! Congratulations on your masterpiece!!
-
Very pretty and well done!


Frequently asked questions
Have a question about this project?
The top is very shiny. Did you sand it to help the paint adhere? Thanks, it looks great.
What did you use to distribute the glitter? Or did it come in a shaker type container?
Fantastic job! How did you cover the edges of the table with the epoxy?