


DIY Pallet Wall in the Man Cave

When the youngest child moved out, we decided to turn this room into a man cave/media room. Not gonna lie, we both hang out in there.....a lot! :) As usual with most of our projects, we are on a tight spending budget, so we wanted something that would not only look good, but also be affordable!
The pallet wall I'm about to tell you about was totally FREE! That's right within our budget, heck, that's right within anyone's budget!
NOTE: You can find pallets on Craigslist, Marketplace, OfferUp, lots of places, you just have to look.
Reminder: We believe this room used to be a garage, but we're not certain.
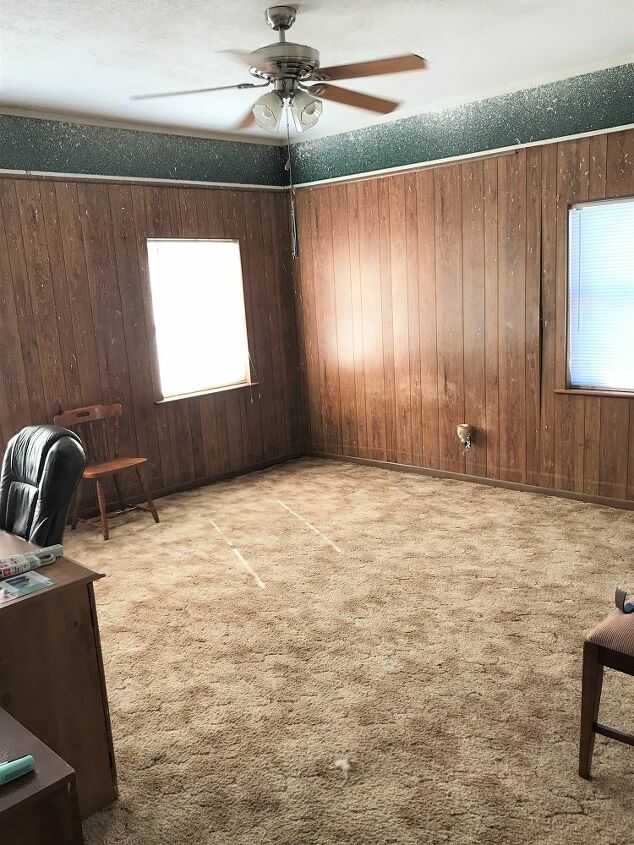
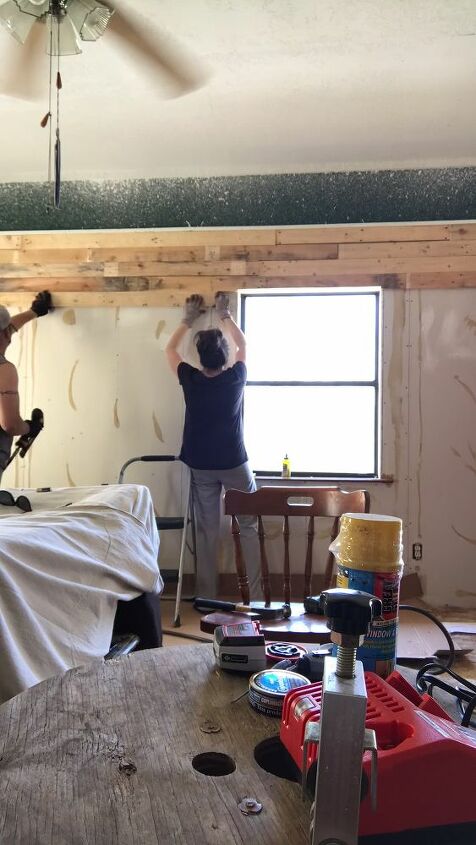
This is what we started with. The white speckles on everything are from the ceiling redo. We knew all this was coming down, so we didn't protect against the splatter. This is the same dark paneling that used to be in our living room. See that right here.
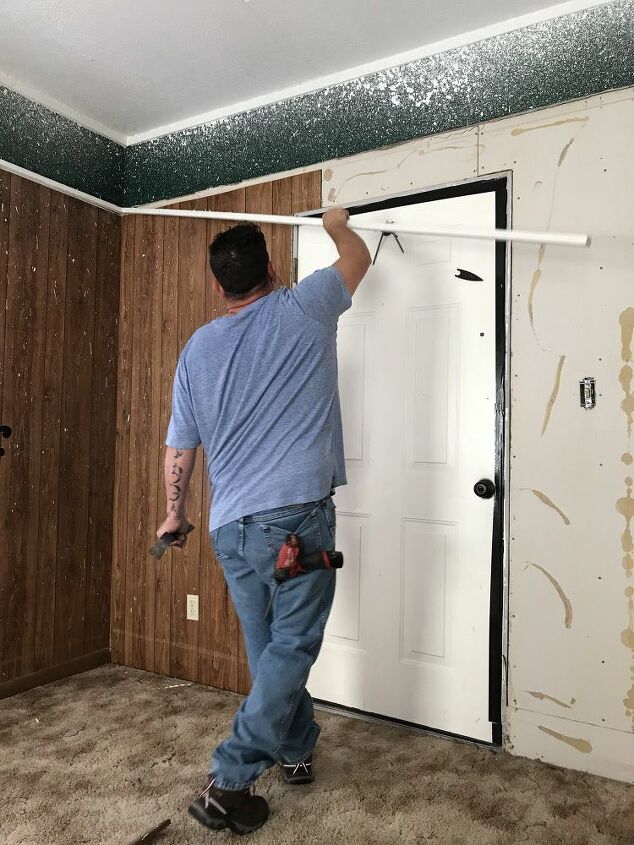
My honey got to work pulling all of the paneling off the walls. It took him about 20 minutes to remove it all from the entire room.
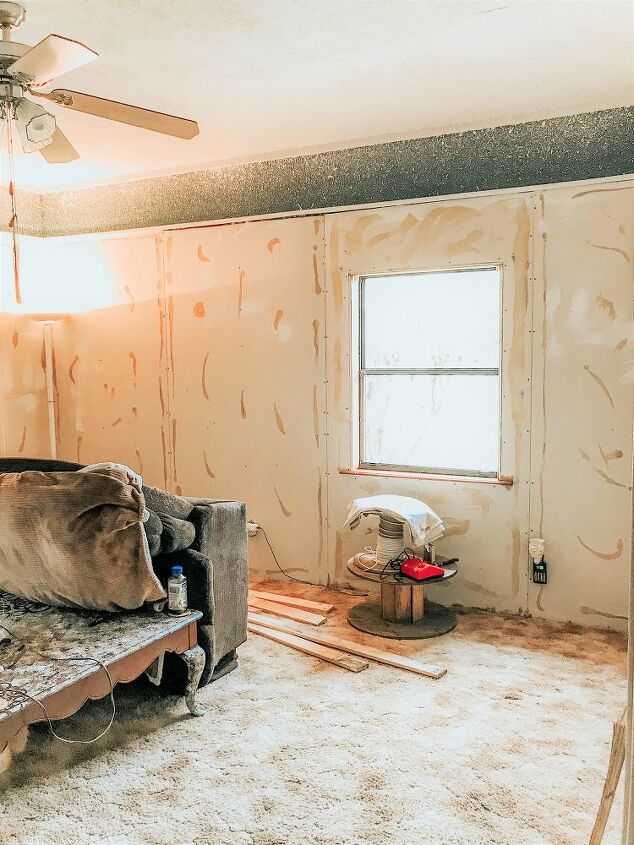
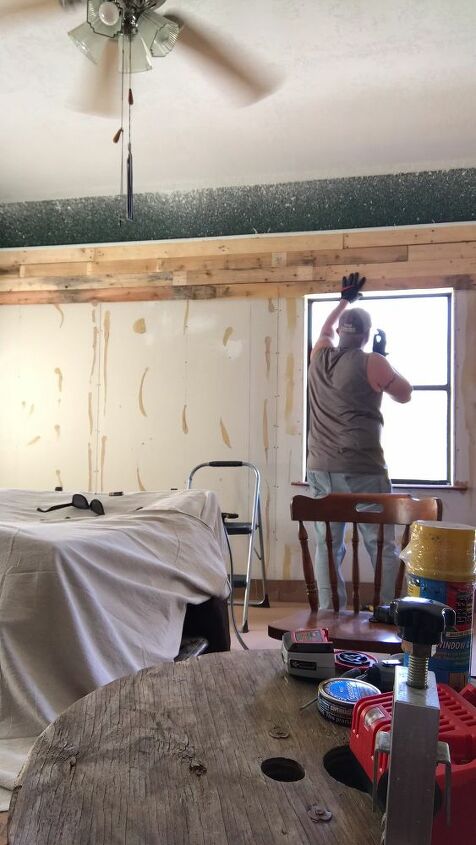
Now we've got bare ugly walls to do something with. This wall is at the very front of the house looking out into the front yard. This is the wall we'll be covering with pallet wood.
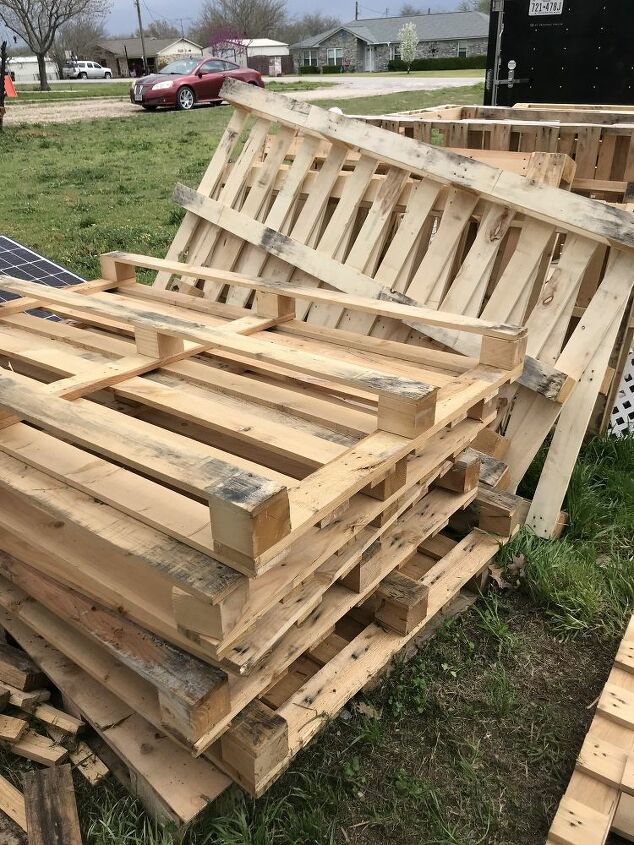
Here are the pallets that we've collected. I think there were about 10 of them. They sat in the yard getting weathered for about two months.

My honey took them apart board by board using a roofing hammer and a pry bar. There were 1 million nails to remove. Not going to lie, he used a circular saw at times to make the process go faster. By that, I mean he would cut down both outer sides and then pry the nails out of the center to make the process go faster. He only did this a few times because it causes you to loose your nail holes, which is a great look for a pallet wall.
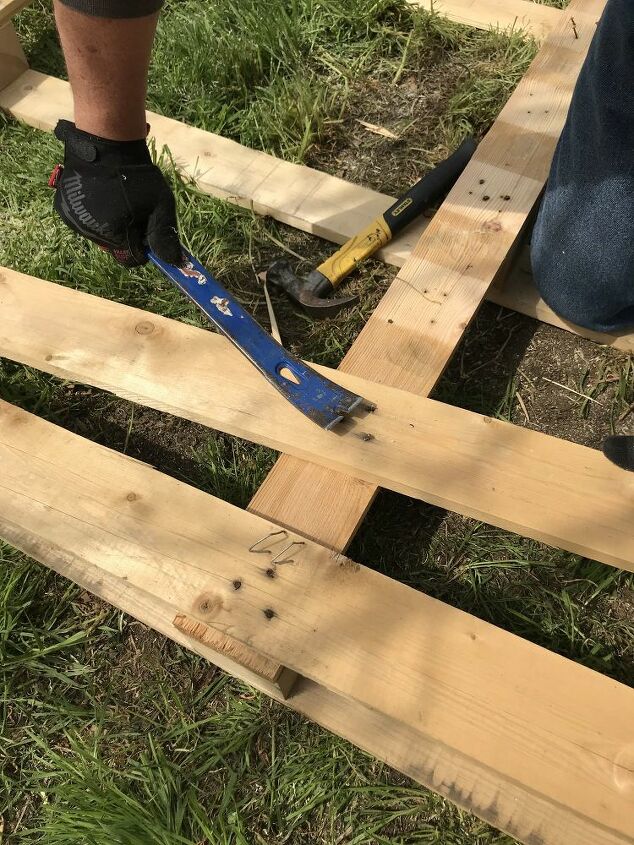
This pry bar was the most helpful for getting the spiraled nails out of the wood. This is not a job for the weak people, its hard work!
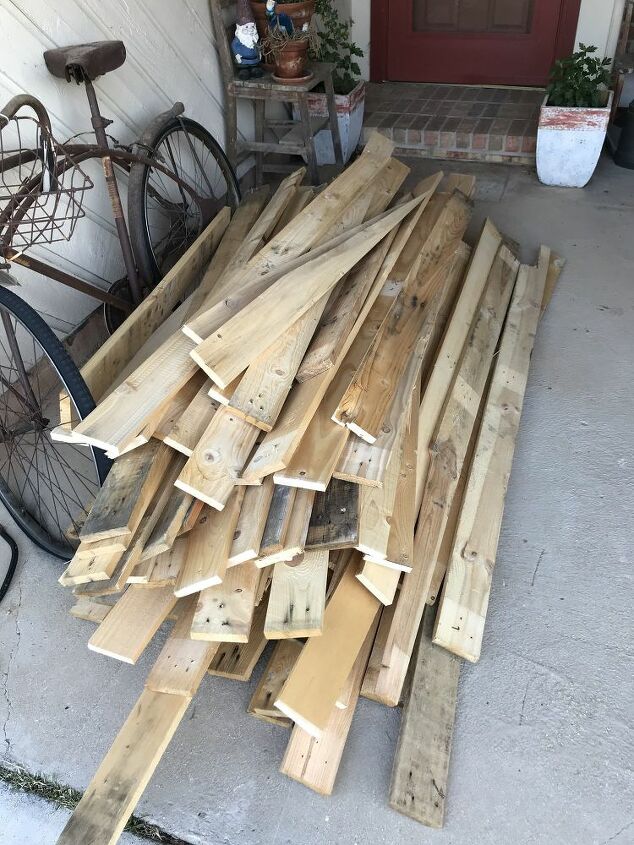
As we cleaned the boards of their staples and nails, we piled them "neatly" on the front porch so we could grab them quickly for the install.
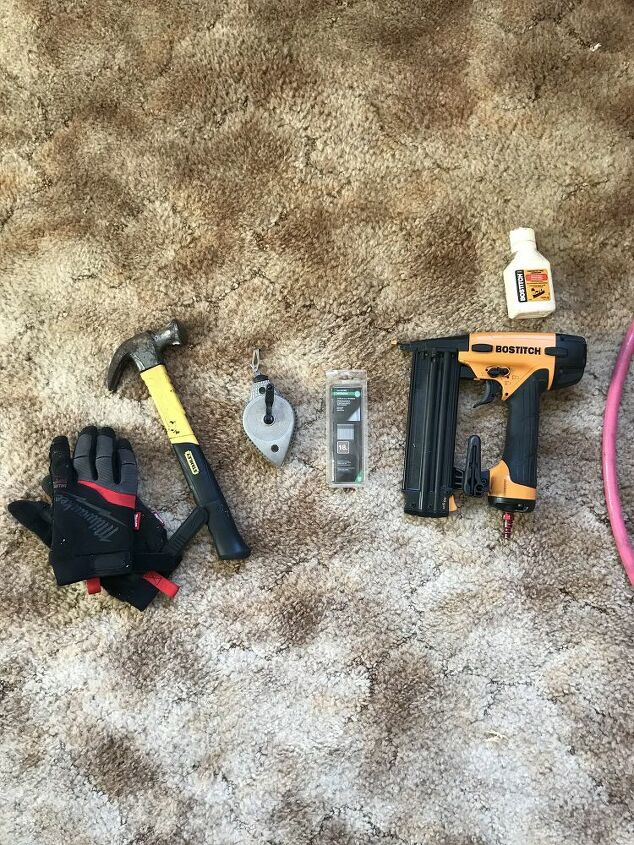
We used gloves, a hammer,a chalk line, a pneumatic nail gun with 2" 18 gauge brads.
NOTE: We tried using 1-1/2" brads to start off with, but it did not hold the boards as secure as we liked so we moved up to the 2" brads. Just make sure the brad length your using is long enough to hold your boards to the wall securely.
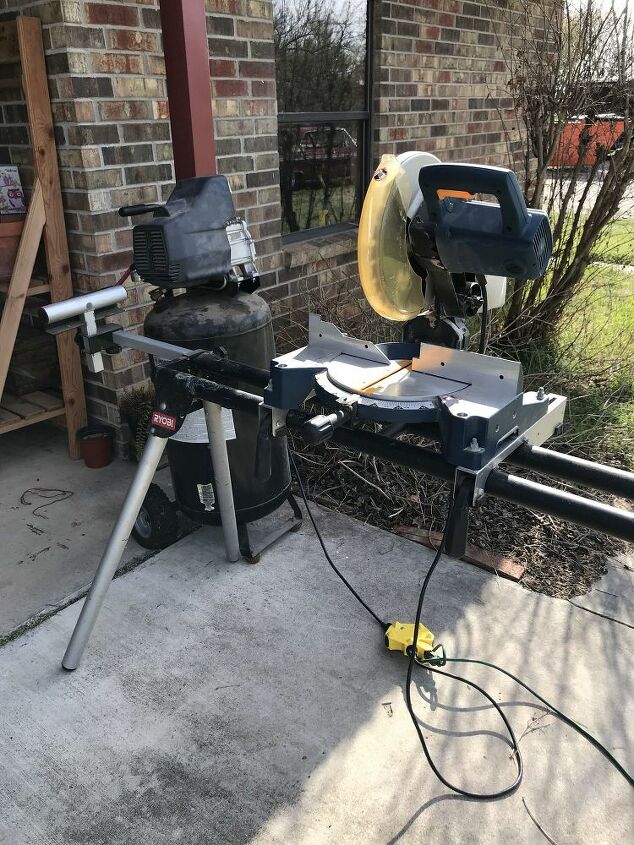
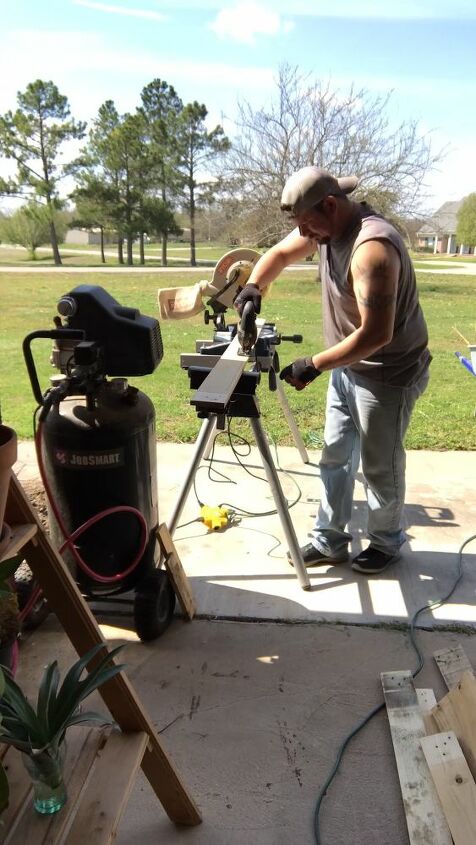
We also used our portable air compressor for the nail gun and our chop saw to cut the pieces of wood to length. Not pictured is the jig saw that we needed to cut grooves for around the windows and outlets.
We used a chalk line to mark each stud in the wall for easy nail placement when nailing the boards to the wall.
When we came to the window and the outlets, my honey used the jigsaw to cut out the area needed to make it fit perfectly. In this picture he hasn't started yet because right after I snapped the photo, he said, "where did I lay my safety glasses"? SAFETY FIRST!
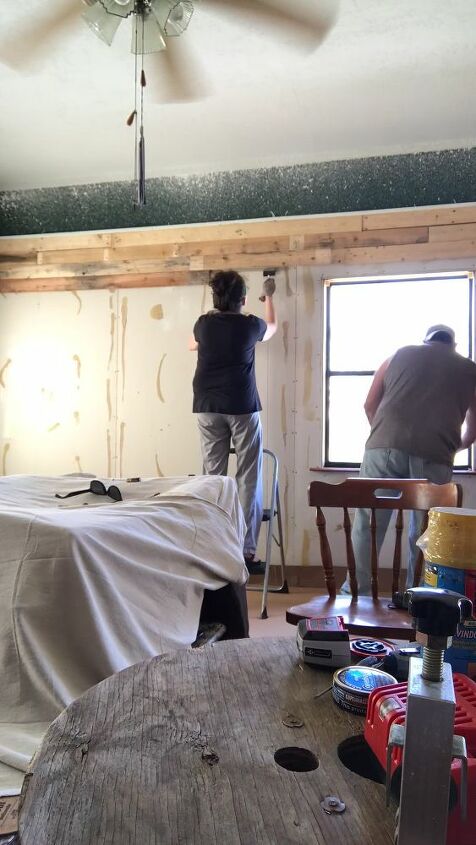
Its kind of hard to see, but he cut out the section to go around the window and now it fits perfectly.
If we happened to have a large gap in the boards, I would run a bit of dark paint in that section so that the ugly wall wouldn't glow through in the future. The boards will shrink and relax slightly over time of being indoors.
We would go from one side to the other and back again, staggering the lengths of wood for an interesting look. Every now and again we came across a piece of warped wood that would require a 2" wood screw to hold it into place properly. We DID NOT use any adhesive to hold these boards to the wall, just brads and an occasional screw.
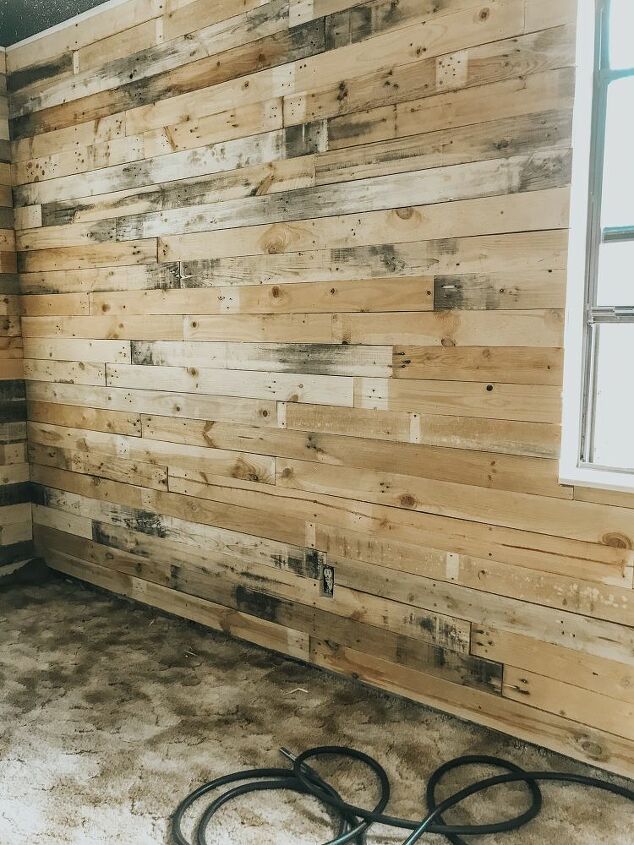
It took us from 11am to 5pm (only breaking once to eat a bite) to create this entire wall. Don't forget the occasional dance parties that would break out when that one song would come on the radio! :) Since you're working with wood pieces that are not perfect, it does take some time to fit each one in the correct space. Kind of like a giant puzzle.
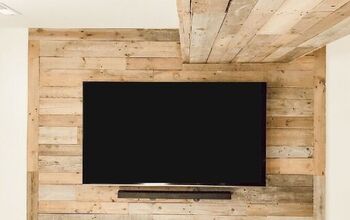
There are more pictures on our blog of the finished project. Just look for the blue "GO" button and be taken to our blog.
Click right here for another manly project we did!
Thanks for looking!


Comments
Join the conversation
-
We put 2 partial pallet walls in our bathroom. My husband put up 2 dark finished plywood to which he covered the drywall with and stapled the pallet boards to the plywood, so the drywall wasn't damaged. The dark plywood saved having to paint where the pallet boards would havent fit snug. He had put steelwool in a gallon of vinegar. He sprayed this onto the pallet boards, causing a chemical reaction. The pallet wood was all different types of wood, causing beautiful finishes on each board. Our entire updated bathroom cost around $600, installing shower surround and a single door on the tub for bathing or showering and a fresh coat of paint. Lots of comments on how beautiful it turned out.
-
I know nothin' about Pallet wood, but I do know your man has a knack for makin' that wall look beautiful.........


Frequently asked questions
Have a question about this project?
What did you do to insure that there were no bugs in the pallet wood and that it had not been treated with toxins like formaldehyde?
Once the wall was complete, were the outlets "recessed" due to the thickness of the wood?
How many pallets did it take to do the one room and how big was the room? I'm wanting to do this to my house cause it's so rustic and alot cheaper then paneling and sheettock