


Repurposed Wood Window Frame
We had just recently moved into a new home and I needed a piece of décor for the fireplace mantel. This is what it looked like before:
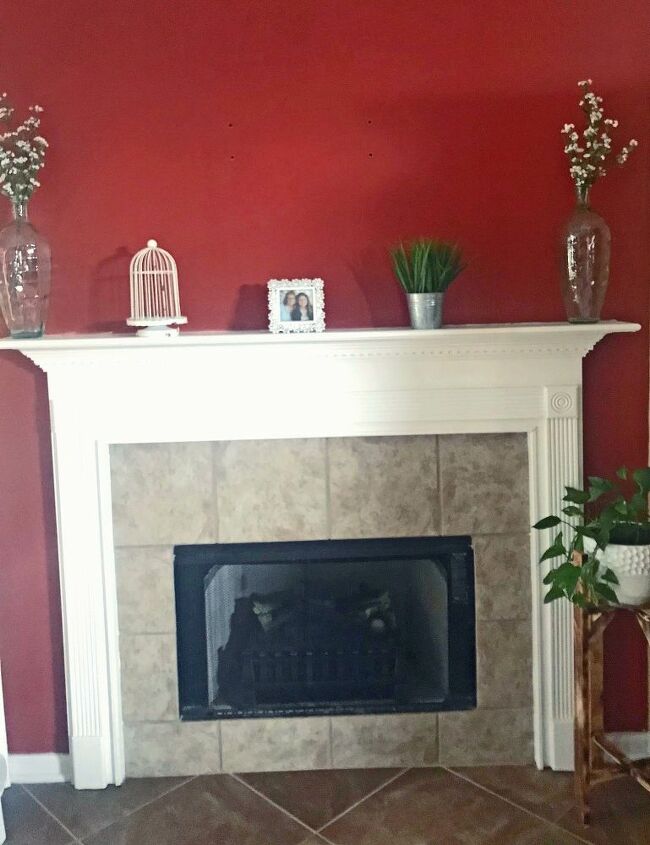
The wall above the fireplace was long and tall so I knew the piece needed some height. I also wanted it to make a statement, because the fireplace was the first point of eye contact as you walked through our front door.
I recently found this old wood window frame on a recent junkin’ trip. Here is a picture of the frame. I used it for staging with a photo of Bessie the Cow.
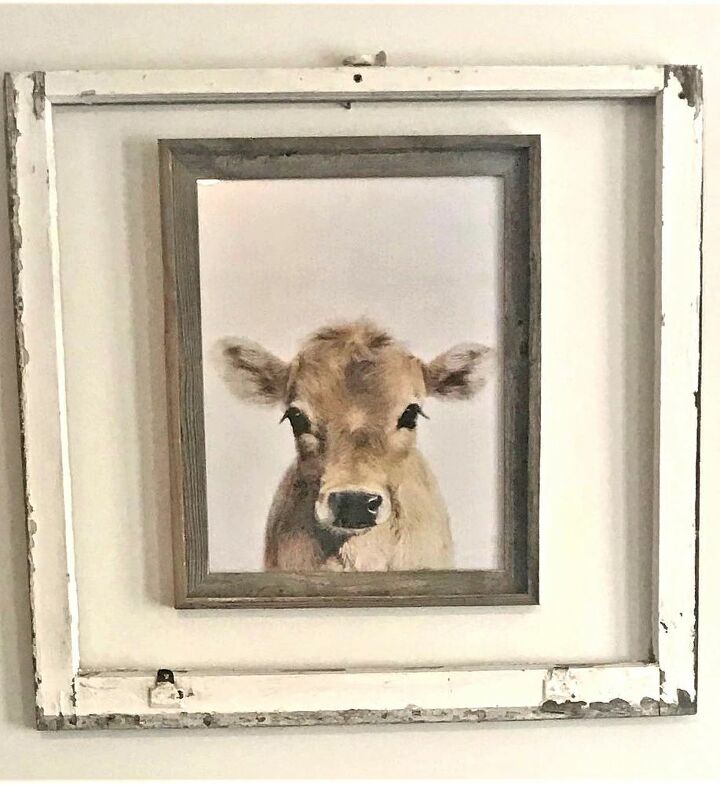
What caught my eye was the beautiful, chippy patina, and it was only five bucks! It sat in my shop for a month or two. As I worked on other projects, it would just glare at me as if to say “Hello, I am still here.”
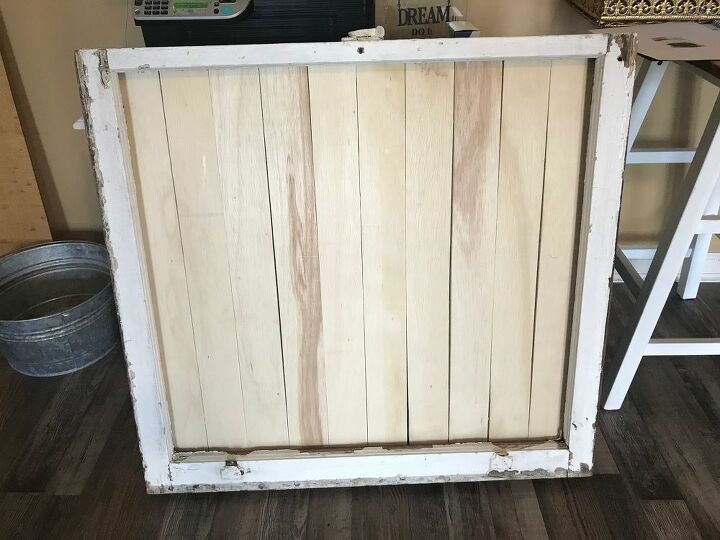
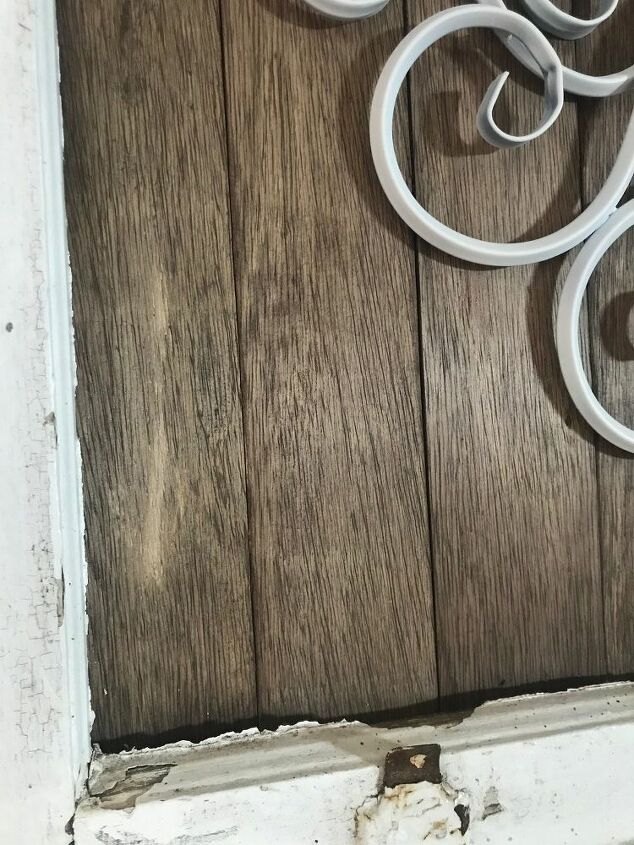
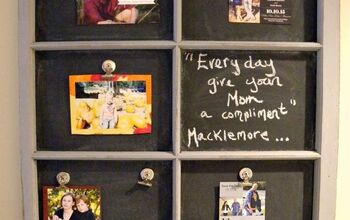
He mentioned he had some scrap wood that he needed to get rid of and asked if maybe we could incorporate that somehow. That’s when I had the perfect idea! We would use the scrap wood and cut them into strips. The wood strips would be placed on the window frame on the back in a vertical direction using a nail gun. Here is what it looked like after he attached the wood:
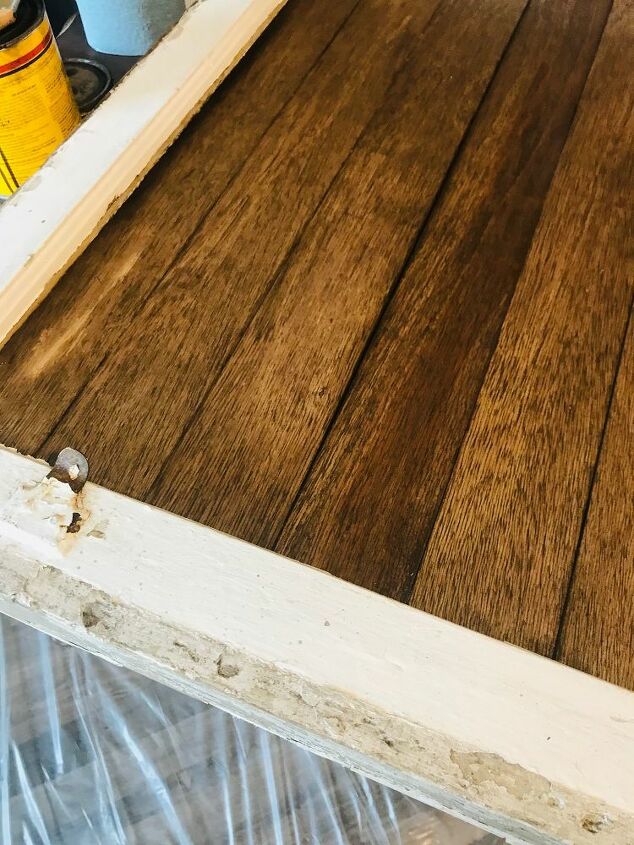
I then decided that staining the wood pieces would give it more depth! I used Minwax Dark Walnut ( you can get here) Stain and applied one coat. Look how beautiful!
I then sealed the entire piece by spraying a coat of clear coat by Krylon in Matte ( you can get here) to the entire piece. But I still felt like it was missing the “wow” factor. Off to the shop I went to plunder through my stash. There was bound to be something in there that would work.
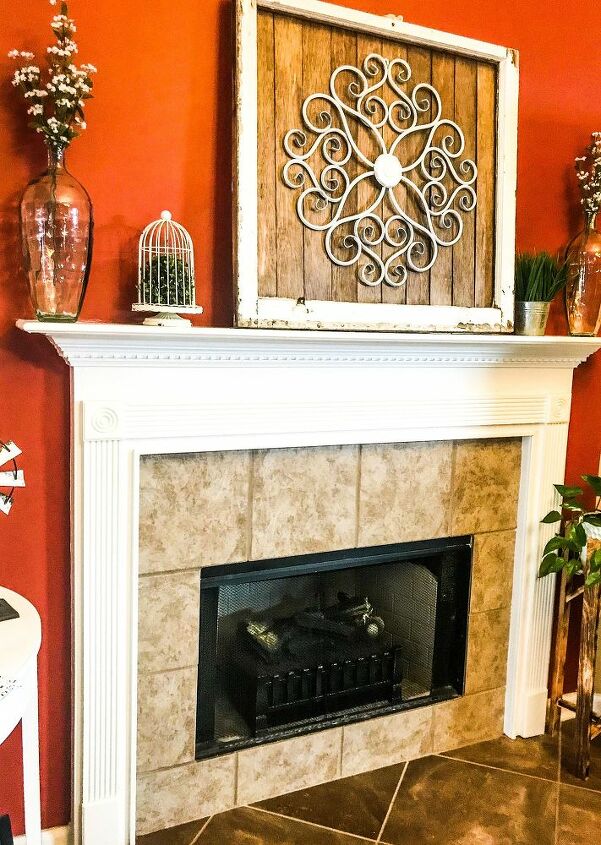
As I was searching, I came across this white, metal décor piece I purchased from Hobby Lobby because it was on sale. I do that a lot. I buy items that are on sale, even though I do not know what I plan to do with them!
The size was perfect. I attached the metal décor piece using two small nails. It already had hooks on the top and bottom that could be used for hanging so it was very easy to nail it to the wood.
Here is the finished product.

Resources for this project:
See all materials


Comments
Join the conversation
-
Perfect! I will be on the hunt for an old window for sure!


Frequently asked questions
Have a question about this project?