Sanding Down and Refinishing the Beams Throughout My Home

5 Materials
$50
4 Hours
Medium

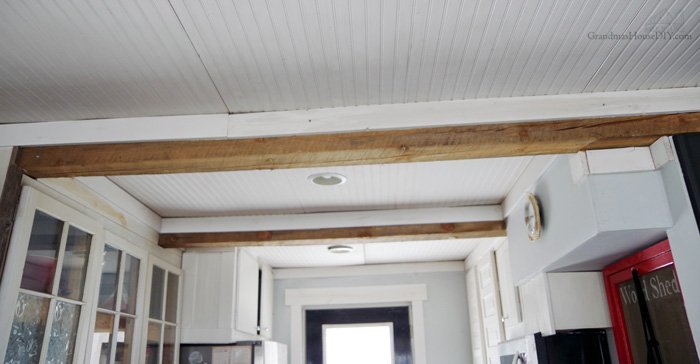
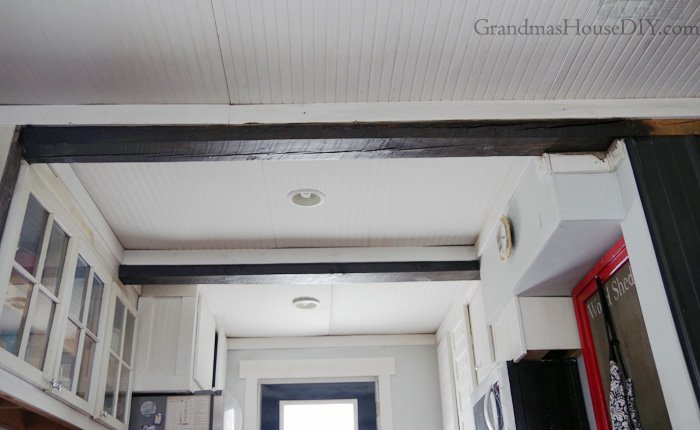
With my workshop complete and my final finishing of my laundry room remodel it was time to expand out into my entryway and kitchen… And that meant my attention turned to the beams in my home. If they were the ACTUAL 100 year old beams that were here originally I would feel totally different… But, they’re not.

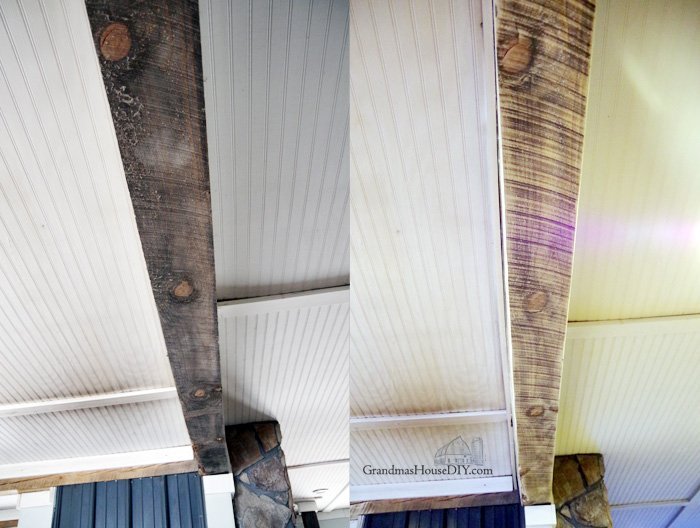
(NOTE: I have MAJOR smoke damage throughout my entire home from that horrible wood stove that I got rid of last fall. My ceilings are DISGUSTING. And the dry heat made all of my trim and beadboard warp. I will be sharing even worse photos soon as I begin the task of fixing my ceilings, my trim and repainting my entire first floor, but I needed to get this job done first! So, when looking at the next pictures please note that I am fully aware of the nastiness and I am going to fix it.)

During my renovation in 2014 my brother took me to a local sawmill out in the middle of nowhere where I hand picked these lovely rough sawn 8x8s.It took my dad, my brother, me and two sledgehammers to get them all in place and take out as much of the sag in the 2nd floor as possible. It also took a chainsaw and multiple blades to cut the load bearing walls to put them in.It was a big couple of days but the three of us got it done!I chose these specific 8x8s because they had been weathered over a year outside already and they were local pine.
They’re really rough!They are, in fact, so rough that if I run my hand over them I will get some serious splinters, they cannot be cleaned or dusted, anything that touches them stays there.And I’m also becoming less and less fond of the rustic look…I painted out the barn and pallet wood I used as wainscoting in my workshop, I’m going to be removing (and replacing) the barn wood shelf above my kitchen sink, I’m going to be sanding down and staining my kitchen sink base and I’m going to be painting the fake stone on my chimney.Literally the only thing left in the end (in my head as I was planning all of this) were these beams.


With my plans of repainting (and cleaning) all of my first floor it dawned me that if I was going to actually tackle them then I needed to do it right now BEFORE I repainted and cleaned everything.Because: SAW DUST.
Lots and lots of saw dust…I grabbed my Orbitol palm sander as well as my little mouse sander and got to work one Sunday afternoon.Guys, I am not exaggerating when I say this was one NASTY and awful job! Those beams were full of ancient house dust from the renovation and they were also totally covered in black ash from the wood stove.


It took a LONG time.

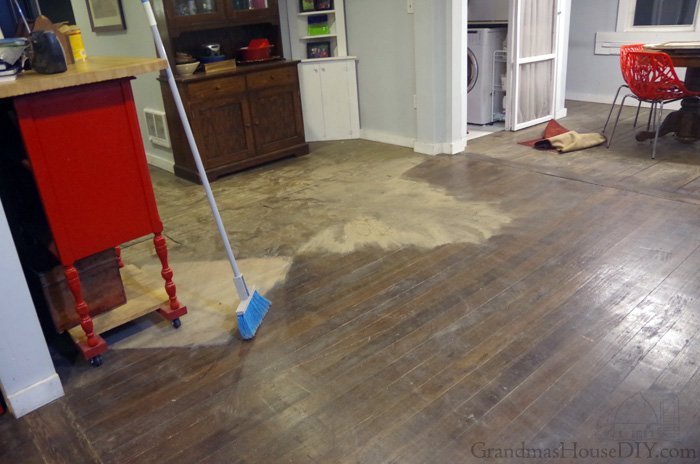
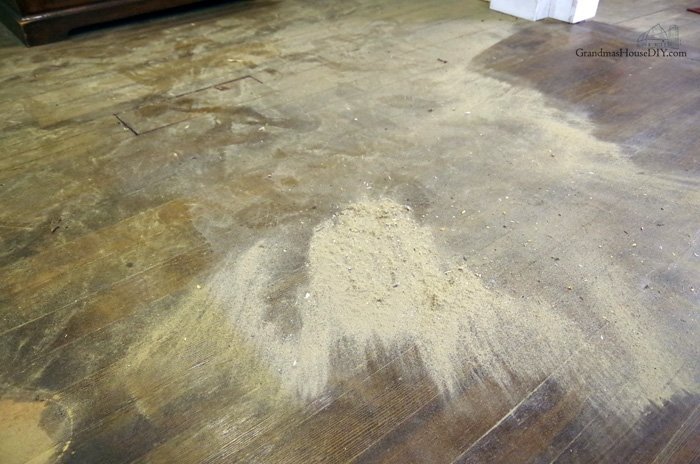
I got saw dust EVERYWHERE and thanked the Universe for my foresight to do this FIRST before I cleaned and repainted my first floor. I dunked my head in my kitchen sink multiple times, washing my pour eyes and face lol.

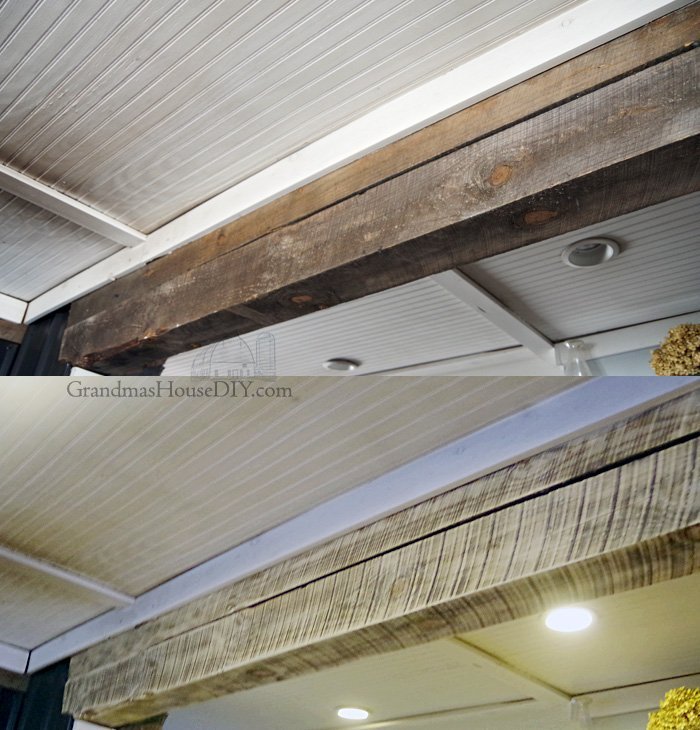
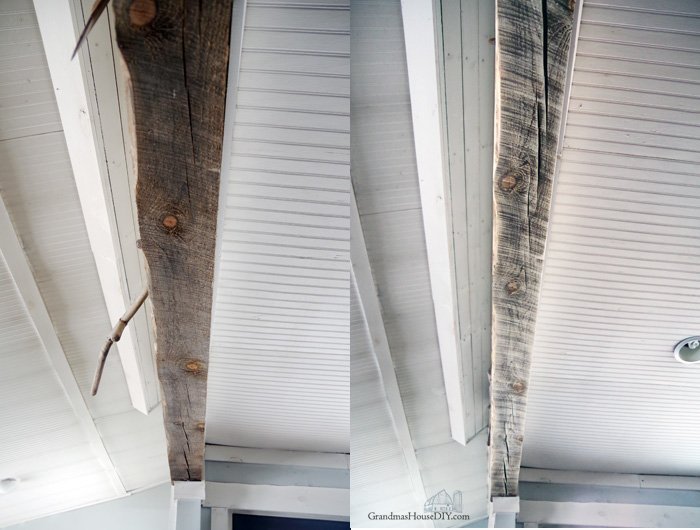
With them thoroughly sanded down it was this moment – when I was running my hand down them and seeing the saw marks and bare, smooth wood when I knew I had made the right decision. (Not to mention, they were so filthy, getting that filth out of my home just felt awesome!)

I cleaned them with a mix of 50/50 vinegar and water.It wasn’t even a question that I would be staining them to match my floors. Dark Walnut my Minwax is simply my favorite.


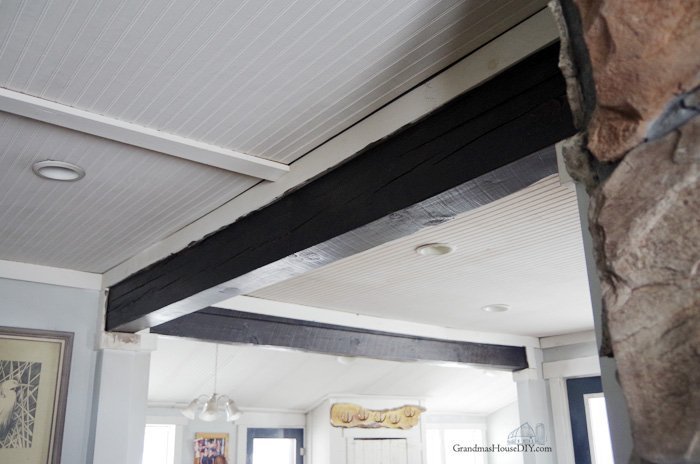
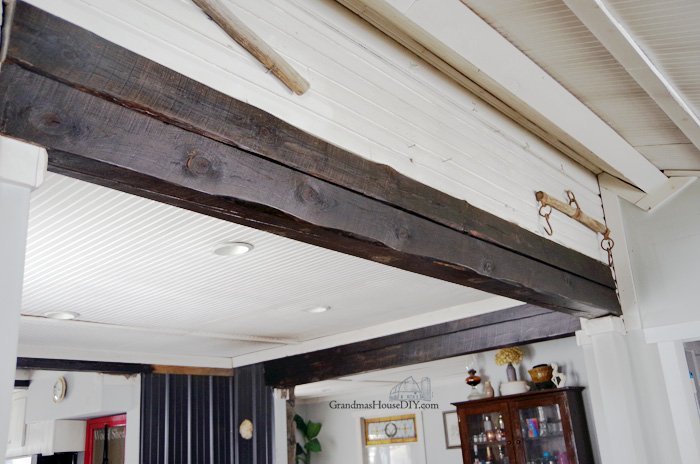
I stained them by putting the stain on with a sponge brush and waiting a good 20 minutes before wiping the stain off.Though they did turn out darker than I had anticipated I am still very happy with them. (That’s just the way the cookie crumbles when it comes to working with Pine.)I sealed them with polycrylic also by Minwax and now I can actually clean them!


I will admit I was worried that this was going to be a ton of work that produced very little results when it came to how they looked in my home. I had come to terms that I have become a full on adult and, regardless of how they turned out, being able to clean them would make it all worth it for me.But I think they look lovely and way better than before.Now I can finally start cleaning and painting away the awful smoke damage in my home!
Resources for this project:
See all materials
Any price and availability information displayed on [relevant Amazon Site(s), as applicable] at the time of purchase will apply to the purchase of this product.
Hometalk may collect a small share of sales from the links on this page.More info
GrandmasHouseDIY
Want more details about this and other DIY projects? Check out my blog post!
Go
Frequently asked questions
Have a question about this project?
  2 questions
  • M.rivera M.rivera on Apr 30, 2019

    I like to know where can i find beams that are afordable for my ceiling? i really like that look.

  • Francee Francee on May 24, 2019

    Any suggestions to help

    my two cats use the litter pan? They are brother and sister and will use the two pans we have available for them but also use the floor on occasion. We have tried everything! Different litter, more pans, rotating pans that clean litter automatically, different locations for the pans...they are destroying the rug. Not to mention the smell!

Comments
Join the conversation
4 of 40 comments
Next