


Thrift Store Chairs: Rescue & Reveal!
Greetings Friends! On Friday, I shared my latest thrift store treasures and promised a makeover to come. Here we go...
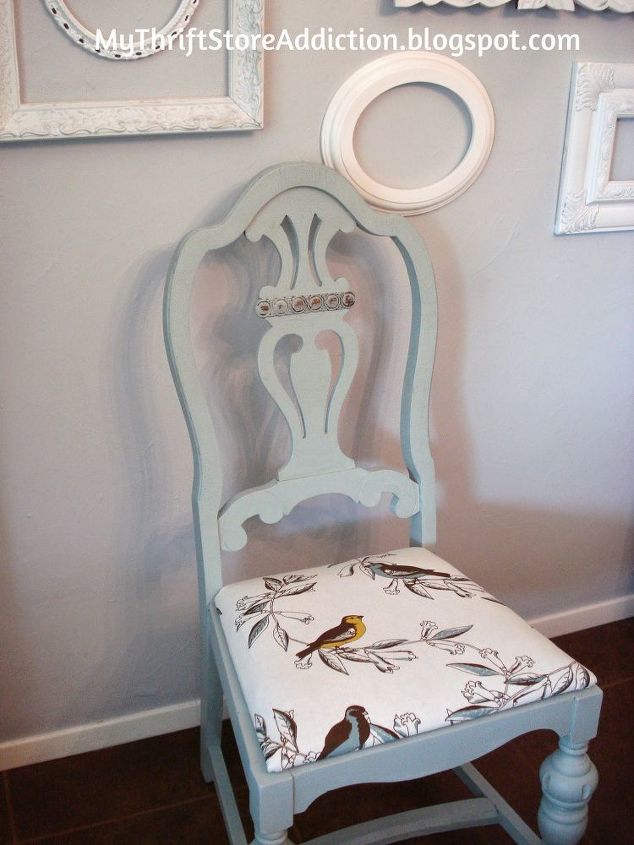
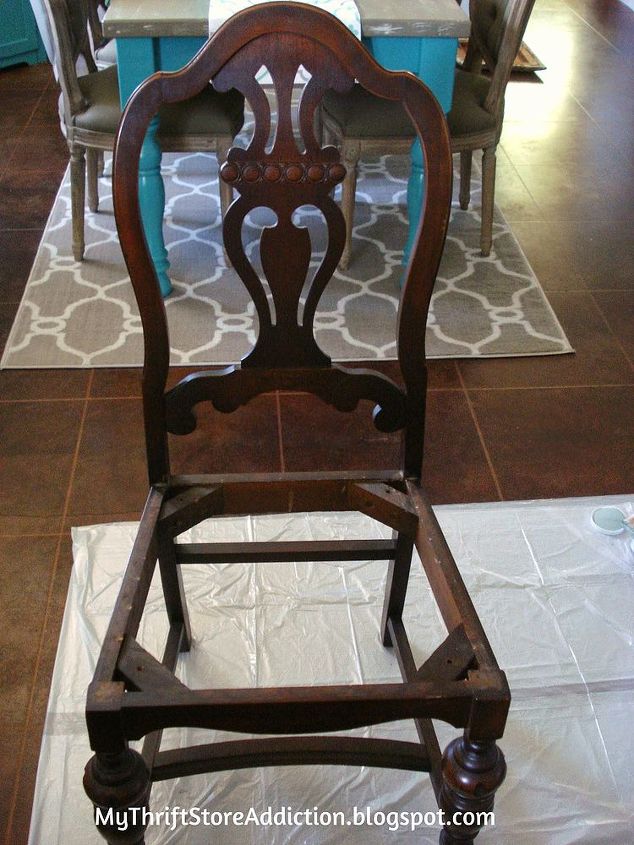
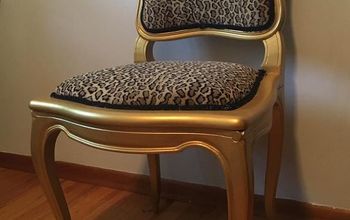
I couldn't be happier with the results! What do you think? So here, the chairs are awaiting their transformation...
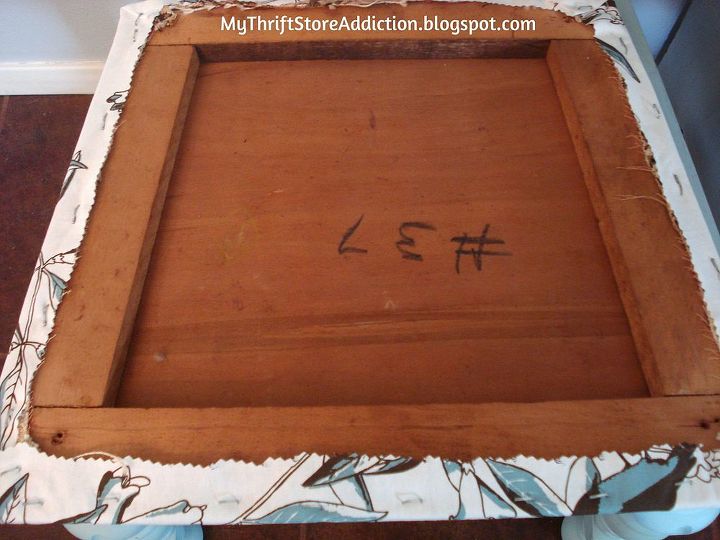
...and here is the backside of the cushion after the fresh fabric has been attached by staple gun. Can you believe I had the fabric hanging in my studio closet? It's a clearance tablecloth from Target that I have had for years. I loved the birds and it was too cheep to pass up! However when I got home and realized it was a one way pattern, I never used it--I didn't like the birds upside down on one side of the table. To say I'm glad I kept it, is an understatement! I had already picked my paint color and could not believe how well the two paired.
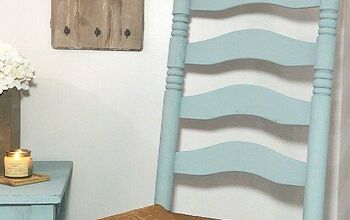
Silly me, in my makeover giddiness I forgot to take pictures of the painting process but here's what I used. This was my first time to use this brand of chalk paint from Home Depot. I chose it solely for the color--those of you who know me are not surprised ;) It is very reasonably priced, compared to other chalk paints. The paint and the wax together cost just under $23. It was easy to work with and I would definitely use it again. I used two coats of paint and two coats of wax.

I used extra fine sand paper to distress just the one place in the center of the chair's back.
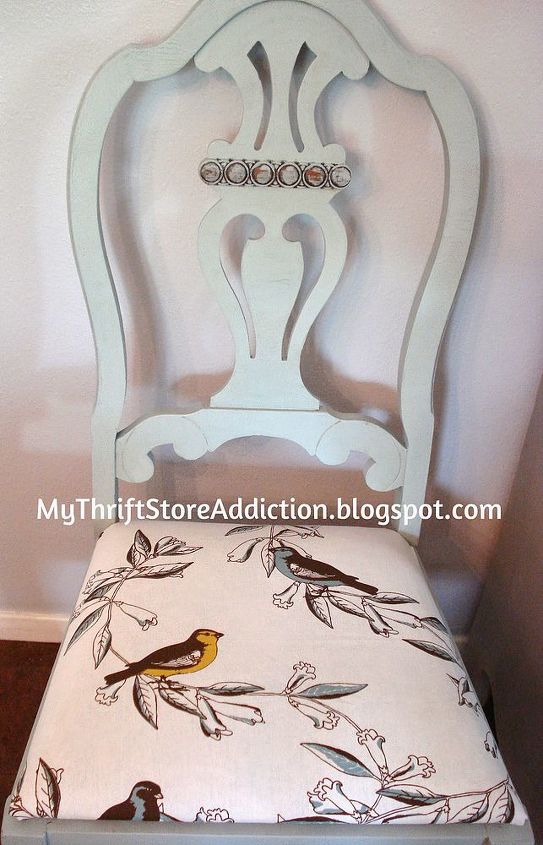
Don't they make a pretty pair?

The total cost for my lovelies was about $45 including the paint, wax and previously purchased tablecloth! Can you imagine trying to find anything comparable in furniture stores? I couldn't have bought one chair for that price and certainly couldn't have found anything I love near as much. And that, dear friends is why I am hopelessly addicted to thrifting!

Want more details about this and other DIY projects? Check out my blog post!
Comments
Join the conversation
4 of 16 comments
-
I love them. I like how the paint color and fabric lighten the mood of those otherwise heavy, somber and dark old-style chairs.
-
You are a true artist. They are beautiful.my problem is I want to keep everything I do and our house is small. Oh well sign me up for hoarders.


Frequently asked questions
Have a question about this project?