


Make Arch-Shaped Party Balloon Decorations Perfect for Any Occasion

Balloons are an essential ingredient when holding any type of party from a birthday event to a baby shower, but many of us struggle to find a great way to display them around the house in a stylish and striking manner. Sure, you can make party balloon decorations by tying a few together and hanging them in various places, but that rarely makes the most of their eye-popping color.
With that in mind, this DIY project may well provide the answer, as it reveals how to make a balloon garland without spending a fortune.
Tools and Materials
- Electric balloon blower
- Latex balloons
- Balloon tying tool
- Balloon decorative strip
- Fishing line

Step 1: Gather Your Materials
The key starting point for your project to make party balloon decorations is to ensure you have all of the tools that you will require from the outset. While they may not be absolutely essential, I opted to use both an electric balloon blower and a tying tool so that I could complete the task as quickly as possible and without any major stress. You could tackle the project without them, but I think they simply just make things easier. In contrast, the balloon decorative strip is vital, as that ultimately holds the key to bringing your design together.
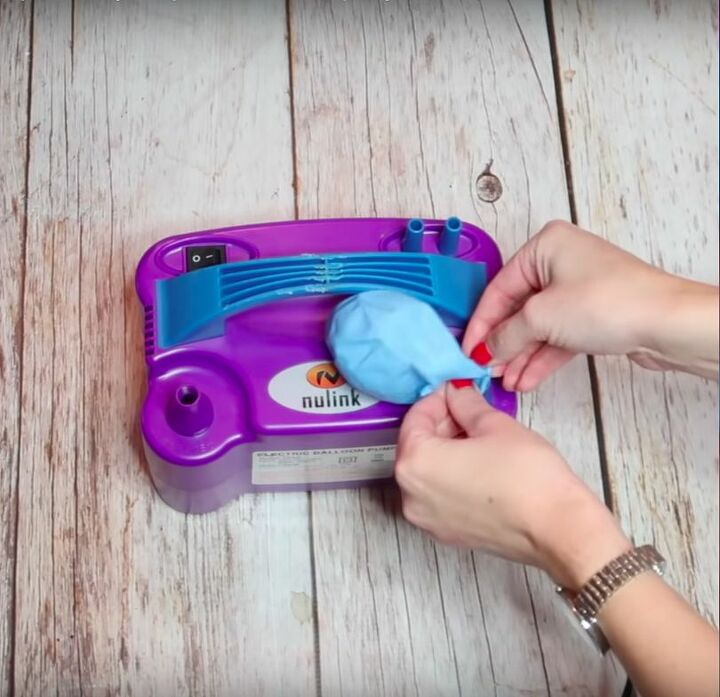
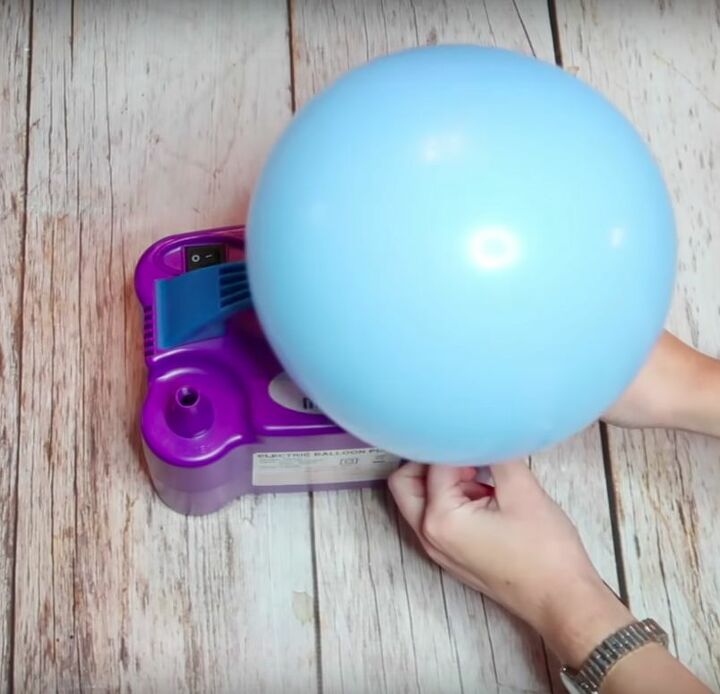
Step 2: Blow Up the Balloons
Once you’re sure that you have everything you need for the project, it is time to start creating your party balloon decorations. The first step is, unsurprisingly, to blow those all-important balloons up and I did this by attaching both pink and blue balloons to the nozzle on my blower and then using the device to fill them up with air. I then tied the balloons up using - you guessed it - the balloon tying tool, which allows you to stretch and quickly secure them without getting your fingers in a major twist. After you’ve completed your first balloon, repeat the process until you have the number you need.
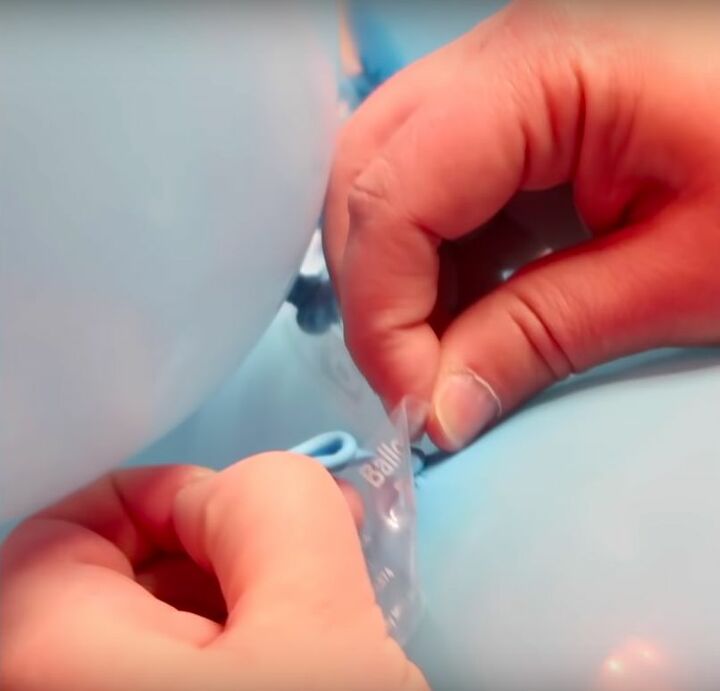
Step 3: Attach the Balloons to a Decorating Strip
You will have to start connecting your balloons together once you are happy that you have enough. In this project, I attached them to a decorating strip which features holes that allow you to pull the ends of the balloons securely through to the other side. Make sure you bunch the balloons together so that the strip cannot be seen and, eventually, you should have a pretty striking balloon decoration for a birthday party and other events in your hands. You could arrange the balloons in any manner you like, but I opted to create two big blocks of pink and blue.
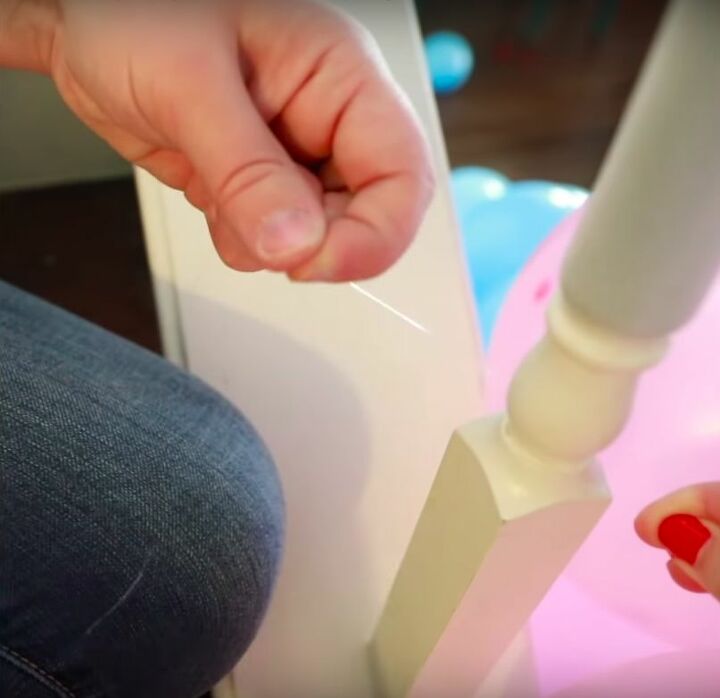
Step 4: Tie the Balloons to Your Bannister
Once you’re happy with the balloons on your strip it is time to get them hung up and create your party balloon decorations. I attached mine to the bannister on our stairs, as the balloons worked nicely in the hallway space and I knew they would look great when people entered the party. I made sure they stayed secure by running the fishing line through the balloon strip and then tying that onto the balusters. I was overjoyed with how the balloons looked running alongside my staircase, but you could arrange them so that they make an archway on the floor too.
Finding the best way to create party balloon decorations is not always easy, but this project undoubtedly offers some great suggestions as to how to present them in a stylish way that does not leave them cluttering the floor or hanging limply from items like curtain rods.
Creating a strip of balloons is ideal for adding a splash of color to a party, while they can also be shaped to fit whatever space you want to use them in. Comment below to let me know what you think of the project and send in some images of the classy shapes that you’ve been able to create. I can’t wait to see what you’ve come up with!
Resources for this project:
See all materials


Comments
Join the conversation
-
You didn't show how it was done, just the stuff you need to do it.
-
Very nice!!!


Frequently asked questions
Have a question about this project?
How many balloons did you use?