


How To Paint Laminate Furniture

So you have a piece of laminate furniture. Maybe it’s from IKEA, maybe it’s from college, or maybe an old market find. No matter what you have, it may be time for a new look. I'll show you how to paint laminate furniture to get the look you love.
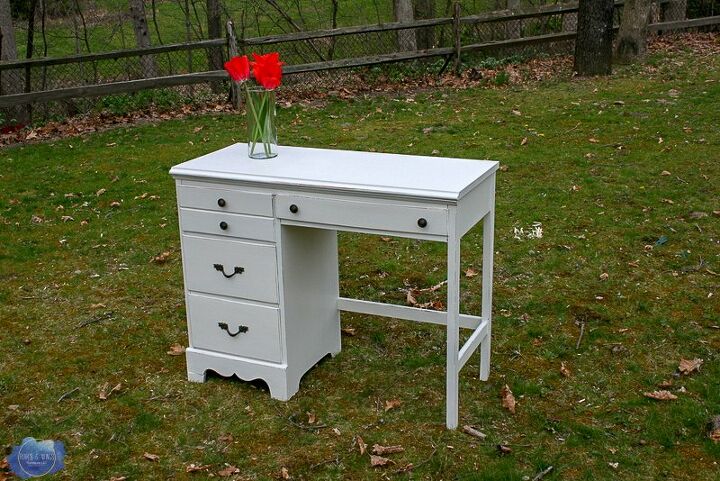
As a quick example, here's a finished laminate desk I painted. It’s now my daughters desk. She has used it since 2016, and she is HARD on it. It’s held up great! The top (which was the laminate) hasn’t peeled, chipped or even scratched. So believe me this method is excellent for updating any piece of laminate furniture you may have.
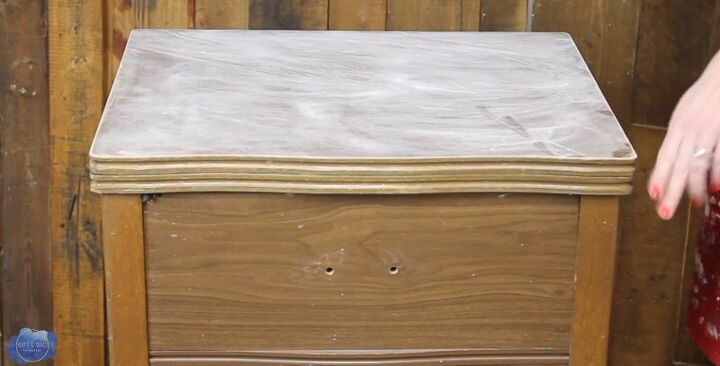
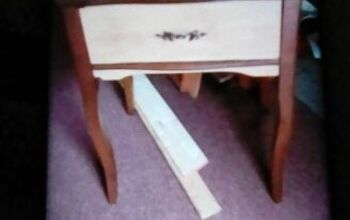
My current piece is a cute sewing table. The top is laminate and the bottom is wood. It wasn’t in bad shape; just needed an updated color.
First thing is to sand down the laminate with 120 grit sandpaper. Really scratch it up well. This will give the paint something to stick to. Sand the rest of the piece with 220 grit sandpaper.
Next, clean the piece with a mix of denatured alcohol and water. Get all the dust and the dirt off. Let it dry for just a minute.
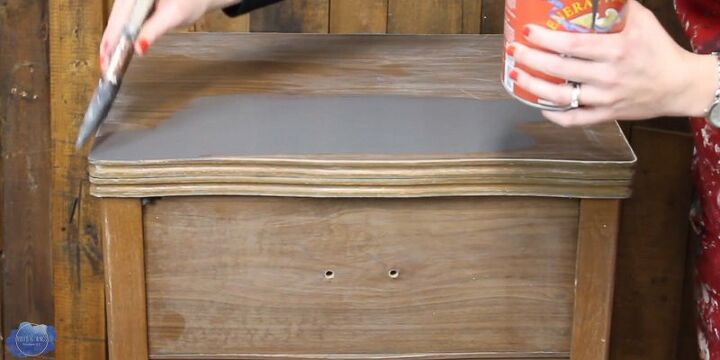
Now start painting! I used GF Queenstown Gray Milk Paint. Just paint like you would any other piece, section by section until you get full coverage. I used a Purdy XL Cub to paint this laminate furniture.
Let dry, and repeat. Two coats are usually all that’s necessary. If you like a little of the grain showing through, just use one coat.
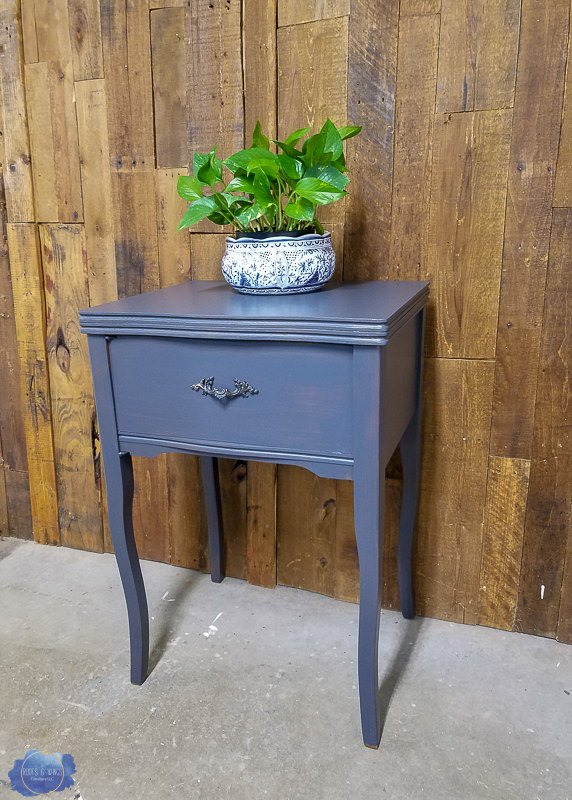
Lastly, top coat it with a top coat if you think it’s necessary. I like to topcoat the darker colors to give pieces a little shine.
Isn't it just beautiful?!
Be sure to catch my current projects by to my newsletter.
Find me on Facebook @RootsandWingsFurniture where I share more tips and advice.
Watch and learn! to my YouTube channel for more tutorials plus several paint reviews.
Resources for this project:
See all materials


Comments
Join the conversation
-
I have the same sewing cabinet. I sanded and stained mine.


Frequently asked questions
Have a question about this project?