


Picture Frame Makeover
$10.00
2 Hours
Easy
Buying a new frame is expensive. Especially if you want something that’s good quality and looks great. So why not update an old one...
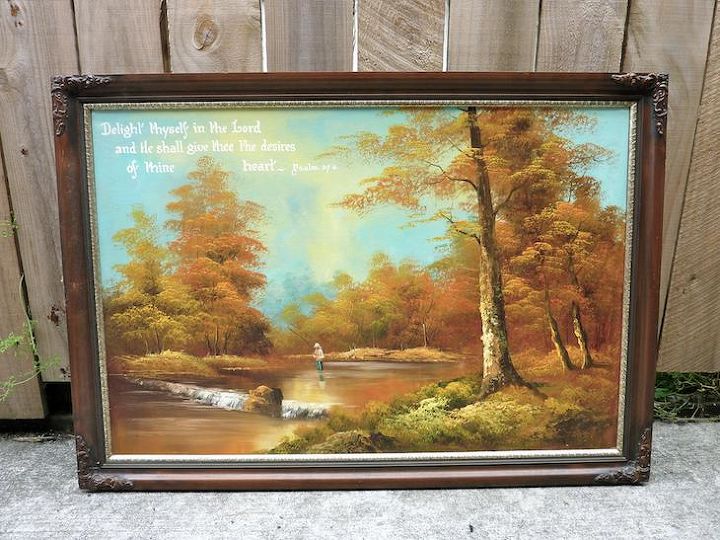
I have this frame that’s been sitting in my garage for a while, waiting for a new life. It’s a nice frame, but needed updating.

I removed the picture from the frame and roughly sanded the back of the frame by hand. The masking tape was so old and degraded it almost chipped off.

Then, after dusting the frame with a cloth I put down a drop cloth and began spraying.
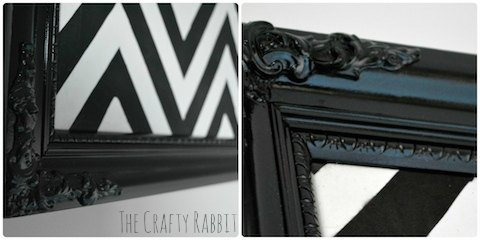
Pretty great huh? For the full post check out my blog at The Crafty Rabbit.

Want more details about this and other DIY projects? Check out my blog post!
Comments
Join the conversation
4 comments
-
yess! This is my favorite DIY decor trick! Yours looks so chic now!
-
Love the black! So chic


Frequently asked questions
Have a question about this project?