


Tween Bedroom Makeover
This might be my most favorite room makeover to date. Maybe it was because I have dreamt about doing this makeover for 11 years now. I would see all of these cute girl bedrooms in magazines or on Pinterest. Then I would glance over at my daughter's room and her room looked like a glorified flea market.
Knick knacks she found somewhere on the ground at school (aka trash) sprinkled on her dresser, random things taped with duct tape onto her walls and ceiling, and if you saw my de-clutter post on my blog, 53 empty tissue boxes in her closet.
I gave up. The thought of me getting my hands on my oldest daughter's room, removing all of the junk and having (somewhat) full reign of decorating her room was never going to happen.
But then one day she said those magical words to me..."Mom, can you decorate my room". AHHHH!!! It was music to my ears. Angels were singing. I wasted no time getting my hands on her room before she collected one more empty tissue box.
We started by de-cluttering the living daylights out of her room. You can see a little bit more about that on my blog. And then, I got to the good stuff. The really good stuff.
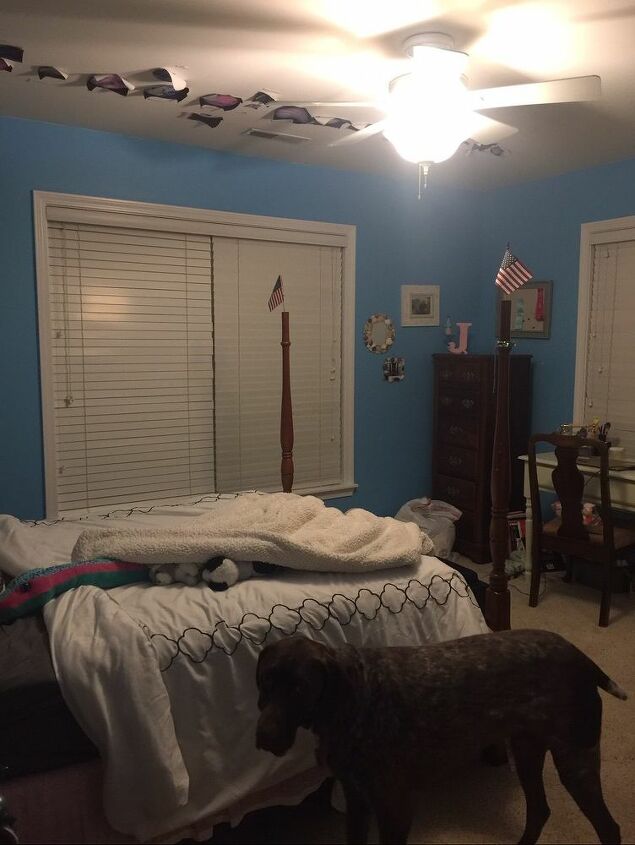
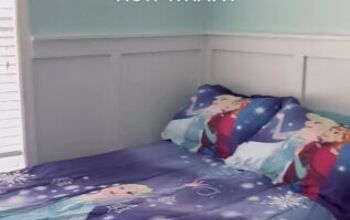
When we first moved into this house we both agreed that we didn't mind the original color of her room. It was a pretty blue color but it was also a very blue color and as the years went by her room was giving me anxiety. More than likely, it was the 53 empty tissue boxes and planets taped to her ceiling (with heavy duty packaging tape). Here's the bad lit iphone before picture...messy room, crazy dog and American flags...and don't get me started on those planets...
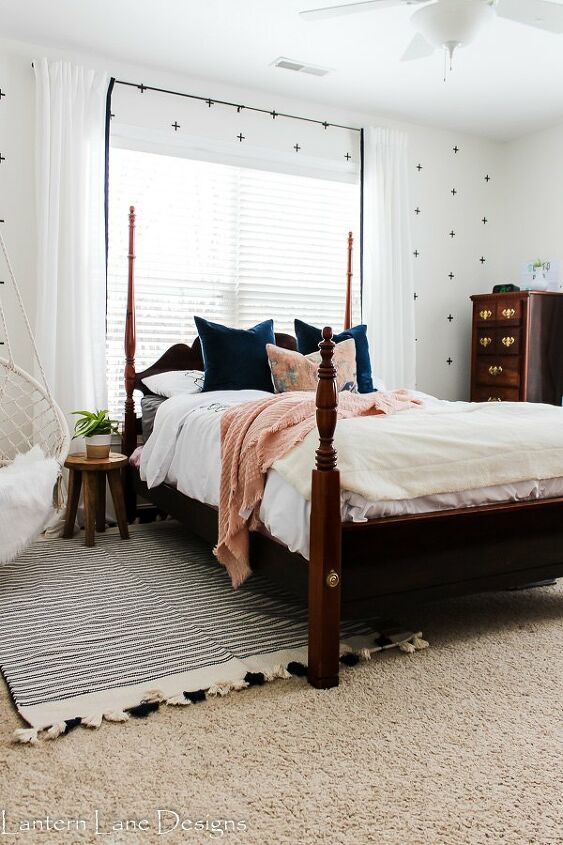
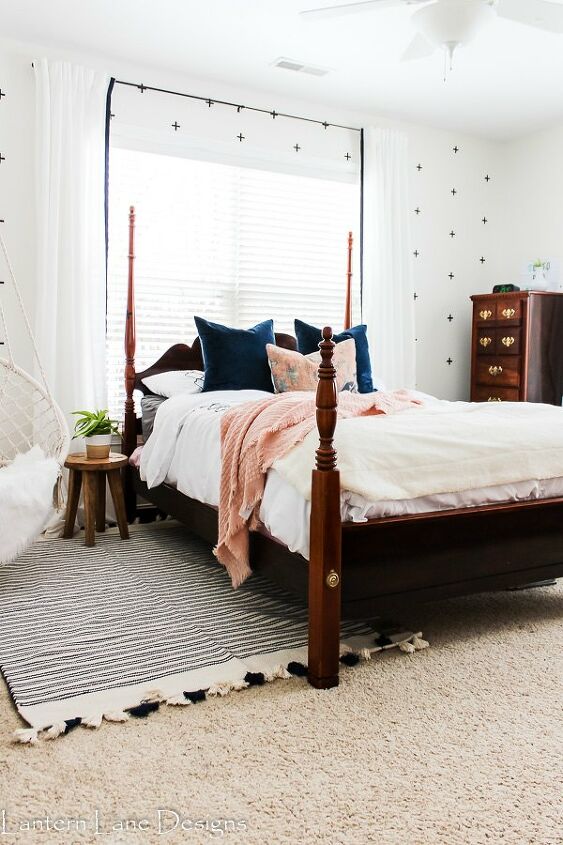
And then the after...
Let's talk about this room makeover in steps, since it's just easier.
Step 1: Create A Room Layout and Mood Board
The first step in any room design is figuring out your room layout and creating a mood board. You can see the room layout and mood board for her room on my blog.
And, can I say, that when you give your 11 year old daughter an opinion about her room makeover, she will give you all of her opinions and they'll likely not be the same as yours. This room had so many versions thanks to my daughter's opinions. Even with a mood board we changed our minds a million more times after that. We did circle back to the original mood board but made a few alterations to it, which I do not recommend.
Step 2: Rearrange Your Furniture And Hang A Chair
I knew we had to rearrange the furniture in her room. The initial layout wasn't working. I was losing prime real estate having her bed against the wall it was on.
I have a secret for you, something out of this world crazy, something you wouldn't believe. Are you ready for it??? You CAN put your bed in front of a window. I'll give you a few minutes to jot that secret down.
Ok, I'm being a tad bit sarcastic over here but for some reason my husband couldn't put his head around the idea of having a bed in front of the window. I think he is still mumbling something under his breath everytime he enters this room about how dumb the bed is in front of the window.
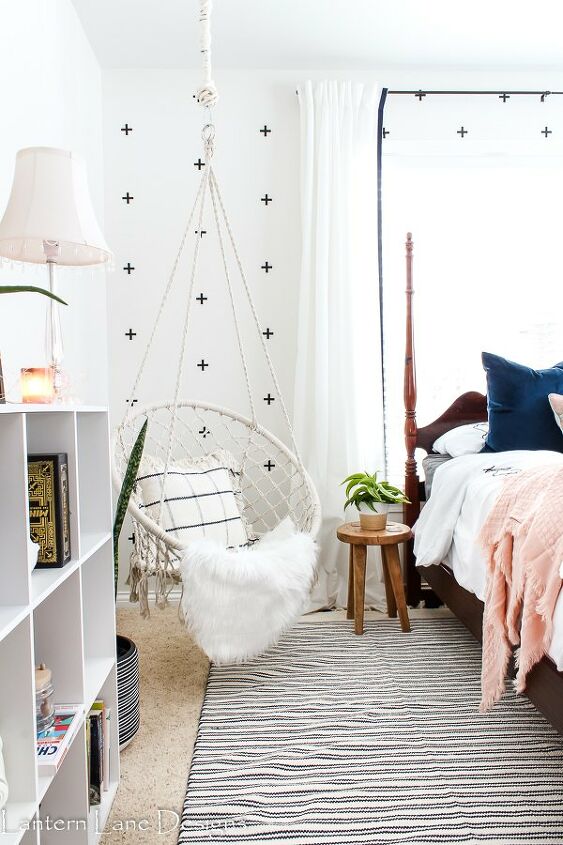
But moving the bed opened up so many opportunities. Like opportunities for a hanging chair...the most amazing hanging chair actually
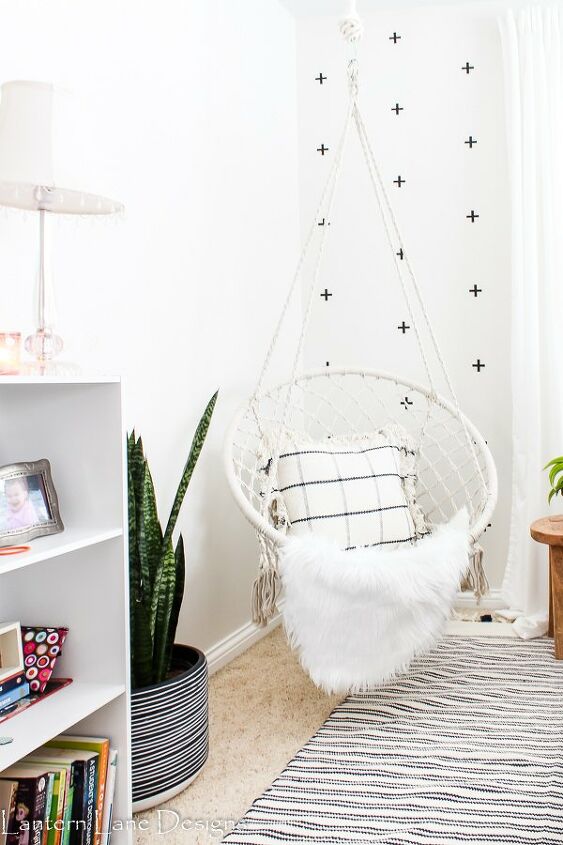
We had that chair hung (thanks to my dad) before I had time to open any paint cans. The chair was easy (for my dad) to hang. We did have to purchase the chain and hook at our local hardware store. Make sure to find the middle of a stud and get the hook in the stud.
Step 3: Decide On Your Design
My daughter is 11 and I wanted this to be her room that she has for a long time, pretty much until she moves out of here (that sentence made me incredibly sad). I didn't want it to look too little kid-ish but I also wanted it to still have some personality. She also spends alot of time in here studying and/or hiding from us so I wanted it to be calming in here as well.
I wanted soft colors with a few bold accessories thrown in for some personality. I had some visions in mind for this room.
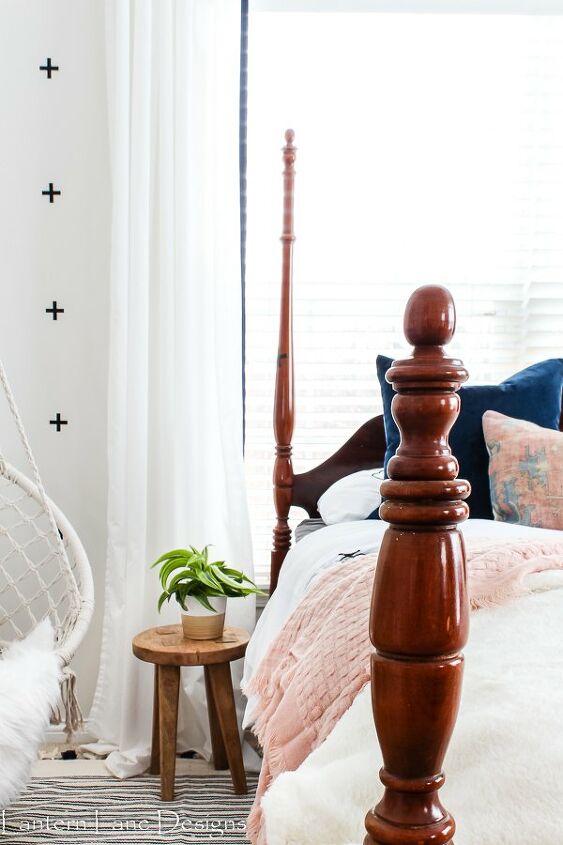
Her bedroom furniture was mine that I had growing up so it was staying. You can't get any more traditional than a Queen Anne four poster bed. And, to me, there is something so great about mixing traditional and modern design. I knew there was going to be some modern/eclectic touches in this room as well as the traditional furniture.

Step 4: Choose Your Color Scheme and Paint
Since I knew where I was going with my color scheme in this room and since I knew I was going mostly white, this step was pretty easy. My daughter's bedding is white (I am a huge fan of neutral bedding) and I knew I wanted a creamy white on the walls. I had Behr color match Benjamin Moore's Cloud Cover for me. I primarily use Behr paints and if there is a popular Benjamin Moore or Sherwin Williams color, more than likely it's in Behr's system already. No need to bring a swatch with you. Cloud Cover is such a pretty white. I talked more about it on my blog.
And while I was in my daughter's room with a paint brush I painted her ceilings and baseboards....and her closet door.
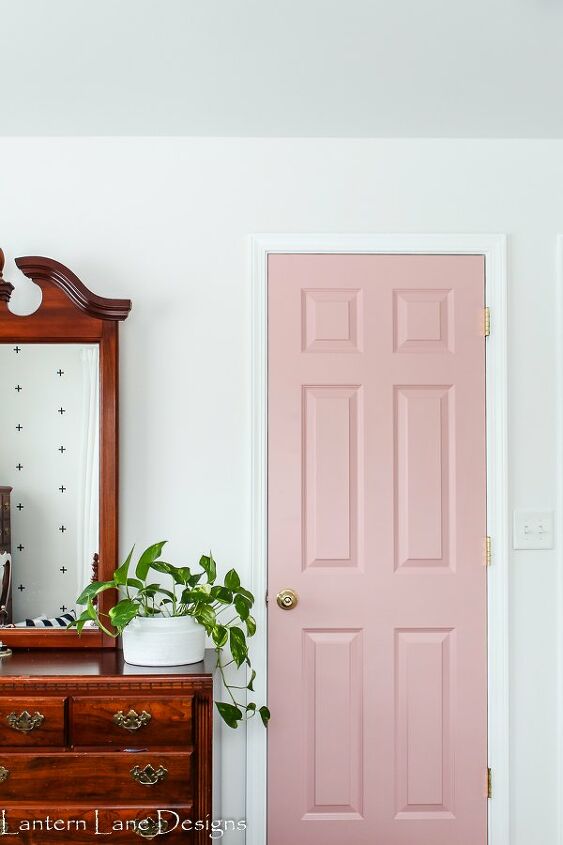
This is one of those pops of personality opportunities I was talking about. Her door color is Everything's Rosy by Behr.
Don't be afraid to paint doors. I was for a long time and I had no reason to be. Her closet door might be my favorite thing in her room. Oh, wait, nevermind the hanging chair is. You can see more on how I paint doors on my blog
Step 5: Add In Texture And Accessories.
This is my favorite part of every room design. I can do this step all day everyday, just ask my husband. I do it all day, everyday in this house. The big accessories in any room are window treatments, rugs and wall decor. Ideally, you should have picked out your rug and window treatments already when you were planning your mood board.
The rug....
I wasn't sure if I was fitting a rug in this room, actually. I had one picked out when I did our mood board and I really did love it. There is alot of furniture in this room and I was afraid that adding a large rug in this room with alot of pattern would look too busy. At the last second I found this rug at TJ Maxx and knew it would look great in her room under her hanging chair.
Window Treatments...
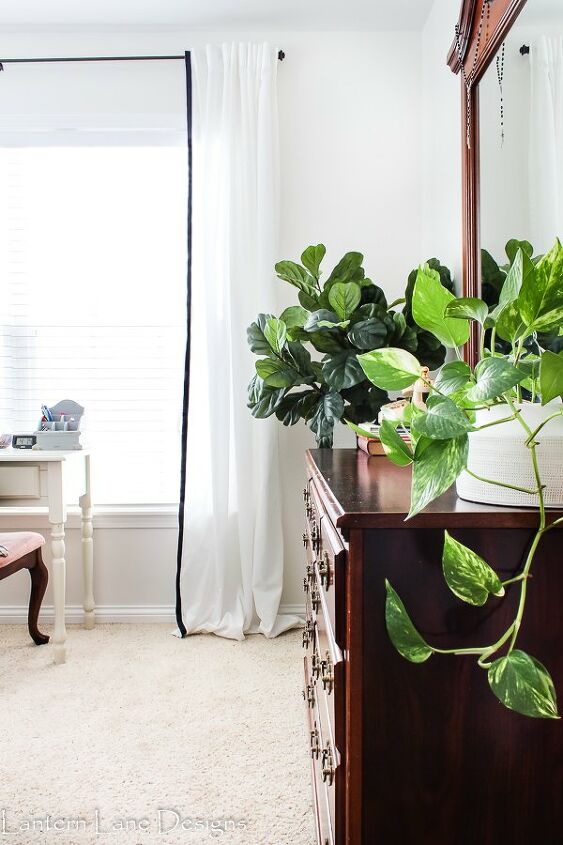
I also knew I was going white with the curtains. I love IKEA's curtains. I actually stole the curtains for her room from my front room. These are just the Vivan curtains from IKEA and I added some navy trim to them. You can see more about them on my blog
Wall Decor...
Now let's talk about these decals shall we?? I really did want to wallpaper the wall her bed is on but we weren't finding a pattern we both loved enough to push the "add to cart" button. I found a few I loved but my daughter had her opinions (of course she did).
I found cute decals on Etsy and magically we both agreed on them.
I was going to do a whole blog post on how I got these decals on my wall but honestly I kind of winged it. Well, I winged it with the help of a level. If you want to attempt these decals and have any questions, shoot me a message. I'm pleasantly surprised with how much I love these decals. And if we ever decide that we are over them, they are so easy to remove.
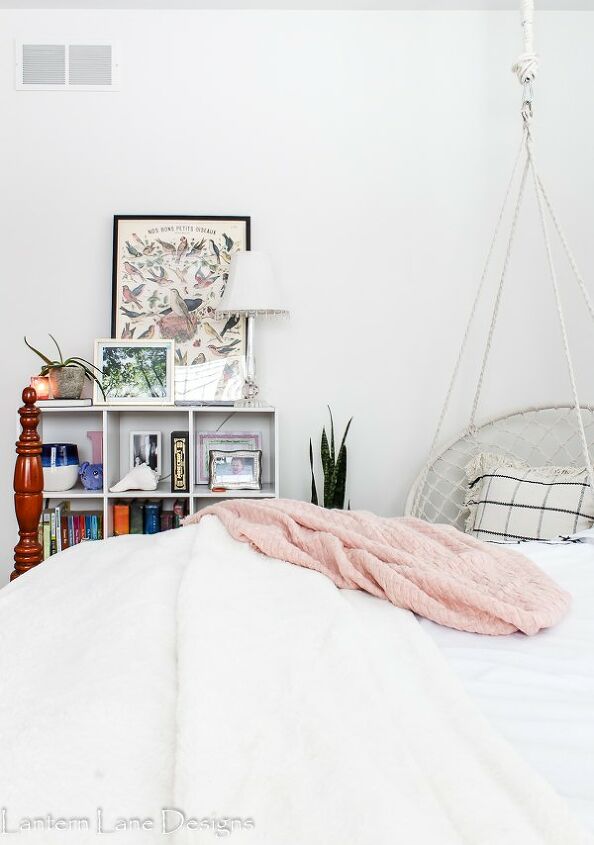
I sprinkled in some plants and other small accessories throughout her room and finally framed a bird print that I had bought for her years ago.
My daughter loves her room but I think I love it more. I already asked if she would switch rooms with me. She said no.
Head over to my blog to see more about this room and where I found those cute decals and hanging chair.

Comments
Join the conversation
-
I love your design, but my room is too small and my mom wouldn't let me 😍😭😭😭
-
I love your design, but my room is too small and my mom wouldn't let me 😍😭😭😭


Frequently asked questions
Have a question about this project?
I love everything about her room! That chair though! Where did you get it?