


Adding Brick Pavers to the Garden Area

We recycled old bricks to create a mud-free entrance between our garden and our garden shed.
Hometalk Recommends!
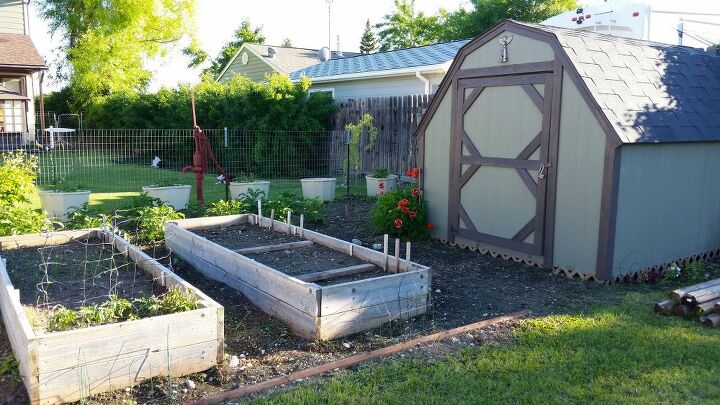
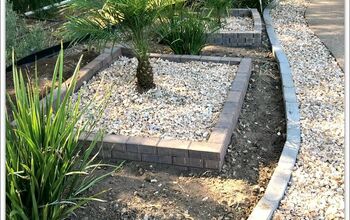
This is the 'before' picture of the small area between our raised garden beds and our shed, which wasn't good for much but growing grass, or becoming mud when it rained. We envisioned a rustic brick patio to keep the area clean and free from weeds.

We had a pile of used brick we purchased from the Habitat for Humanity Restore in our area, and we decided to recycle them for this project.
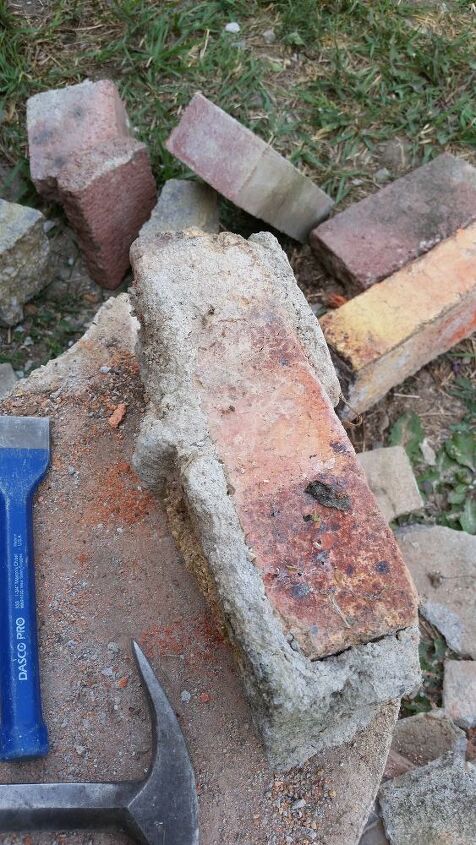
The bricks were coated with old mortar that needed to be removed so the bricks would fit nicely together in our pattern. Probably the most time consuming part of the project, but not terribly difficult. We were glad we finally found a use for these beauties!
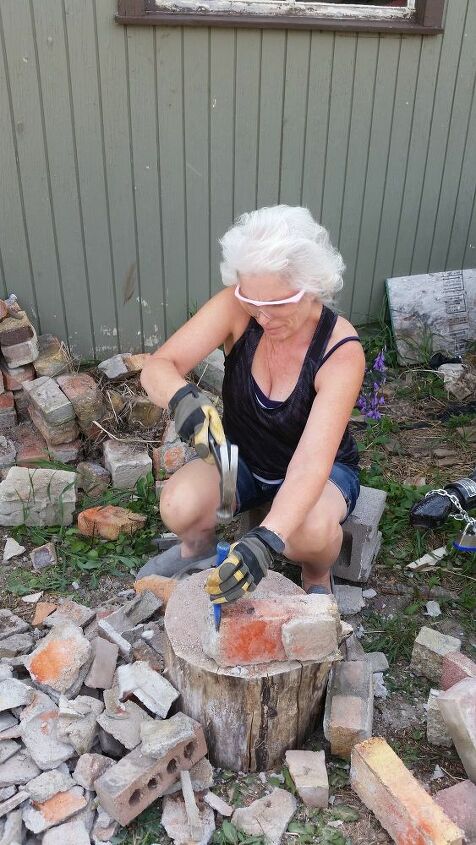
A chisel, hammer, and a firm surface to work on was all that was needed to remove the old mortar; it pretty much crumbled off leaving the nice clean brick. We may have lost only a few bricks to crumbling from this procedure.
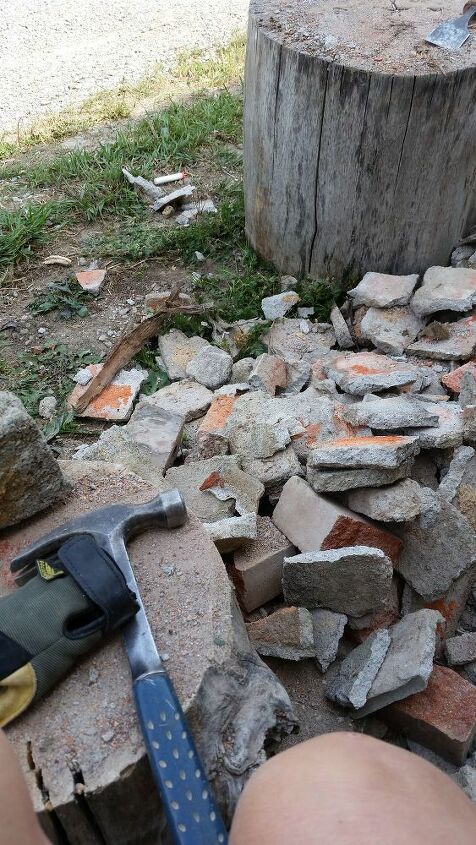
This is the mortar after we were finished with the brick we needed for our project. I think we disposed of this portion, but I suppose someone could have come up with an idea to recycle it as well.
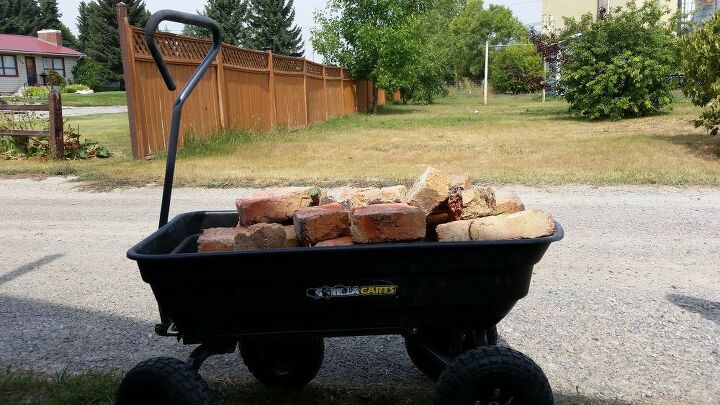
We loaded up our cleaned brick for the trip over to our project area!
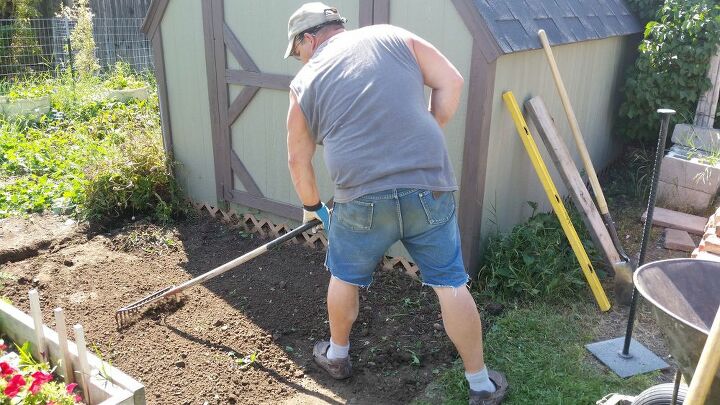
Another important step is to prepare the area for the brick. We rototilled the area a few times, and then raked it out well to level it. We could have spent a little more time to get this level, but we weren't too concerned about having it perfect. We wanted it to look like it had been there for a while.

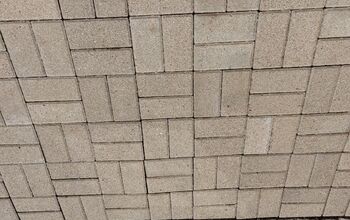
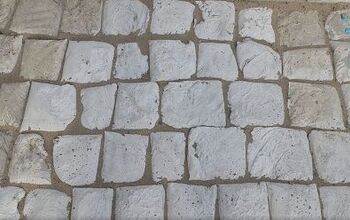
We layered newspaper and sand over the raked area to begin our pattern. Several layers of newspaper will serve as a weed block, and is biodegradable too. I used a fairly simple pattern for the bricks as we discovered they were slightly irregular in size.
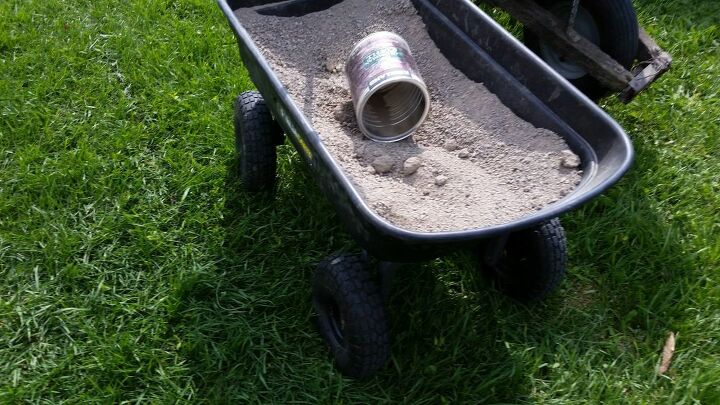
We used clean, dry sand as a base for the brick, and later to spread over the bricks to fill in the crevices and 'tighten' our pad.
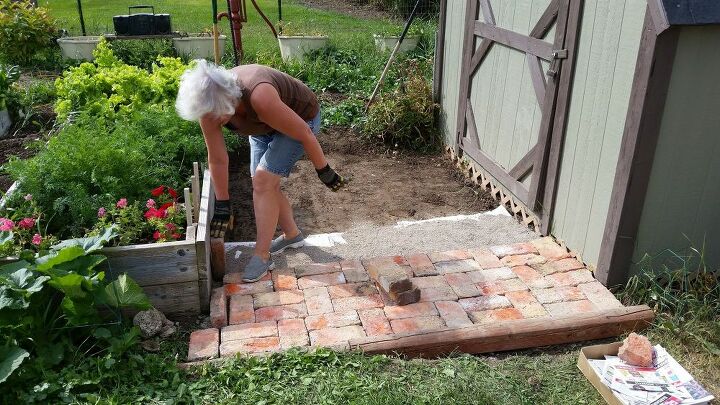
This was the quick part of the whole process! It went together very quickly once it was to this point. We used the raised bed and the shed to edge the project.
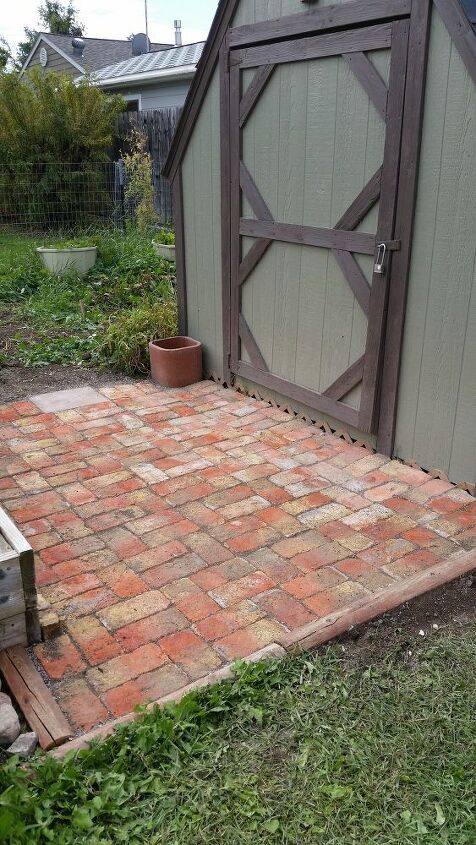
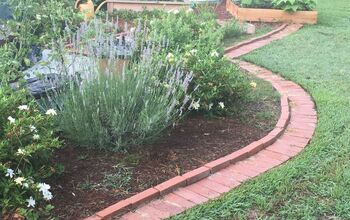
The finished project! We found two left over pieces of clay flue liner we had used for protecting our chimney when we installed the triple wall stove pipe, and turned on end we thought they made nice planters for the corners heading into the other part of our garden. We don't like to see anything go to waste!
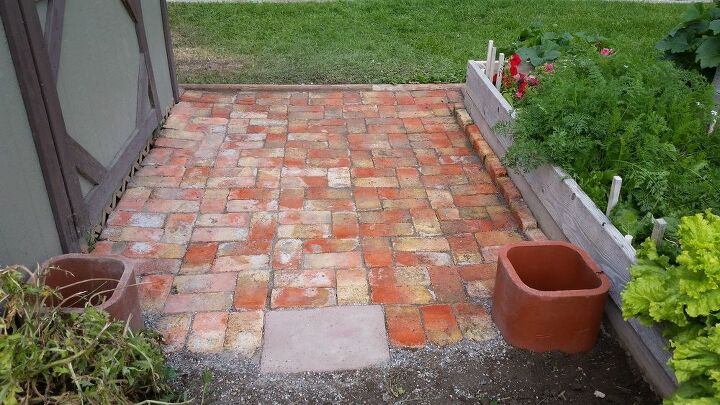
A view from the garden side out to the alley. The garden shed area is so clean and accessible now! It will make moving the rototiller and wheelbarrow in and out so much easier.
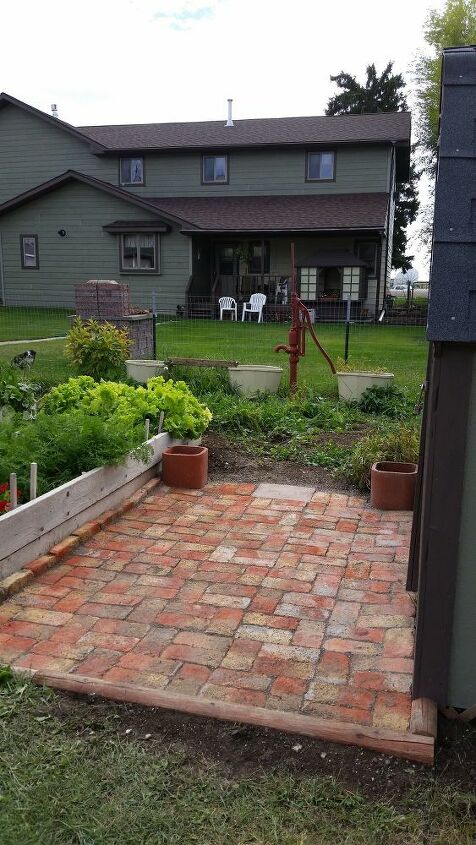
And the final results looking into the garden and our back yard. It was too late in the season to add flowers to the planters, but I am looking forward to decorating them this year!
Resources for this project:
See all materials


Comments
Join the conversation
-
Looks great! We're doing something similar to the bk of our garage right now. Actually re-doing what had been there for 20 yrs or more & the wood edging ties rotted out + had a lot of moss growing in between bricks. We have a deep layer of screening down 1st then relayed bricks tighter using stone edging. Then will sweep "Magic Sand" in between & water over- to create a concrete-like bond in between! Can't wait till it's finished!😊
-
Looks great! What is the length and width approximately in feet?


Frequently asked questions
Have a question about this project?
I would like to divide my front yard in half by putting in a walkway. Do you think your method using bricks would work for my project?
What are the long wood looking pieces on the edge
Did you shorten the shed door, to allow it to open? Looks like is mounted to swing out. Can’t tell if there is another door behind the screen door or not. I would think if there is a. n inside door it would swing in, then it would not have to be shortened. How did you remedy the bricks blocking the screen door?