


Add a Touch of Creativity to Your Yard With a Spilled Planter
I love adding creative or whimsical elements to my yard and gardens. One super easy way to do that is with a tipped or spilled planter. There are all sorts of examples on the web, but I’m going to show you step-by-step how it’s done.
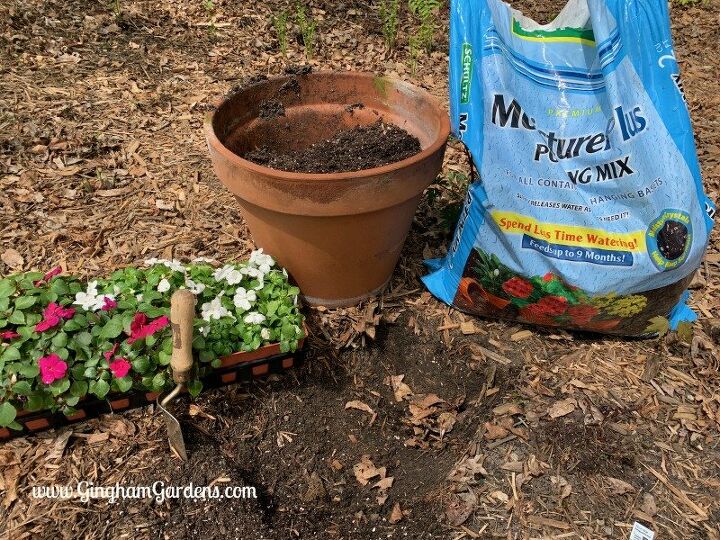
Supplies:
- Flower Pot – anything will do. Even a cracked or broken pot will work. The bigger the better.
- Flowers – annual flowers work best. Flowers that work well for tipped pots include: petunias, calibrochia, supertunias and marigolds (shorter varieties) for sun. And, impatiens or begonias work well for shade.
- Potting Mix – nothing fancy, but it’s best to use a potting mix and not just ground soil.
- Gardening Hand trowel or shovel.
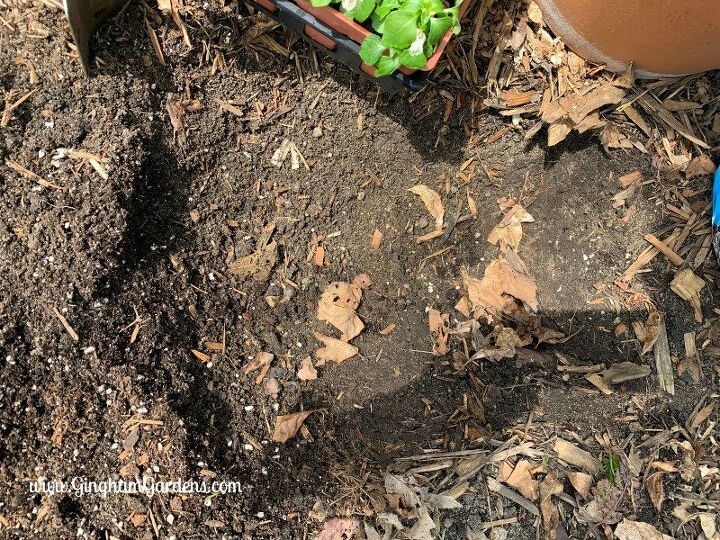
Lay your empty flower pot on its side in the location you want it and roll it back and forth a bit to create an indentation in the soil. Next, sit your flower pot aside and dig out the ground soil so that the pot will lay on its side at an angle with the opening resting on the soil and the bottom buried just a little. Put your flower pot back in the spot and make adjustments by digging or adding soil back in until you have the angle and position just right. Be sure to look at it from all angles.
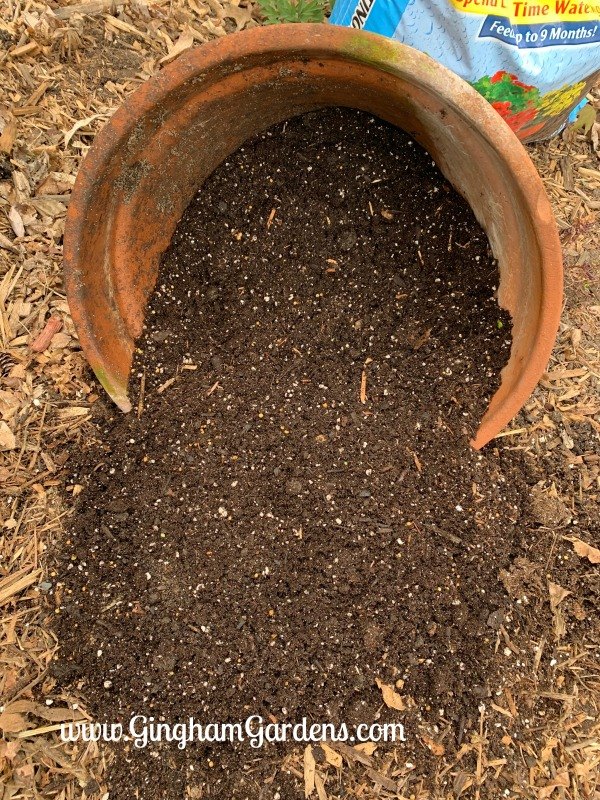
Next, fill your positioned flower pot with potting mix, making sure there’s plenty of soil in the back and angling down towards the opening and spilling out of the pot.

Now comes the fun part, planting the flowers. Simply dig holes with your hands, plop the plant in and tamp soil down around the plant.
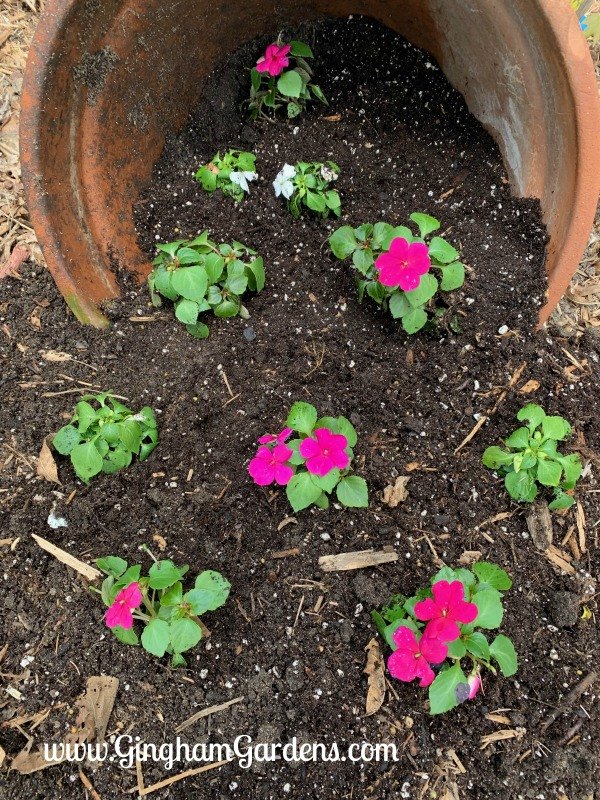
Just randomly place your flowers, don’t do rows and add some flowers around the outside of the pot. Just keep in mind how your flower pot would look if it spilled over. The plants will fill in so there should be some space between them. Once you have all your flowers planted, gently water them.
To care for your tipped pot, be sure to water the plants that are tucked towards the back of the pot because rain water doesn’t always get to those plants. After the flowers have settled in (about 10 day to 2 weeks), it’s okay to start fertilizing.
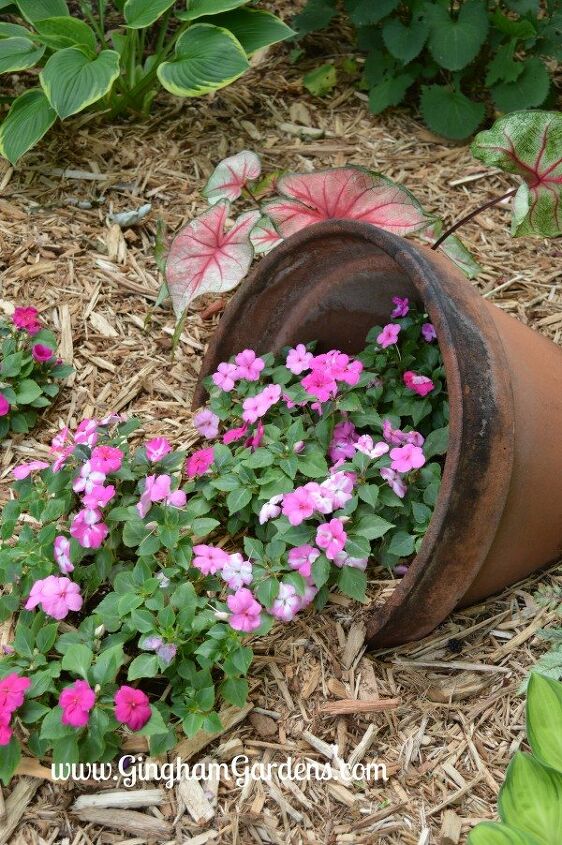
As the plants settle in and the flowers begin to spread out, your tipped pot will become a statement piece and a fun, creative addition to your garden or landscape.
For more creative container gardening ideas, check out: Creative Flower Container Gardening.
Resources for this project:
See all materials


Comments
Join the conversation
-
Thanks Nancy!! as you can see, it worked!!😃
-
Ahh the old spilled planter look is back. An oldie but a goodie


Frequently asked questions
Have a question about this project?
How do u keep the soil that is outside the pot on the ground from sliding away, washing away during rain storms?
Whyyyyyyyyyyy???? didn't I see this last week? Had a pot with soil sitting out for a month, after removing old bulbs etc...Could have done this...But: Now, I will replace the soil and get plants and Voila! Love the look!!
What are some flowers that like the shade for most od the day?