


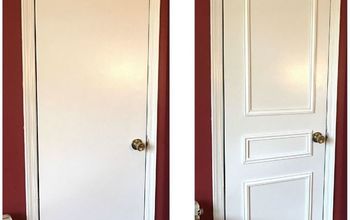
DIY Craftsman Door Trim

Craftsman style door casing is defined by simple profiles in flat stock, built up with stepped reveals and overhangs. There are an infinite number of sizes and combinations available, but if you get the proportions right, it’s a classic look that never goes out of style. Here’s the process I use to install craftsman style casing, which in many ways is harder to pull off than traditional miters.
Start off by marking the jamb for a 1/4″ reveal. Top, bottom and middle on the legs and one at each end of the top.
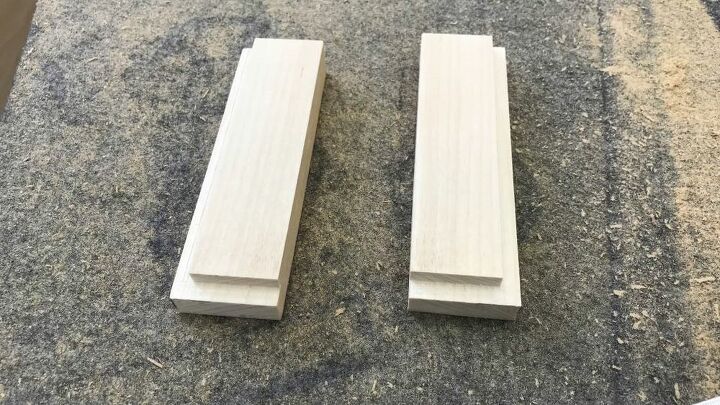
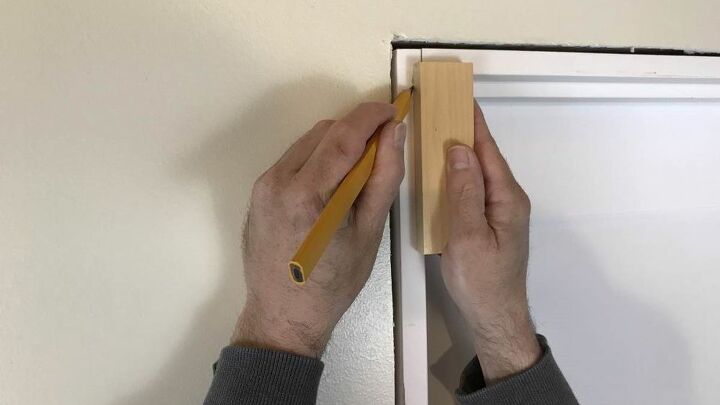
If you spend a few minutes making a couple of gauge blocks, you’ll fly through the marking step. A simple 1/4″ rabbit on two sides makes it easy mark the tops and sides of the jamb.
Mark the legs in place. It’s quicker and always more accurate than measuring. Here I’m using a 1 x 4 for the legs. Now is a good time to check how the leg is going to sit on the wall. Sometimes the drywall will be slightly out in front of the jamb in places. We also need to make the leg sit reasonably square to the world so our reveal to the header is even. When working with paint grade material, you can get away with a little bit of a gap, as all the joints will end up being caulked, but there is no room for error when using pre-finished material. If you encounter a gap between the trim and the jamb, there are two basic ways to deal with it…
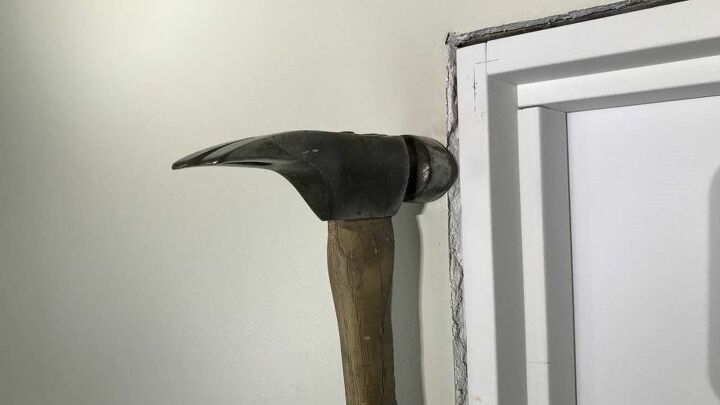
Sometimes all it takes is some hammer blows to the corner of the drywall that sits a little proud of the jamb. Crushing the corner of the drywall will give you enough space to let the trim sit flat. Take care to not hammer outside of the width of the trim.
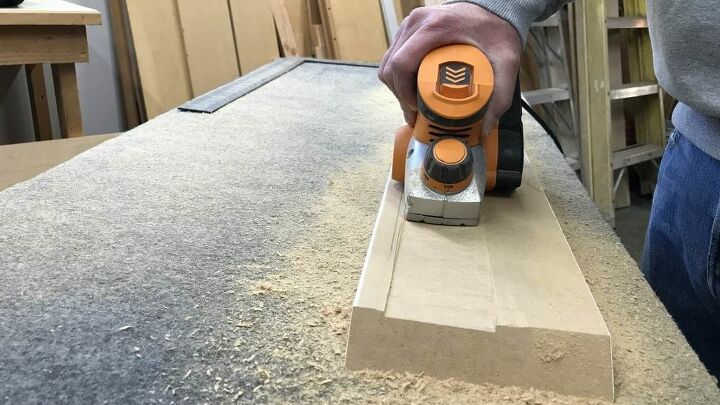
The other option that works well is to remove some of the material on the backside of the trim. Either a table saw equipped with a dado blade, a router, or a power planer will work to get the job done.
Once you are satisfied with the fit, apply the legs with 18 gauge 1 1/2″ long nails into the jamb, and then switch to 2″ nails into the studs.
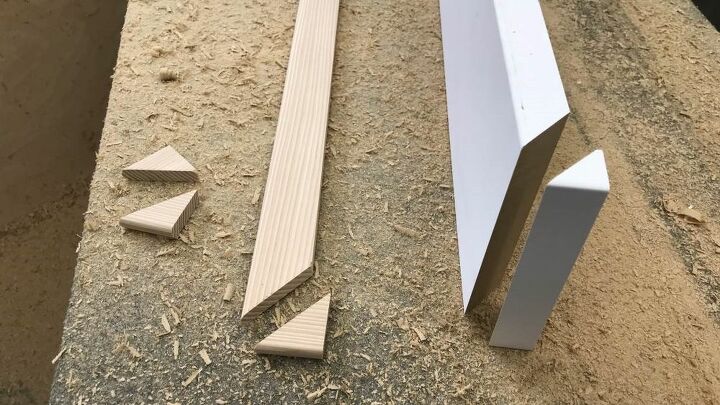
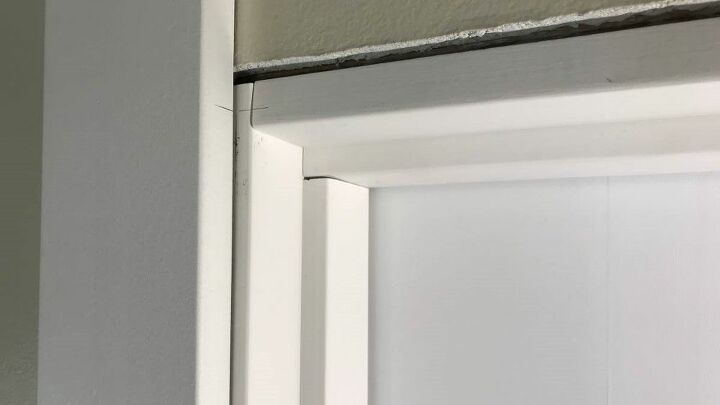
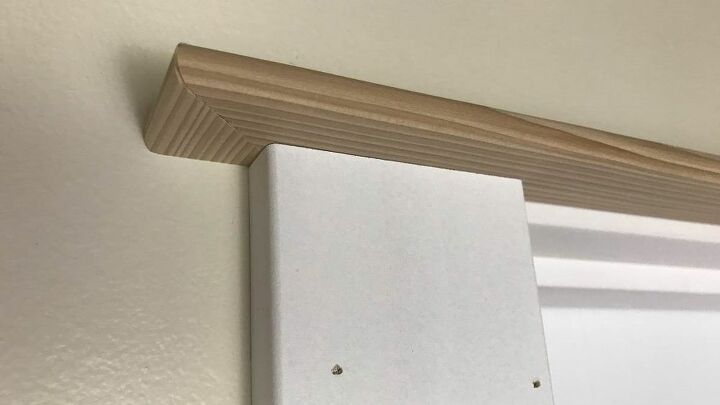
We’re going to run a 7/16″ by 1 1/2″ parting bead between the legs and the header. Using the parting bead gives us a couple of advantages. It’s much easier to work the thin piece of wood to make sure it hits the jamb perfectly, and it hides any imperfections between the header and the legs. And on top of that, it really makes it look more complicated that it really is. Here is what the parting bead and header look like with their returns.
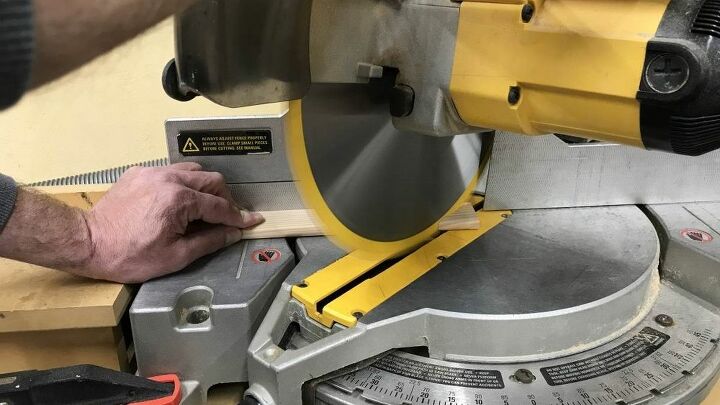
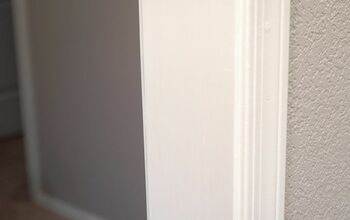
Cut the parting bead length 2′ longer than the distance of the outside edge of each leg so we’ll end up with a 1″ overhang on each side. Cut each end to a 45° outside miter. The return is the other side of the 45° miter that returns to the wall. I like to cut a few returns of slightly different sizes (a few that are cut perfect an a few that are just a sliver long) all at once and then pick the winner after the parting bead is installed. Take care when cutting the returns as they sometimes have a tendency to fly off the saw. Let the blade come to a complete stop before lifting it back up.
Make sure that the parting bead aligns nicely with the jamb and then drive a couple of 1″ nails down into each leg. After selecting the best fitting returns that meet the wall perfectly, apply some yellow glue and install. A 1″ long 23 gauge micro pin does a great job a tacking the piece in place until the glue dries.
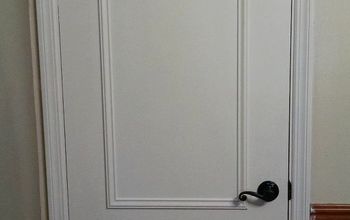
A properly installed return looks like a million bucks.
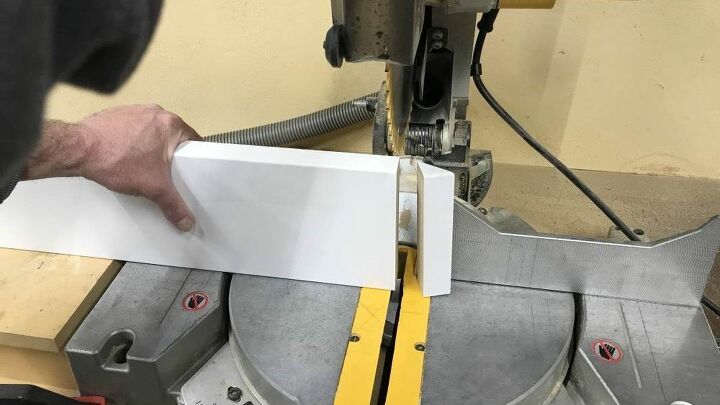
Cut the 5/4 x 6 header 1″ longer than the distance of the outside edges of the legs so we will end up with the header stepping back 1/2″ from the ends of the parting bead. Just like we did with the parting bead, cut each end in a 45° outside miter. I don’t need to cut multiples in different sizes. Cut them all a whisker long.
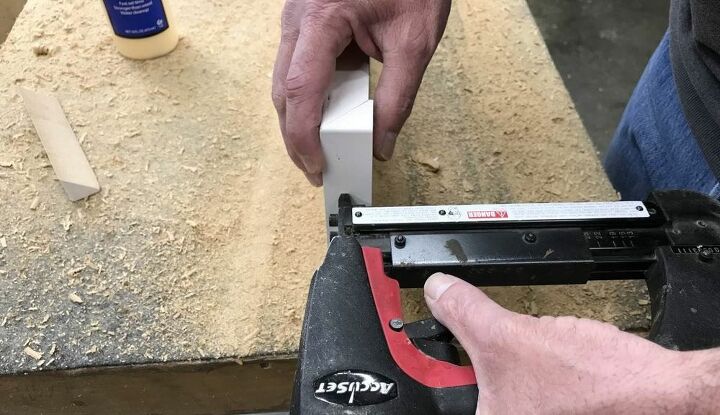
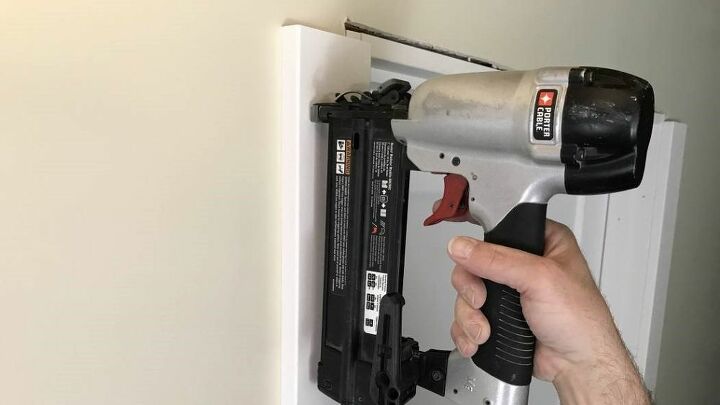
Glue and micro pin the returns before installing the header. If you don’t already own a 23-gauge micro pin nailer, now is the time to purchase one. It’s by far and away the best tool for detailed trim work like this. Cutting the return a little long makes sure that each end will hit the wall perfectly. It also would hide any of our work relieving the backside (like shown above). No one will ever see the small gap at the bottom because it is hidden by the parting bead.
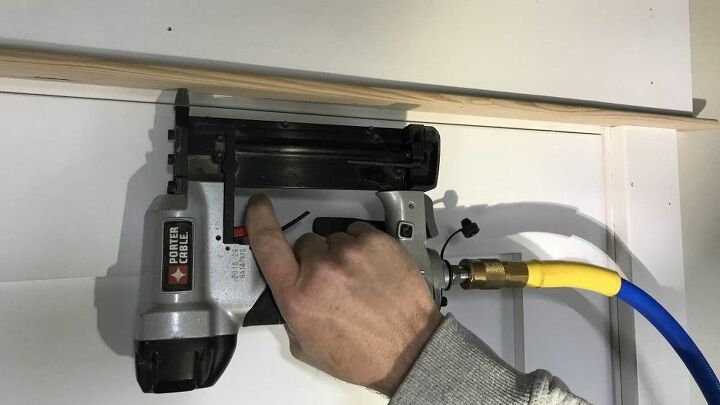
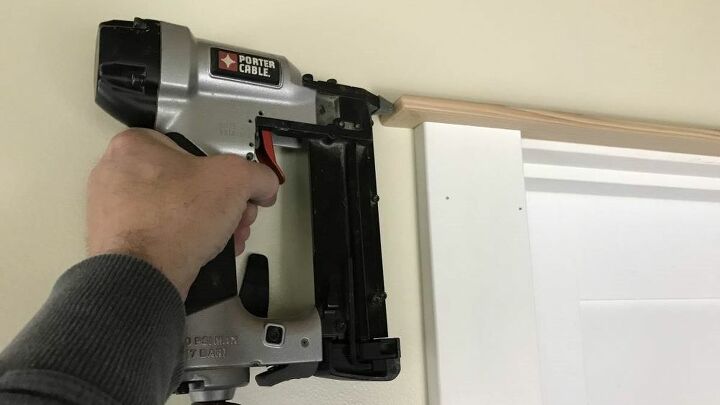
Apply the header with 2” long 18 gauge nails and then it’s back to the micro pin nailer to secure the parting bead to the header.
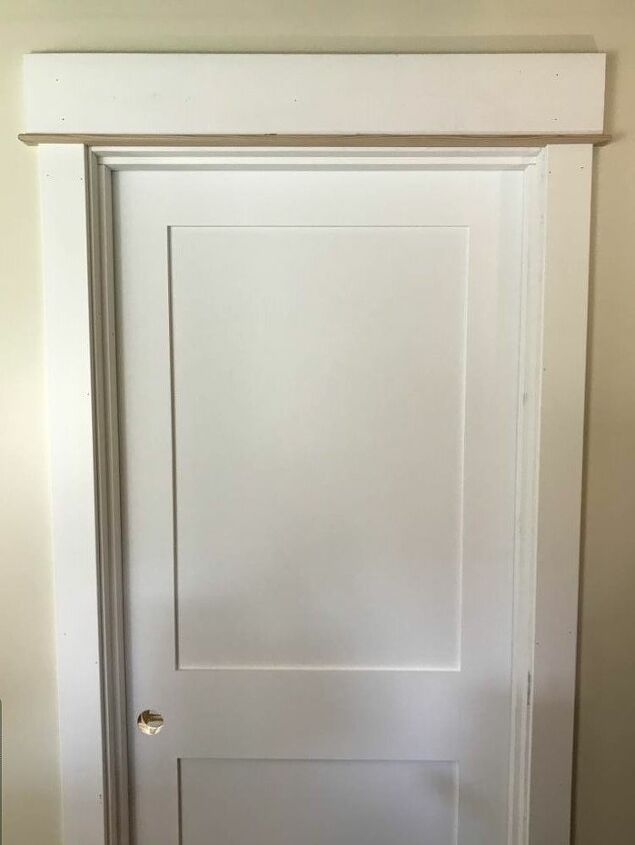
It’s ready for caulking, spackle and paint. Classic proportions look good in any room. To read a more detailed tutorial, head over to my blog https://plumbandlined.com/easy-diy-craftsman-door-trim/


Comments
Join the conversation
-
It would take a very experienced trim carpenter to complete this project in thirty minutes,I would think,yet that is just my opinion.That opinion is based on 77 years of age,and quite a few home addition projects.I admit to never having ever actually building a home from the ground up but I have built additions onto homes,and I have 'flipped' some very messed up homes.I know theres no way I could do that little task in thirty minutes.
-
Looks great! Thanks for the inspo.


Frequently asked questions
Have a question about this project?
It is pretty, but 30 minutes-really?