DIY Ombre Painted Utensils

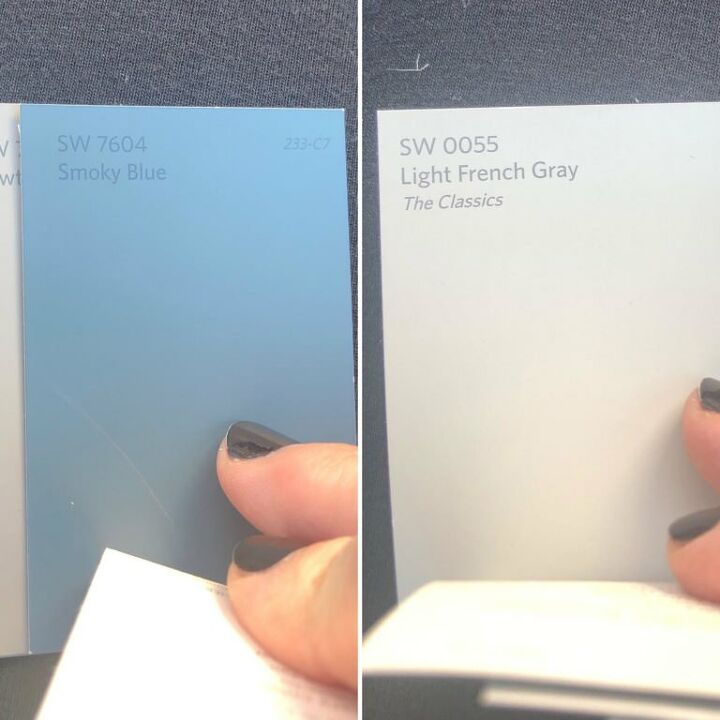
This project was super easy and fun! Really any color will do for this diy project, I just happened to go with blue and gray in order to use the paint I had on hand —repurposed from my recent home renovation! It was a combination of the Sherwin Williams Light French Gray and Smoky Blue!
PROJECT SUPPLIES
As is the case with most projects, it’s best to get all of your materials in front of you in advance. Here is a picture of just about every thing I used for this project. They are also listed at the bottom.
STEP BY STEP INSTRUCTIONS
FIRST: Start by wrapping the blue painters tape just below the rounded portion of the utensil, making sure to keep it straight and tight. Next, add a second piece of tape a couple of inches below the first one to delineate your colors (unless you decide to truly make it ombré affect, in which case, you should freehand this). At this point, go ahead and apply your lightest color then allow it to dry completely before removing the tape.
>>>Don’t make my mistake and remove it to hastily ripping off the fresh paint!
SECOND: Now, this is a trick to avoid any paint bleeding and helps make the lines completely straight on any paint project... take a piece of tape and apply it just over the light color you just painted, allowing just a bit of the paint to peek through. Apply a thin layer of the same exact light color over the portion sticking out of the tape. This will create a the perfect “barrier” between the first color and the second color leaving a straight line. Let that dry completely.
THIRD: At this point, (while you’re waiting) go ahead and combine your lightest and darkest color to make a medium-toned color for the middle, this is the best way to get a good, true match that blends well. Then add a second piece of tape to your utensil handle a couple more inches down before applying the second color second darkest color. Wait for it to dry, remove both pieces of tape, and repeat the process for the last section of the utensil using your darkest color.
FOURTH: After everything has dried completely, overnight is best, you’ll want to seal it with a clear coat. I chose Krylon Triple-Thick Crystal Clear Glaze in a spray can because it is so easy to use. **Be sure to cover the rounded portion of the utensil with foil or something to protect it from the clear topcoat, unless of course, you do not intend to use the utensil for food later.
If you would rather watch the video tutorial you can find it on Facebook at @southerncrushathome!
This DIY project was inspired from another idea I had to redo some old porch pillows for outside!--->> Hop Over and see the Amazing Transformation of these OLD PORCH PILLOWS
These were the pillows before the DIY Porch Pillow Project! I hope you enjoy creating new things!
Life is short, enjoy the mess,
Melanie Ferguson
Enjoyed the project?
Resources for this project:
See all materials
Comments
Join the conversation
-
 Belizepassion
on May 30, 2019
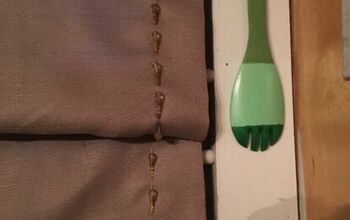
Great minds really think a like! I did this project two months ago and attached my pics for you to see it!! BTW, my sisters name is Melanie :-)


-
-
 Melanie Ferguson
on May 30, 2019
Wow!! Good job and yes—it’s a very small world!
-








Frequently asked questions
Have a question about this project?