


Guest Room Welcome Crate
If you don't have a welcome crate for your house guests, your guest room is missing a critical piece of decor!
You can customize this project any way you want, and you'll make everybody feel right at home and very welcome in your house.
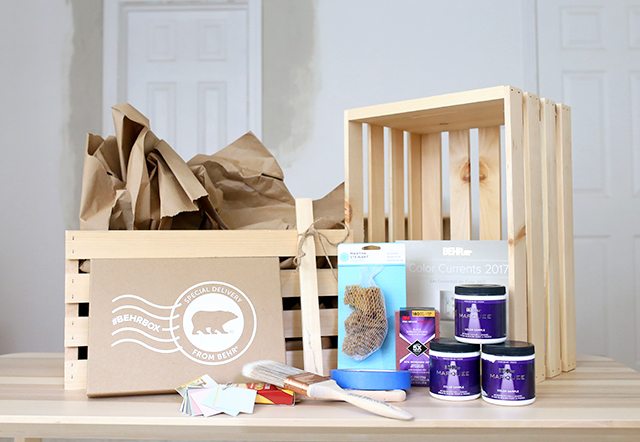
Gather your supplies together. You can use any size wooden crate and just shrink or enlarge the template accordingly.
You'll also need my free printable template, available here: https://www.shrimpsaladcircus.com/diy-guest-welcome-box/
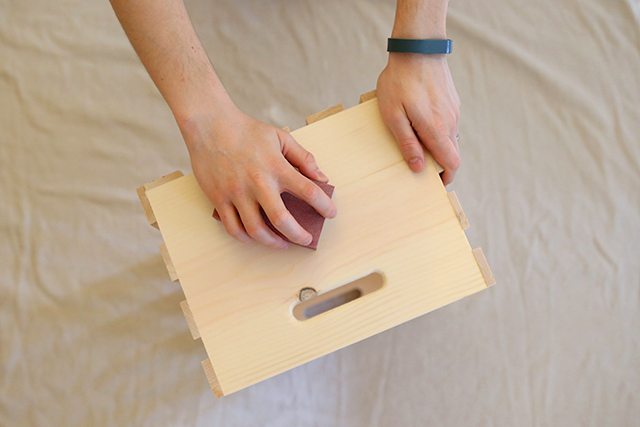
Sand the crate with coarse and then fine sandpaper or a sanding sponge.
Wipe it down with a damp, lint-free cloth to remove any sanding dust.
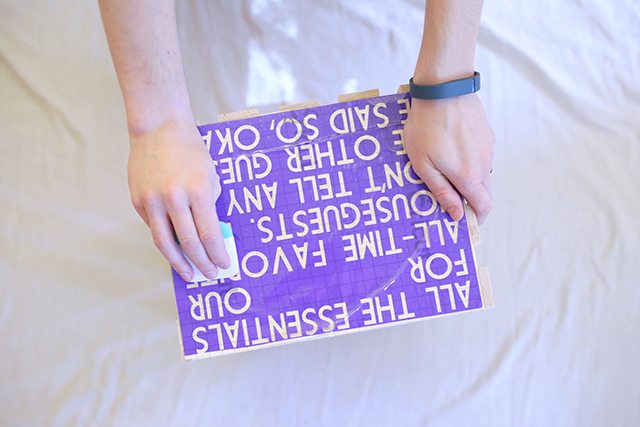
Cut the template out of peel-and-stick vinyl with a Cricut or Silhouette cutting machine, and stick it firmly to the front of the crate. Use a scraper to remove any bubbles.
If you don't have a Cricut or Silhouette, you can print the template on regular paper, and use graphite transfer paper to trace the design onto the wood.
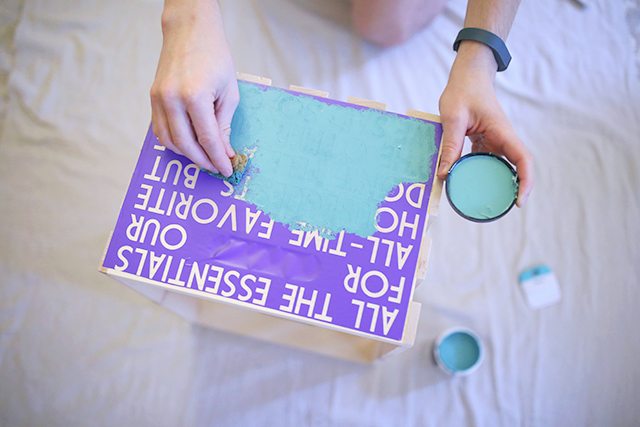
Use a sponge brush or sponge to fill in all the letters with paint. Add a second coat if necessary. Peel away the vinyl as soon as you're done painting -- no need to wait until it's dry.
If you traced your design instead of using a vinyl stencil, use a thin round paintbrush to fill in all the letters.
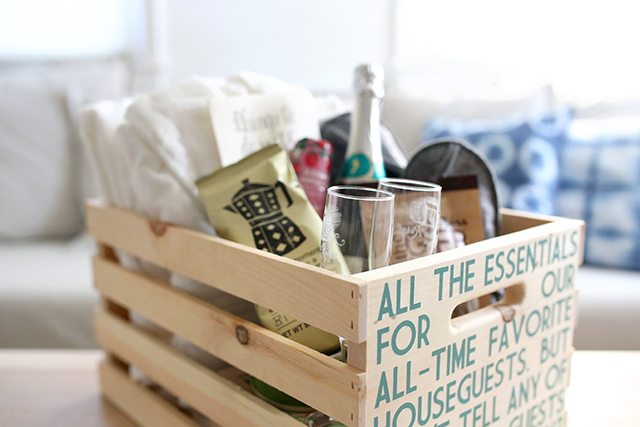
Fill the crate with guest room goodies, like wine and wine glasses, slippers, etc.
Resources for this project:
See all materials


Comments
Join the conversation
-
this is so cute!! And what a great way to go the extra mile without breaking the bank!


Frequently asked questions
Have a question about this project?