


Plastic Bag Storage Sausage

So in Britain, plastic bags aren’t given out at supermarkets anymore. You take your own bags to the store or you can buy a ‘bag for life’ at the tills. I was a little unprepared when I moved to America and found you can easily come away from one food shop with about 10 plastic bags if you’d forgotten to bring your own. My husband is even more forgetful than me so before we both knew it, we had plastic bags coming out of our ears. I hate the damn things and so I wanted to come up with as good a solution as possible considering we had already accumulated a fair few....Bag sausages!
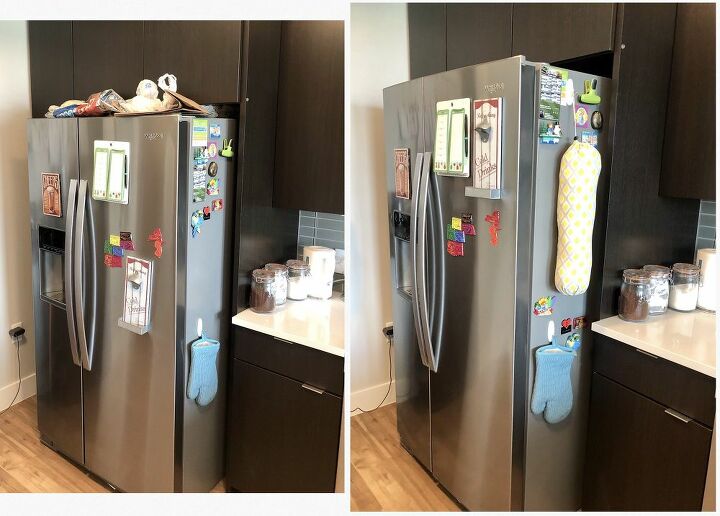
My bag sausages not only neaten up the top of my fridge keeping all my carriers in one place, but they also put an end to the growth of mine and my husbands plastic bag collection. I made one large sausage to house the majority of the bags and a mini one to keep in our car at all times, holding a supply for roughly 3 food shops. Once the mini sausage is empty, I restock it using the large one.
I have detailed below the instructions on how I made the large one.

All I needed was:
- Cute fabric
- A sewing machine (very little skill required I promise!)
- Scissors
- Elastic
- Toggles
- Twine (and something to feed the twine through a small sewn gap - I used a straw)
- A hook
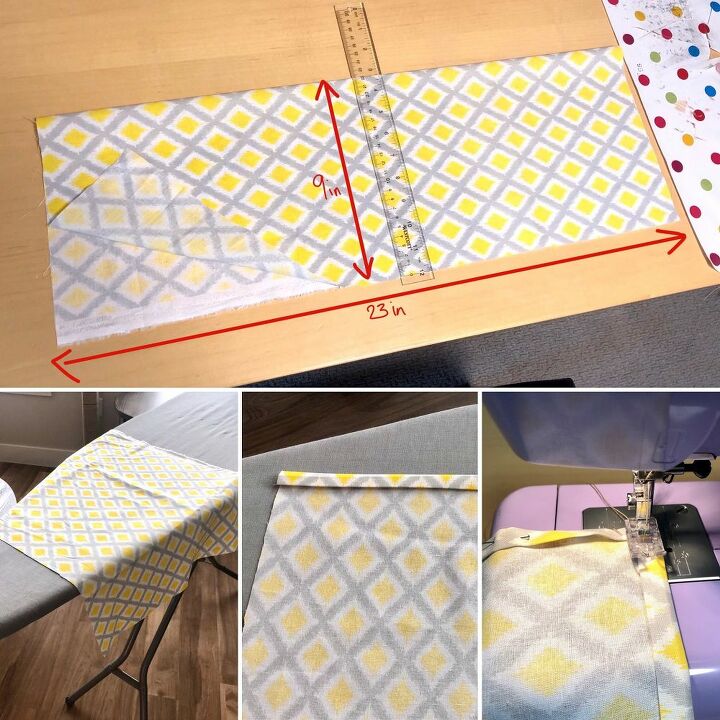
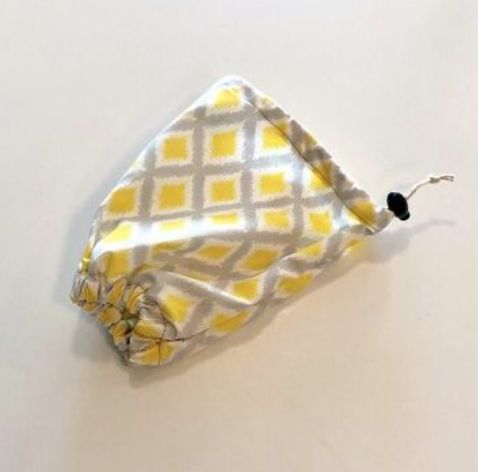
I eyeballed my lengths based on how fat I wanted my sausage to be but I’ve noted them on my pics in case you’re interested (the measurements don’t include seam allowance - I’m far too relaxed for that  ). I doubled over my fabric length ways so as not to have 2 long sausage seams once sewn, so, when opened up, my fabric is actually 18 inches wide.
I ironed my fabric for the prettiest of sausages before folding over all my edges and sewing them in place. This is the only way I know how to make neat edges as I have no idea how to actually sew!
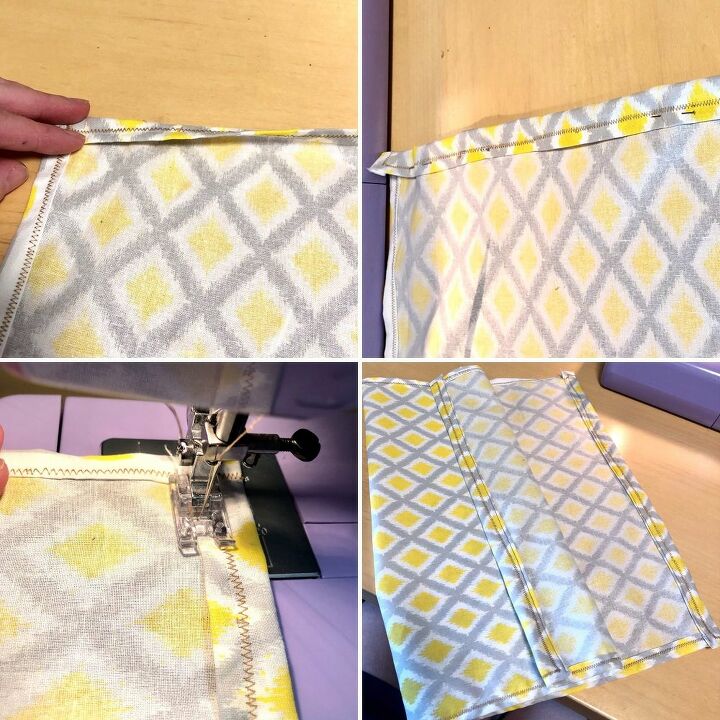
Now along each of the 18 inch edges, fold the fabric over again and sew along the length again. Leave about a 1.5cm gap running all the way through both ends so that your twine and elastic can now be fed through.
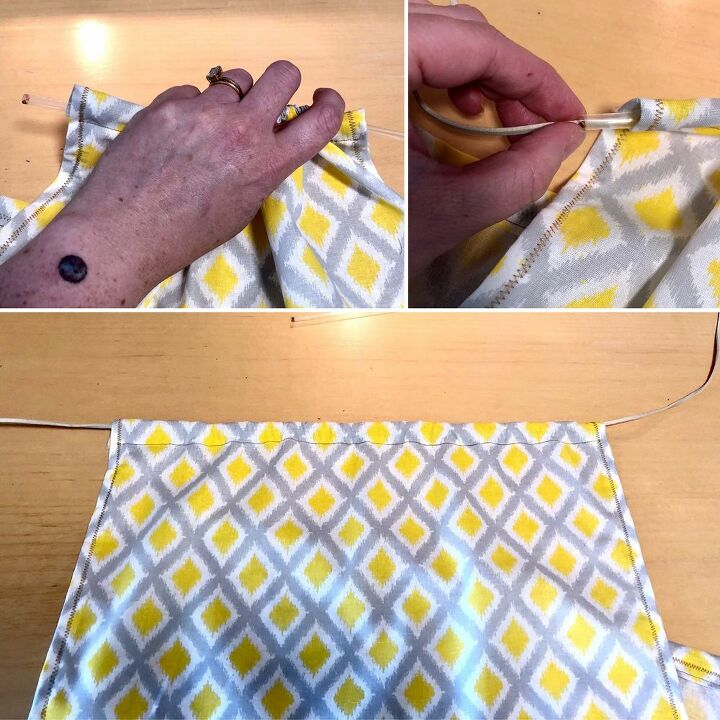
Twine
Feed a straw through the 1.5cm gap and then feed the twine through the straw. Remove the straw and voila!
Note - Use a long enough piece of twine so that you don’t lose the ends in the fabric once the straw is removed.
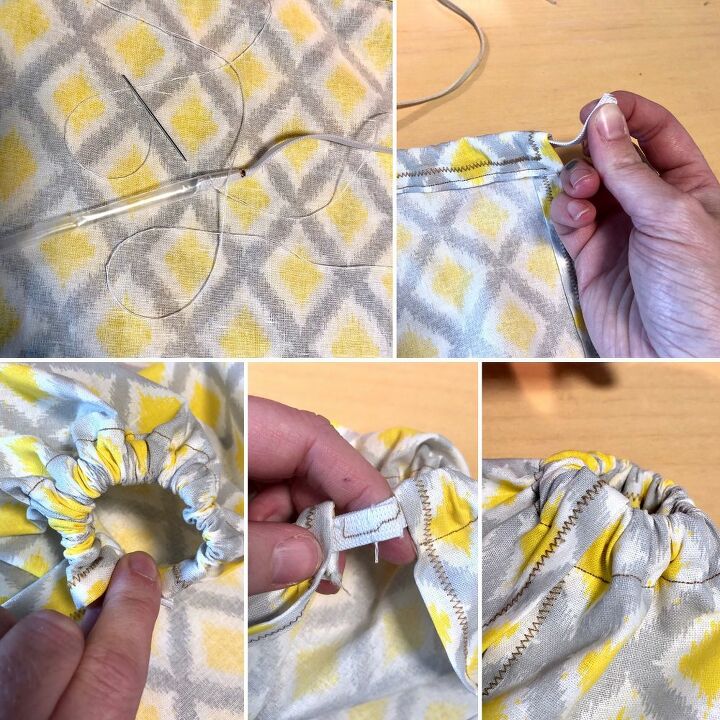
Elastic
My elastic was a bit too thick to feed through the straw in the same way I did with the twine so I tacked the end of the elastic to the inside of the straw end and fed it through that way.
Remove the straw and pull the elastic tight by bunching up the fabric. Then snip off the excess elastic and sew the 2 ends of elastic together.
Even out the bunching and try to hide the join.
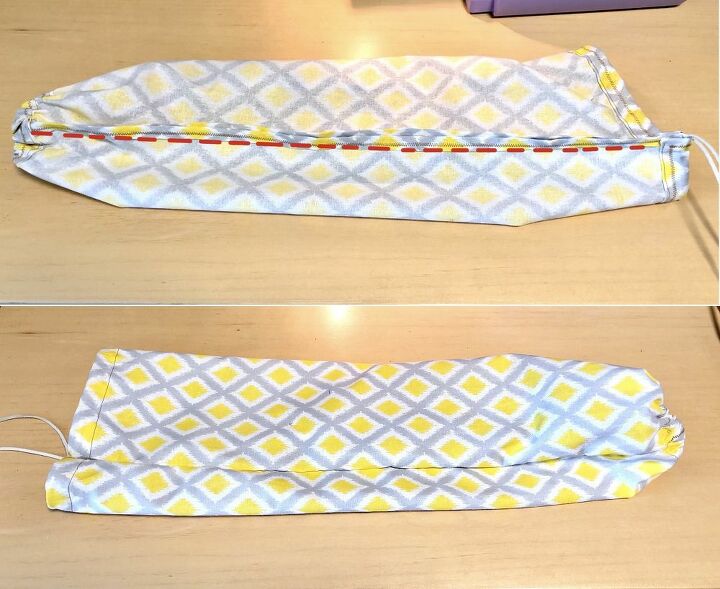
This next step is a bit fiddly because of the bunched elasticated edge but you now need to turn the fabric inside out and sew along the 2 long edges. Then turn the sausage the right way round again.
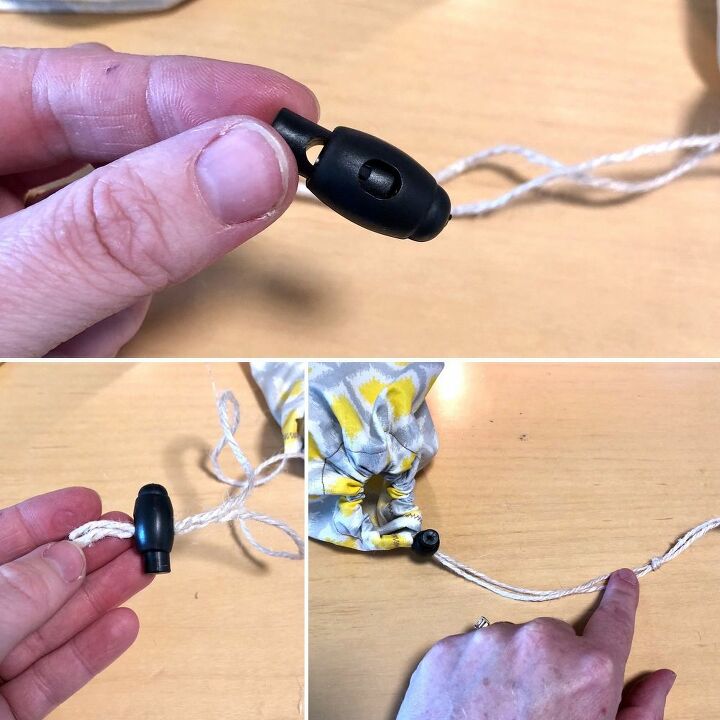
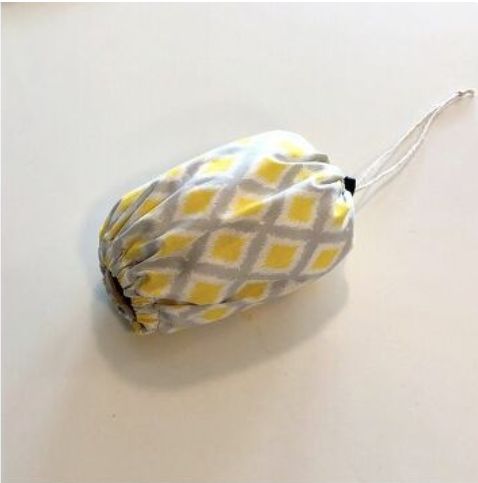
Add a toggle to the twine ends and and secure it in place with a knot. Cut off any excess twine.
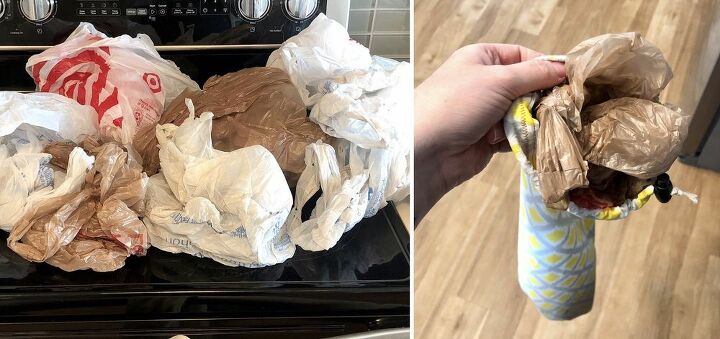
Lastly, stuff all your plastic bags into your sausage and hang it up out of the way.
Repeat all the above steps but on a smaller scale to make your car sausage.
And done!
I love my bag sausages and they really have solved the problem I had. I do try to be as green as possible in my little world and even in my crafts and projects, so if this is a problem that you also have, please give my project a go. I’d also love to hear about any green ideas or projects you have and how we can make our world a little bit cleaner.
As always, please check out my instagram page for more crafty inspiration, a link to which is below.
Thank you for reading x
Resources for this project:
See all materials


Comments
Join the conversation
-
SO useful and so cute! Thanks for the tutorial!
-
That is a great solution. Great for storing bags for future use and makes for a nice tube pillow. Great share.


Frequently asked questions
Have a question about this project?