


Easy Sew & Rope Basket

Don’t you just love those little storage baskets you see in Michaels, Target and just about anywhere? And yeah, it’s not like they’re mega expensive, but I just love to go home and make stuff like that for myself. It goes through me buying something new when I can make it, and exactly how I want to make it too. Does anyone else ever feel like that? Well, this little basket I’ve made couldn’t get much easier and it makes use of things you probably already have lying around your home giving some old bits and bobs a new purpose.
Psst! I also have a YouTube channel with loads of crafty projects! Click here to check it out and subscribe 
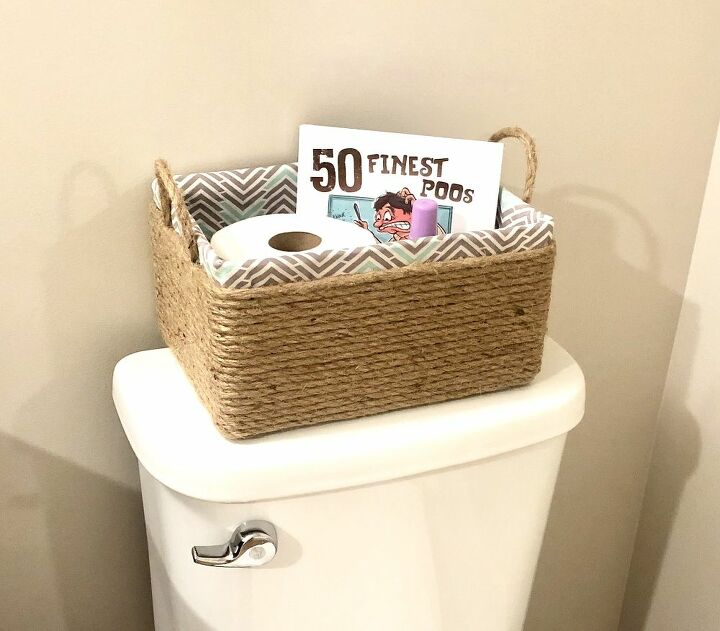
I wanted my little basket to go on top of the toilet in the guest bathroom to store little knick-knacks in, and because the main colour in that bathroom is bright blue, I used a fabric I had that would compliment this.
I advise picking colours that do the same for whichever room in your house you choose to make your basket for.

WHAT YOU’LL NEED
Everything I used for this project is listed below:
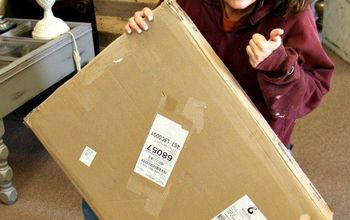
- An old cardboard box
- A glue gun and spray glue
- A ruler
- Fabric
- Scissors
- Rope
- Sewing Machine (although you could sew by hand too)
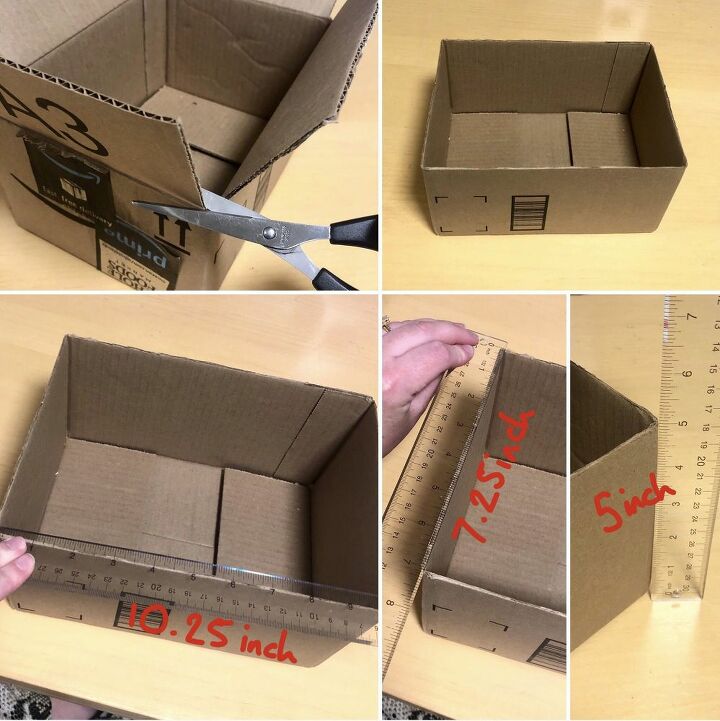
PREP YOUR BOX
So first of all I cut the flaps off my cardboard box and measured the length, width and height. This is needed for when you start measuring and sewing your inlay.
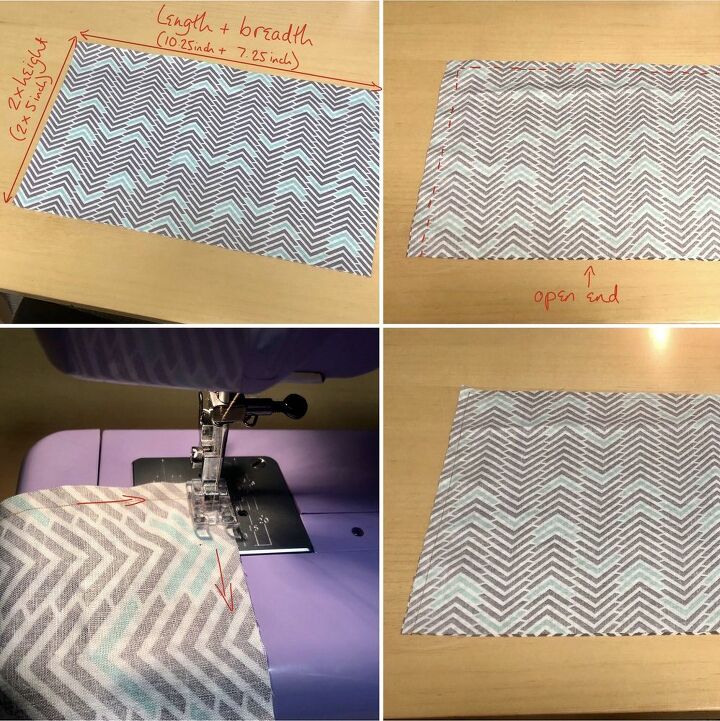
MEASURE YOUR FABRIC
For your inlay, measure out so that the width of your fabric is at least twice the length of the height of your box, and so that the length of your fabric is the combined measurements of the width and length of your box. (Bit complicated  )
)
Pin the fabric in place and sew along both ‘height’ edges and along one of the other edges, leaving an open end to what should look like a flat ‘pouch’. The correct side of the fabric should be on the inside of the pouch.
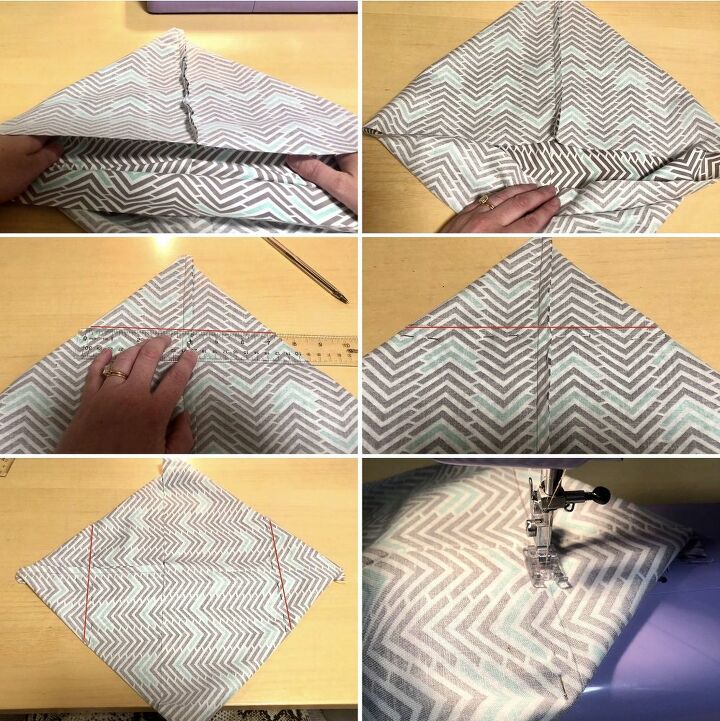
SEWING TIME
Hopefully my pics help with this part!
To make the box shape, you now need to sew in some corners. Open up the pouch and flatten the two sewn ends down to create right angled ends and sew straight across each corner.
The distance between the red lines, as shown in my pics, should equal the length of your box. The distance from one of the corners to it’s nearest red line should equal half the width of your box. This means that the actual length of your red lines should measure the same as the full width of your box.
I hope this step doesn’t sound too complicated because it’s actually such an easy way to create a box inlay that once you understand it, you’ll be able to use it for so many other useful sewing tricks, including bag making.
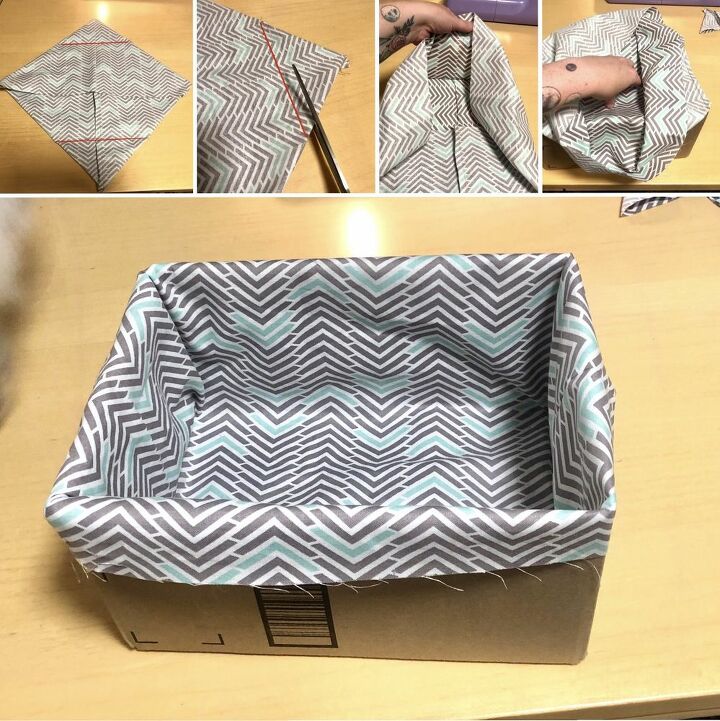
FITTING YOUR INLAY
Once you’ve sewn across your lines, snip off the excess fabric corners and coax the inlay it into your box.
Next, fold over the ends at the top to create a lip. This is important if you want to leave a boarder of fabric at the top of your box like I did. This way even if your box is full to the brim with items, you will still see some of the lovely fabric you used.
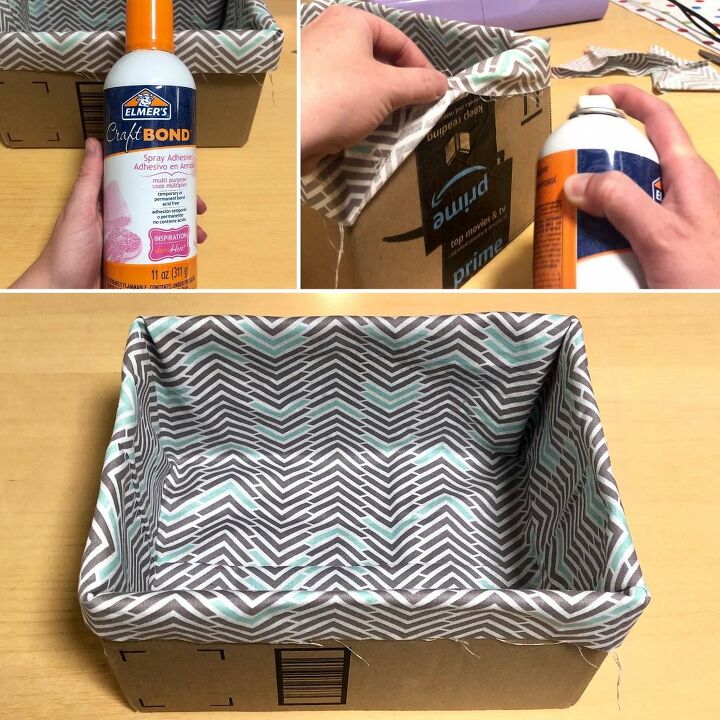
GLUE DOWN
I then sprayed some glue around the inside of the edges of loose fabric and smoothed it down against the box to keep it in place and to give it a nice neat edge.
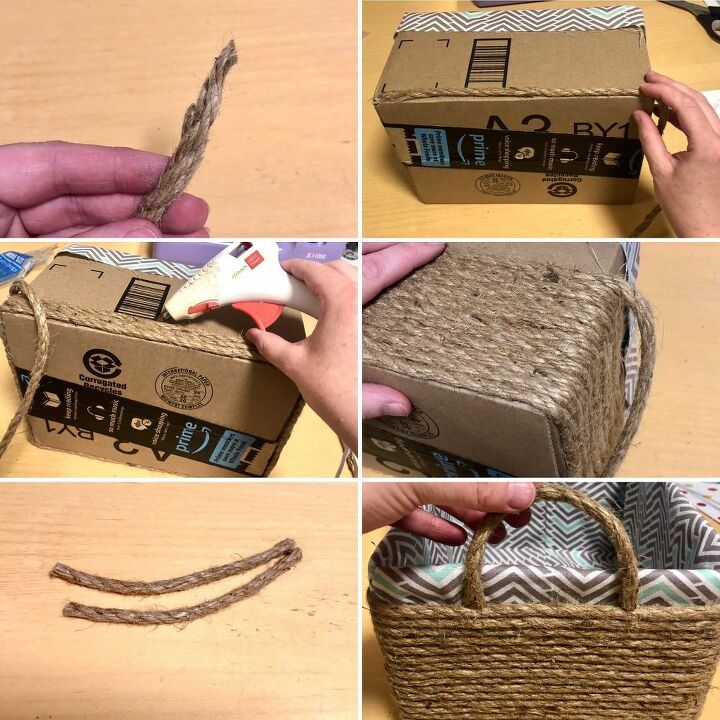
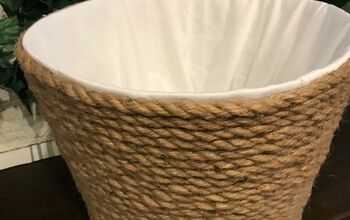
WRAP SESH
I thinned out one end of my rope by cutting some of it away so that you wouldn’t be able to see a big ‘step-up’ when wrapping it around my box. With this said, I still started gluing on my least favourite side of the box so that you wouldn’t be able to see the steps or joins once it was done.
I blobbed hot glue sporadically along each line and pressed the rope down tight making sure that none of the box was visible between the rows and kept going until I was about an inch away from the top. I finished my last row on the same side I started so that any tatty ends would all be hidden.
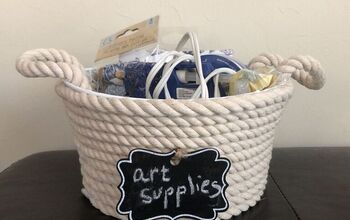
I then cut two short pieces of rope for the handles and hot glued these in place on either side.
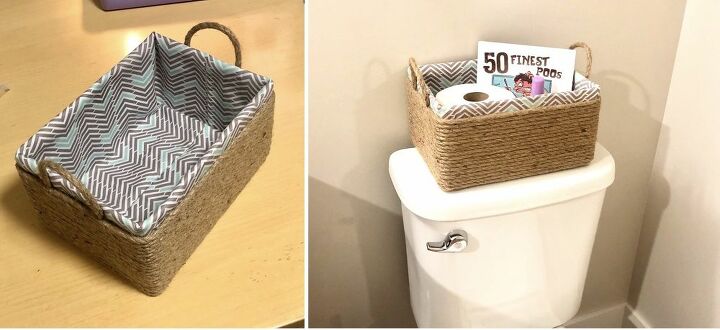
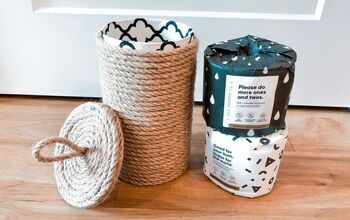
FINISHED
And that’s literally it! So easy and very therapeutic to make. My favourite part about crafts like this is putting to good use old bits and pieces that would otherwise probably end up in the bin. The only expense for me personally in this project was the rope which I could easily get two or three baskets from too. Also, now if I wanted to make another craft using the spare rope, I know it’s going to tie in with this decor.
Thank you for reading and as always, if you have any questions or crafty inspiration to share on this project or any of my other projects then please feel free to do so.
I also have a new Etsy Shop that I just opened, so if you have time, please go check it out.

Resources for this project:
See all materials


Comments
Join the conversation
-
This is a great idea! Thanks for sharing :)
-
Brilliant 💡thanks


Frequently asked questions
Have a question about this project?
Does cutting the fabric to the measurements leave enough for the seaming? If not, w
hat is the seam allowance?