


Farmhouse Open Style Shelving

Hey everyone! I get asked so many times about my open shelving in my kitchen so I have decided to share it with you all!
this project is harder then my normal
posts so I will definitely try my best to answer any questions you all may have!
!!Please double check the materials list before beginning this project! I completed this project before joining the Hometalk community so I don’t have a great “materials” photo!!
Materials needed include:
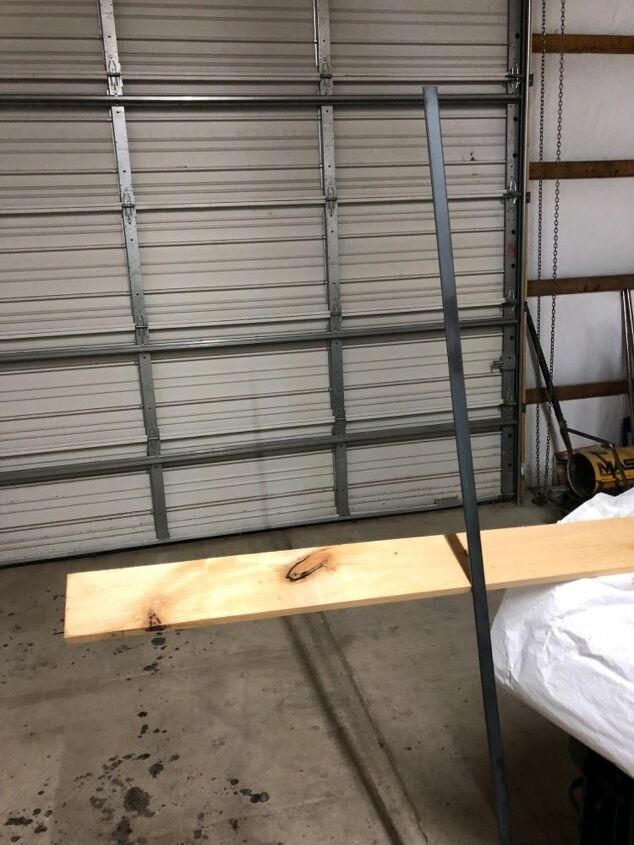
3/4 wide flat bar
1” by 6” board
Propane Torch to heat metal
A pair of Pliers
4 good size screws
A Drill
Metal bit (size will vary based on size of screw you use)
A Welder
Welding gloves
Hack saw
vice grip
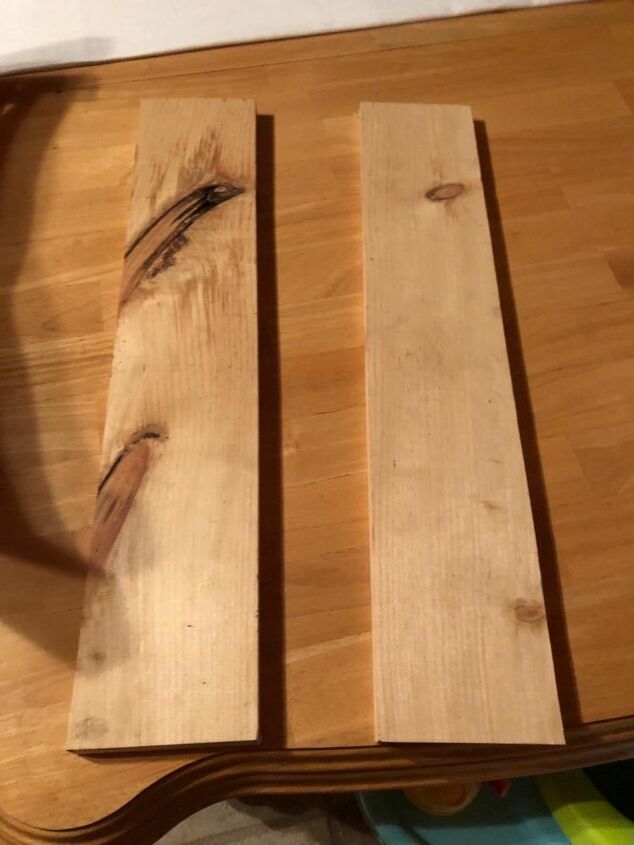
First start by cutting off sections of your board into whatever length you want your shelf to be. For instance my boards are 13 inches long, 1” thick and 6” wide.
Next, using a hack saw or grinder cut 4 strips each 7” long (this is the length of mine.) You can cut them longer or shorter just depending on how much “down hang” you want there to be. Lay these strips to the side and complete the next step.
*Down hang is referring to how far the black strips hand down on my shelves.*
Once that step is complete you will need to drill 4 holes in your 7” strips where you plan to place your screws. This totally up to you where u place then on the strips. Using a drill and (depending on your size of screw) a small metal drop bit to drill the holes.
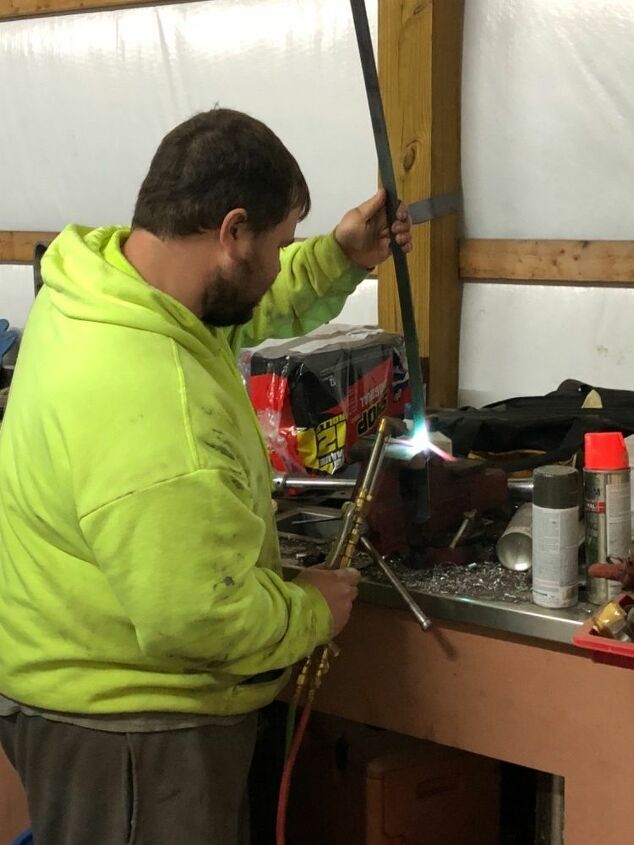
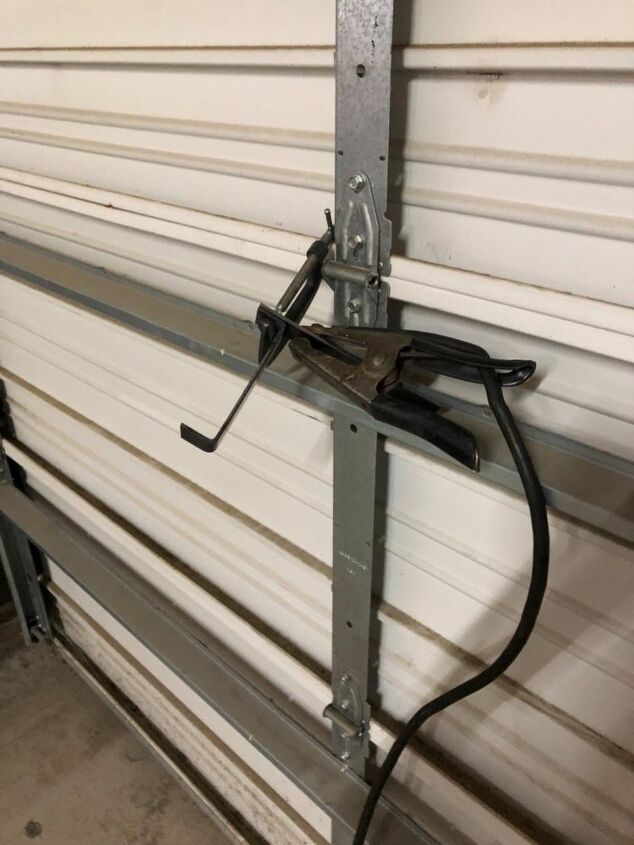
Next your going to need to make “U” shaped brackets for your wood slabs to sit down in. You will need to cut pieces off your flat bar to be wider then your wood slabs. (Ex: my shelves are 6” deep. I cut 4 pieces off my flat bar that are 8” long therefore leaving 1” longer in the front and 1” longer in the back!) You are going to make a 1” lip in the front and a 1” lip in the back with this excess. Making the U shape you can place your wood slats to sit down in the brackets. You will need to use your torch to get the metal to make the bends. We used a vice to hold the metal to bend it. You will make make 8 total bends in the metal. 2 bends per bracket with a total of 4 brackets.
This is one of the hardest steps and you will need to be careful. The metal will be extreme hot!
Then you are going to take those 4 brackets and your 4 7” metal strips and tack weld one strip to the back side of each bracket. 2 strips per shelf!
Make one weld across the top and one weld underneath. Your weld doesn’t have to be perfect just good enough to hold.
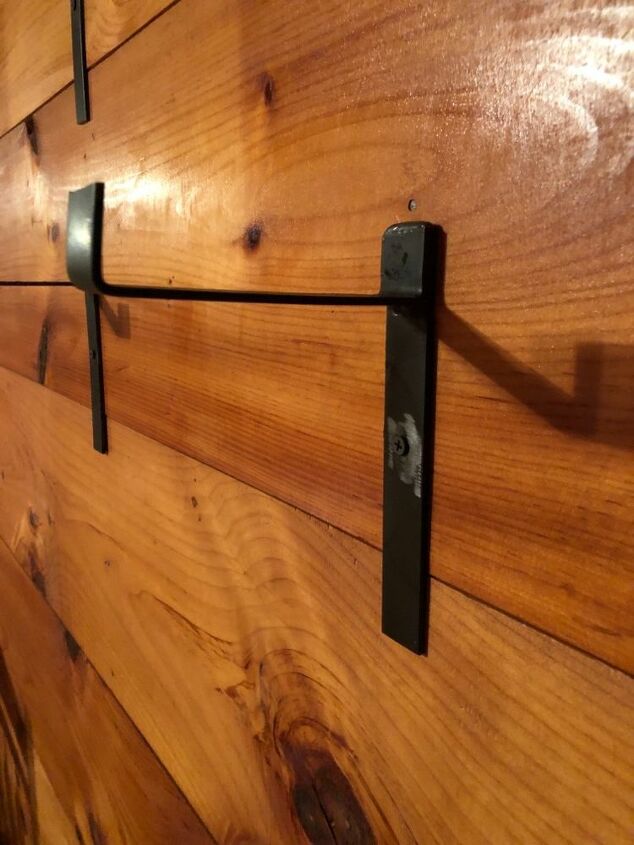
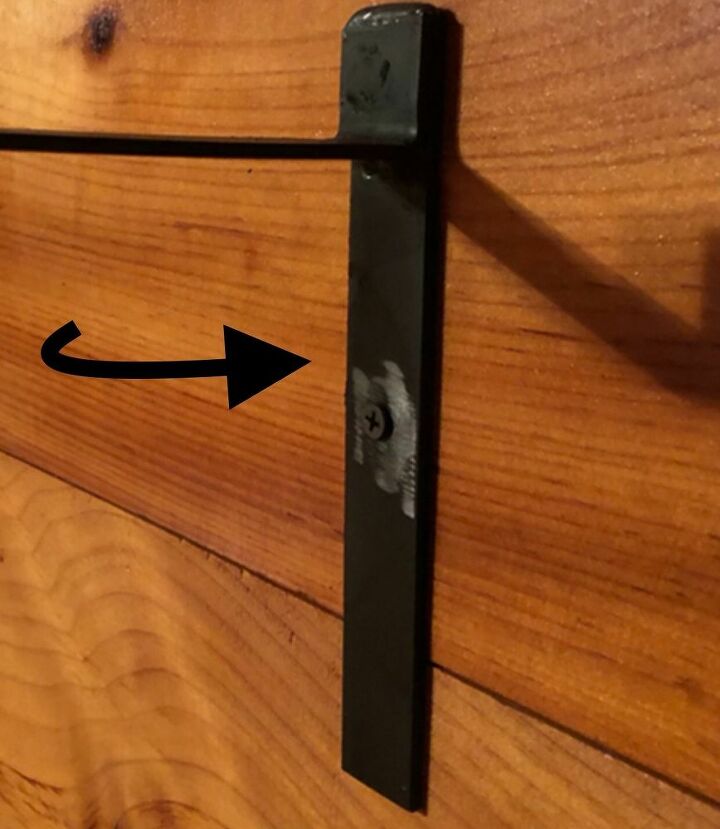
Here is what your completed bracket should I look like. You will have 4 total ready to mount to the wall.
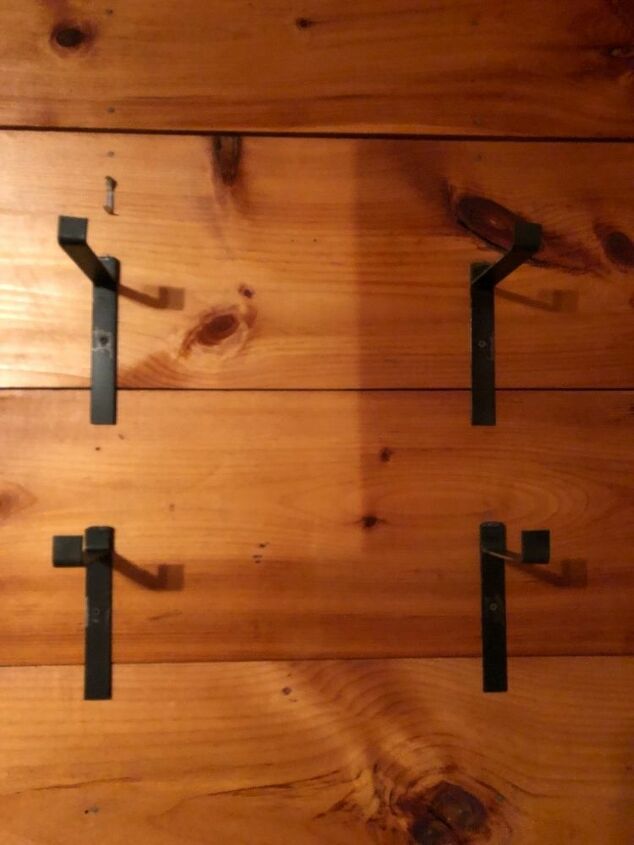
Here is what all 4 mounted brackets will look like. Make sure you don’t place them further apart then your wood slabs are. I would leave at least 3” on the side. Simply sit slabs into brackets.
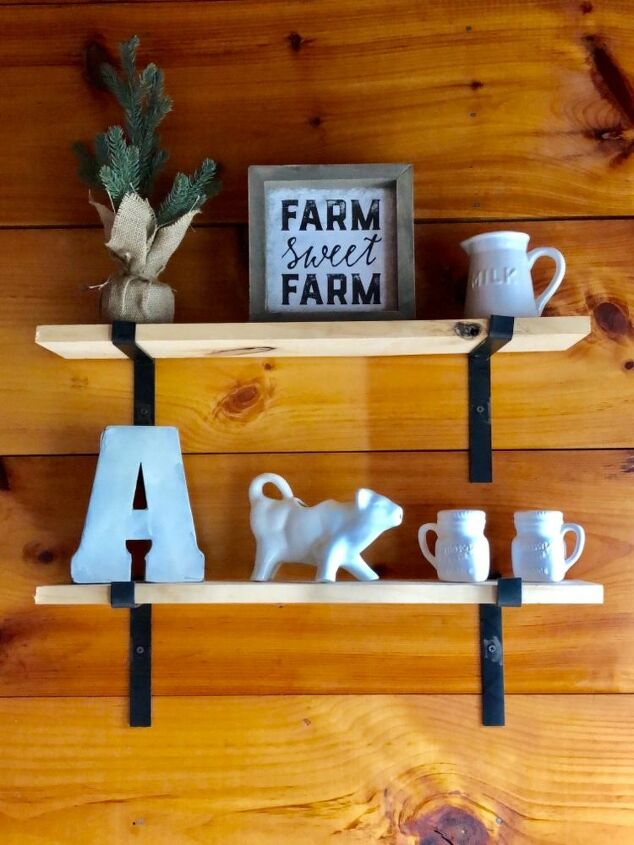
Simply style and enjoy.
Resources for this project:
See all materials


Comments
Join the conversation
-
Well done, sooo handsome!
-
I’m afraid my bends would not be the same and the shelf will not be straight.


Frequently asked questions
Have a question about this project?