


How to Make Faux Beams

A client wanted a 24’ laminate beam covered in barn oak so we made these huge faux beams!! Check out my tutorial for a step-by-step guide to help you create your own!
Tools and Materials
- wood
- saw
- wood filler
- laminate
- screws
- metal brackets
- spray paint
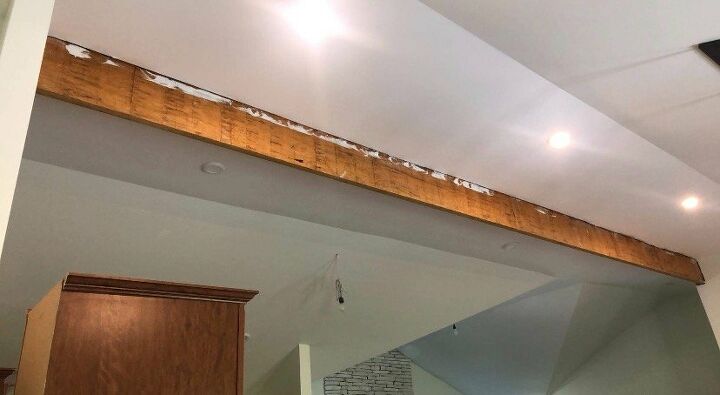
First, we measured the beam from the ceiling down. That was 11 1/4” and the client wanted to have at least an 8” wide beam. 24’ solid would have been way too heavy so we decided to do it in 3 sections.
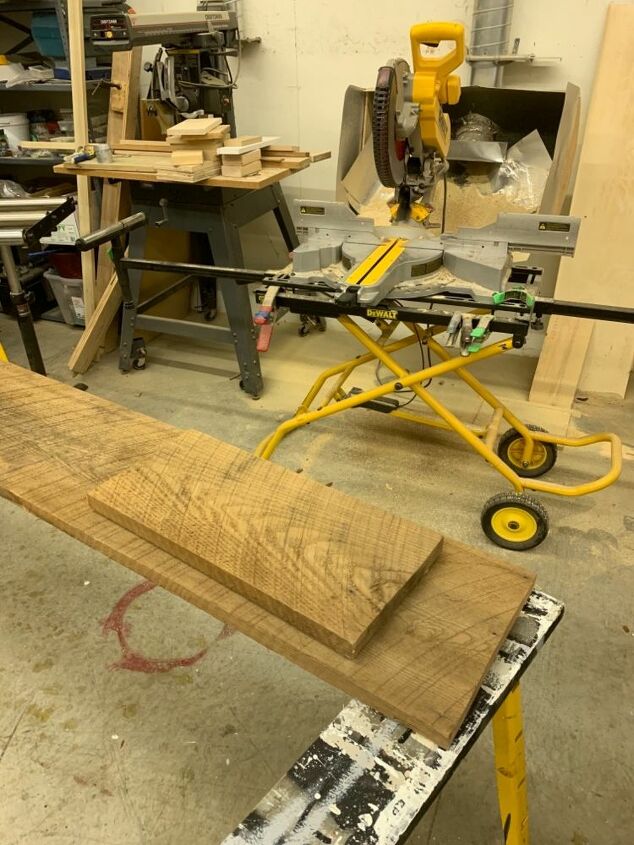
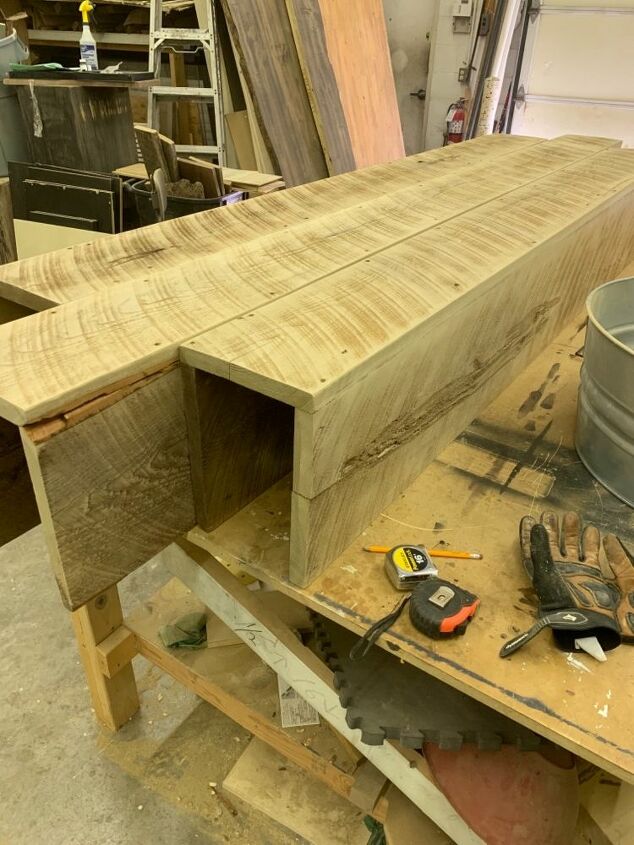
For the beams, I cut all my pieces at 8’ length. For each beam section, I ripped two 12” boards and one 8” board.
Normally, I’d do a 45 degree miter cut but since we needed all the length, I did a really simple box. This way I’d have 12” inside.
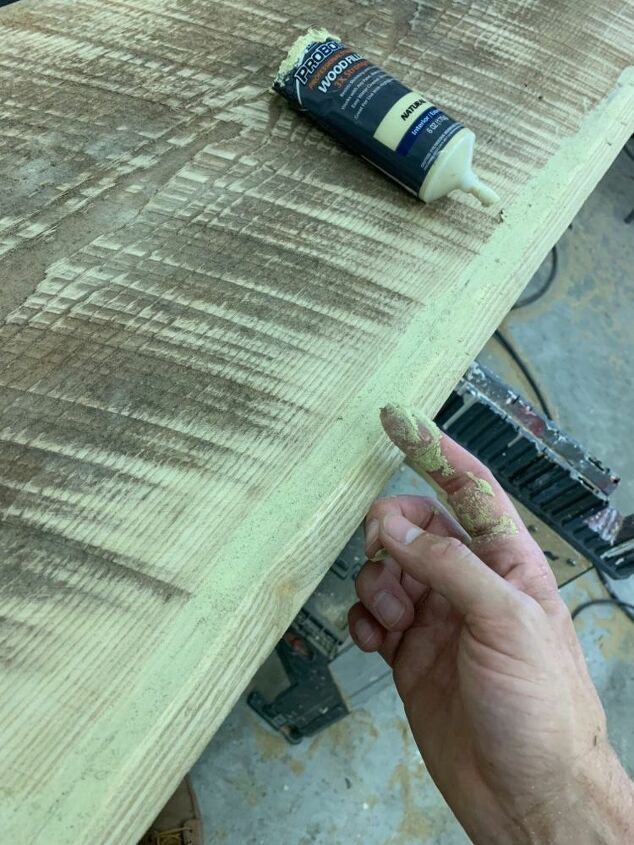
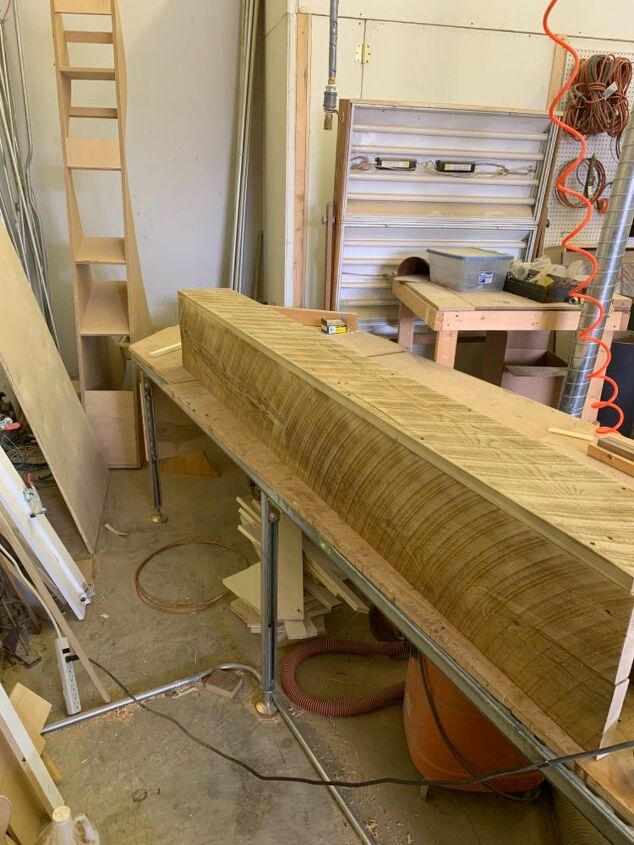
I wood filled the seams to help it look more like a solid piece and sanded once that was dry.
I ran into a small hiccup when I couldn’t find enough barn oak but I glued up two smaller pieces to finish the project. So the three beams were done!!! Now for some prep work on site.

I had some left over particle board, so I cut it into manageable strips to add to the sides of the laminate beams. Since we were going with 8” faux beams, I needed to make the laminate thicker so I’d have some meat to screw to.
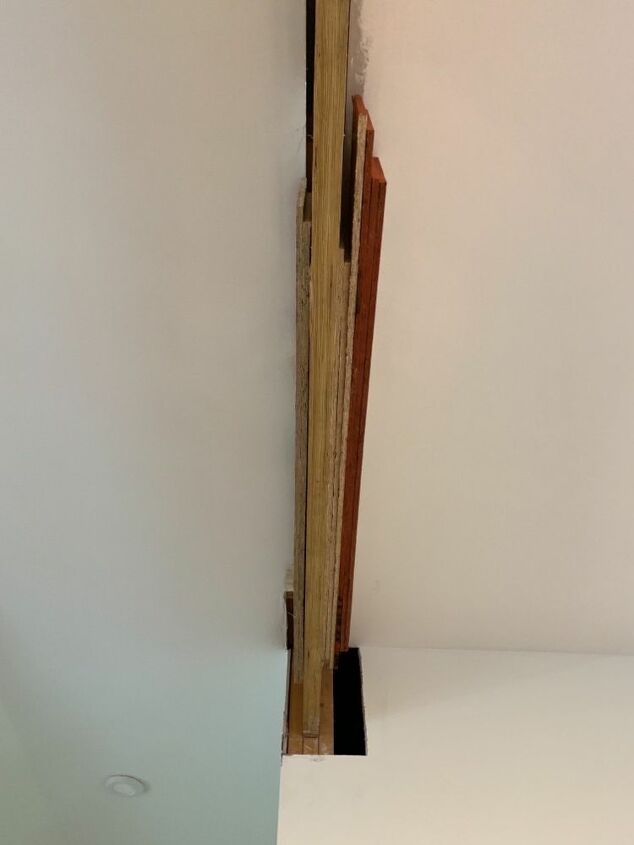
This is looking up at the laminate beam. I attached as many pieces as I needed to get my width. It was only two inches added to once side and about 4 on the other due to the wall placement which you’ll see in the final picture!
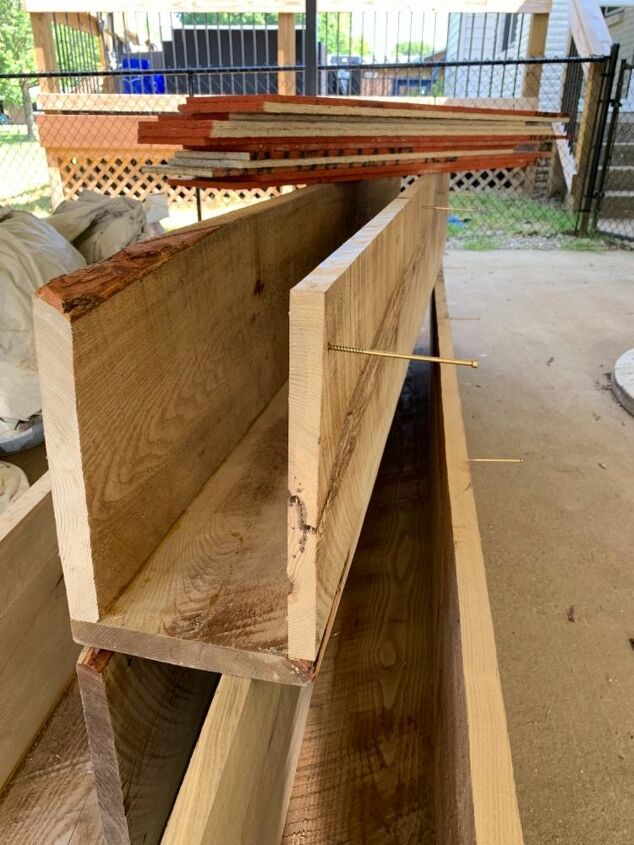
Since these were pretty heavy, I had my screws in place to make the install quicker!
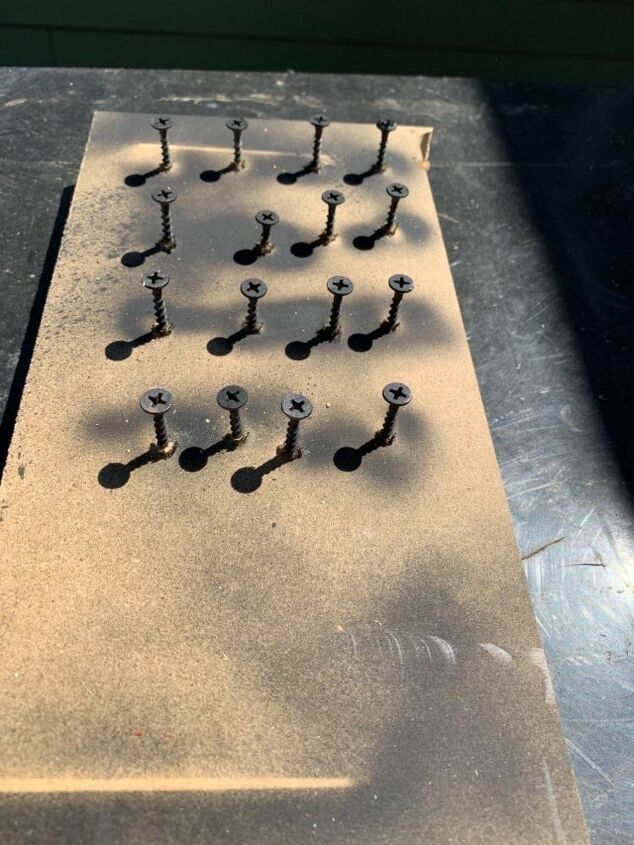
I made some metal brackets and spray painted them and my screws flat black.
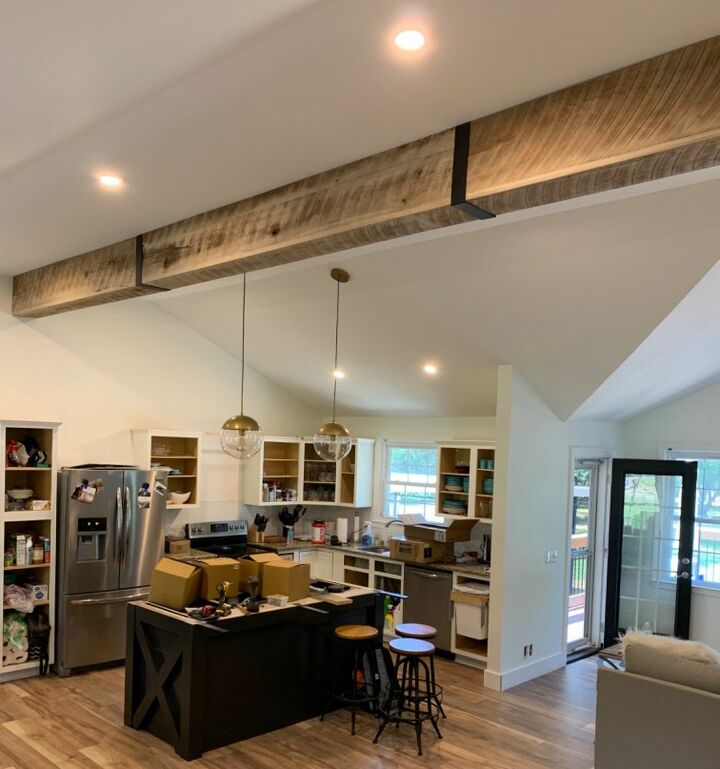
The brackets hid the seams perfectly!!
The finished product looks expensive and rustic!
Resources for this project:
See all materials


Comments
Join the conversation
-
Thank you!!!
-
I love it. I also love the brackets. I want to add that to mine. Thanks for the idea.


Frequently asked questions
Have a question about this project?
How did you make the brackets?
What kind of wood did you use?
I didn't understand what the particle board was for?