


Cheap Bathroom Renovation
Last year I purchased my very first home. And one of the first things I did was renovate my super ugly and outdated kitchen. I love my kitchen so much. It's still going strong one year later. I still get tons of compliments whenever people go into my kitchen. So I decided to renovate my guest bathroom the same way. This reno was under 150 bucks and took less than two days to do.
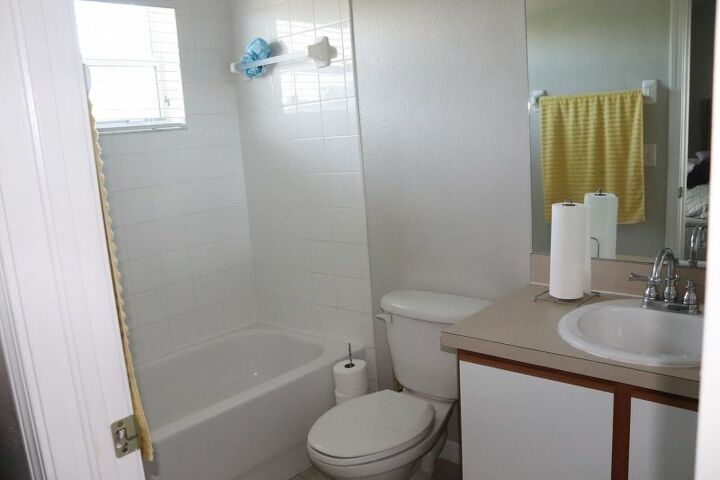
Okay guys, this is my very basic and bland guest bathroom. It's just so blah and dated. And I definitely wanted to add a little bit of shine and glamour and feminine to it. So I wanted to do a renovation that was going to be really cheap and really easy. And I decided to do what I did with my kitchen. So as you guys can see, it's just very basic. The Tub, the shower, yeah. You guys get the picture, right? So the first thing I did was just really clean my bathroom. I'm talking elbow grease type clean. Scrubbing the tiles, scrubbing the walls, scrubbing the floor, scrubbing the cabinet. I'm using a Magic Eraser because I found the Magic Eraser works really good with showers and with the ceramic tiles. So I despise this so ugly shower head. It's just hideous. So I want ahead and I switched this out with a shower head I bought on Amazon.
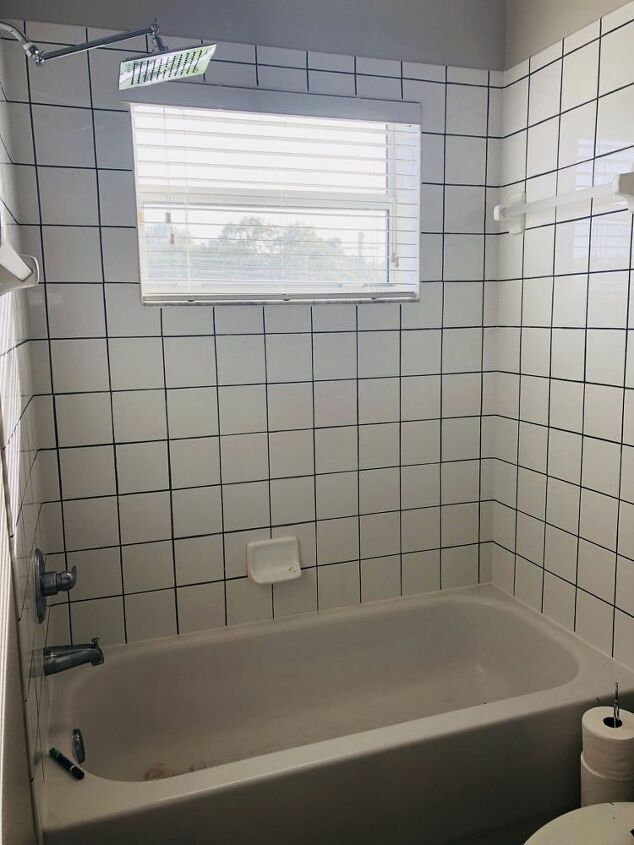
Now, I was really nervous about changing the grout tile with a grout pen. But I must say this was probably one of my favorite things I did to my shower. I used the grout pen in gray to switch up my shower tiles and I love it. It was a little tedious having to go in the lines and wipe off, but I definitely think it's worth it and it made such a huge difference in my shower.
Next up was the sink. I'm just prepping it with some painters tape to ensure I don't get paint all over the walls, because I am a terrible painter despite me being a makeup artist. So I'm just going ahead and putting tape over everywhere where I don't want to have tape. So the sink, the mirror, the walls, you guys know what I'm talking about.
So I'm using the Giani Countertop Paint Kit, and I'm using the white diamond color. And I used this for my kitchen and I really liked it. So the first step is to use the black primer. I'm just going to go ahead and apply that all over at the top. So it takes about 24 hours for the black primer to dry on the countertop. So, as that was drying, I went ahead and started painting the cabinets white.

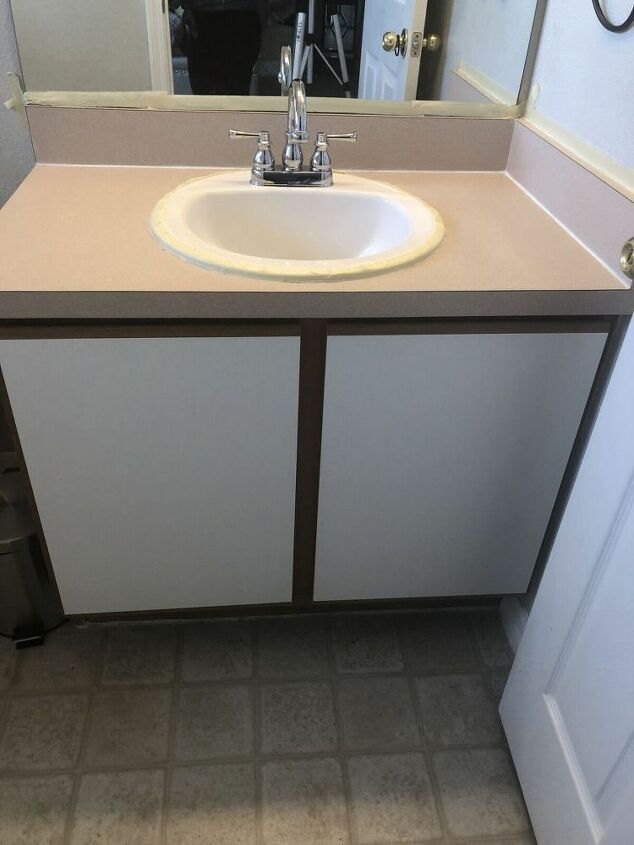
All right so, once the primer is dry for the countertop, I'm taking step two of the Giani countertop paint and I am going to sponge this paint onto the countertop. What this does, it almost gives it like a marble effect as you guys will see in the end. And you're just sponging it on. You want to make sure that you do allow some of the black to show through. Now I'm taking step three of the Giani paint kit, and it's like a tan-ish color, and I'm going to go ahead and start applying that over it. I know it looks crazy right now you guys, but once you finish i, it looks really good. At least in my own opinion, it looks really good. And I'm just going here and I'm sponging that all over as well. Again, you do want to leave some of the gray, you want to leave some of the black showing just to give that marble effect in the end. Now I'm going in with the very last paint out of the kit and it is the white paint. And you're just going to go ahead and sponge that over it again.
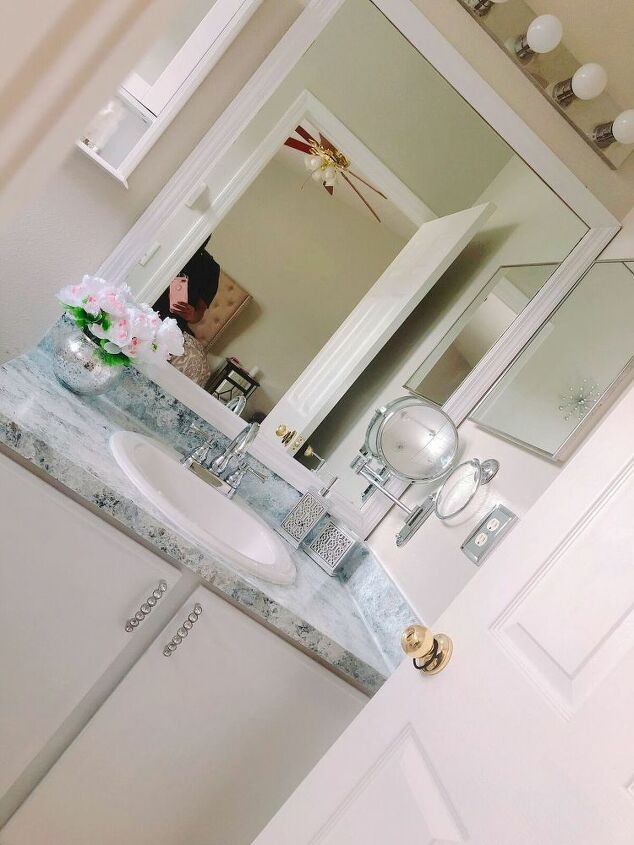
They say that you do not want it to be completely dry as you're sponging these on, just so it can kind of mix in. And, again, allow some of that gray, some of that tan, and some of that black to show. You may have to do more than one layer to get the look that you want. And, then once you have it the way you want, you take some of the glitter top coat and you go ahead and you apply that. And once this glitter top could dries, it looks really good cause it's almost like an epoxy so it makes it really shiny.
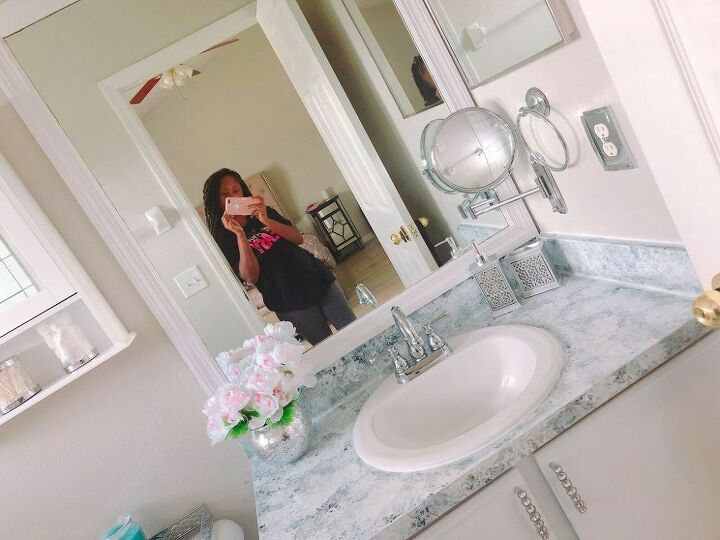
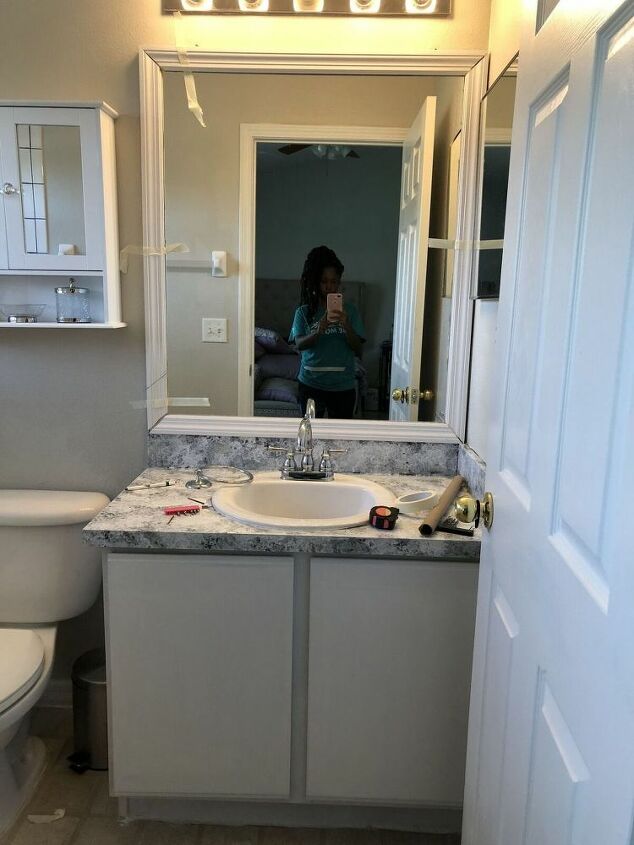
My less than $150 and 2 day small bathroom renovation!


Frequently asked questions
Have a question about this project?