


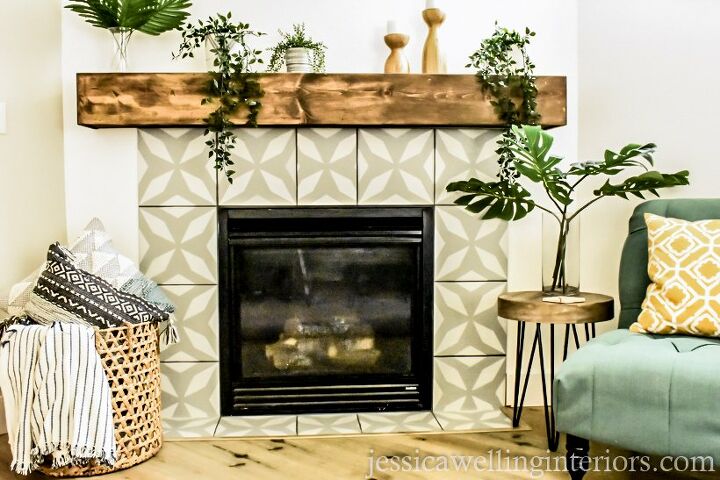
DIY Faux Cement Tile Fireplace Makeover
Hi! It's Jess from Jessica Welling Interiors. My fireplace makeover is finished in time for Fall! I painted the ugly ceramic tiles with a tile stencil. To be honest, I didn't really expect it to turn out, but I'm really happy with the end result! I'm going to give you the short version here. Be sure to visit my blog for the full instructions and details. I've also got a great roundup of beautiful tile stencils you might be interested in.

Here's what I started with. A boring and slightly dated builder-grade fireplace. I've been looking at it and wanting to change it for years!
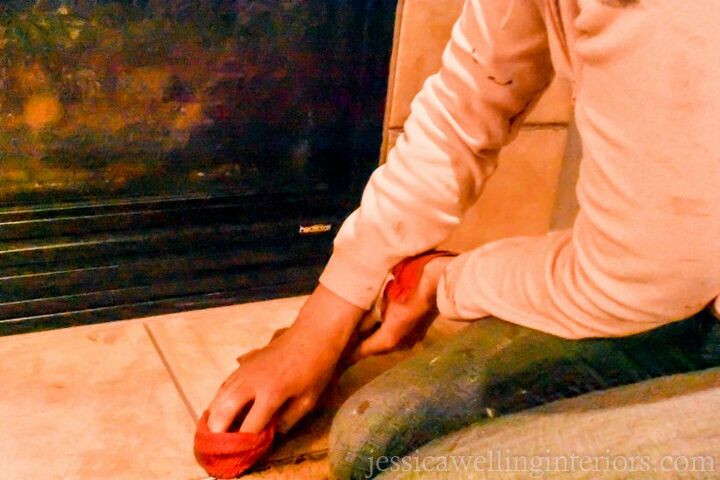
Step 1. Wipe the tile and grout with a damp cloth. It's really important to get all the dust and grime off before you start painting.
Step 2. Use a disposable brush to apply a shellac-based primer to the tiles. Hop over to my blog to see the primer I used for this project! Be sure to let it dry for at least 45 minutes before painting.
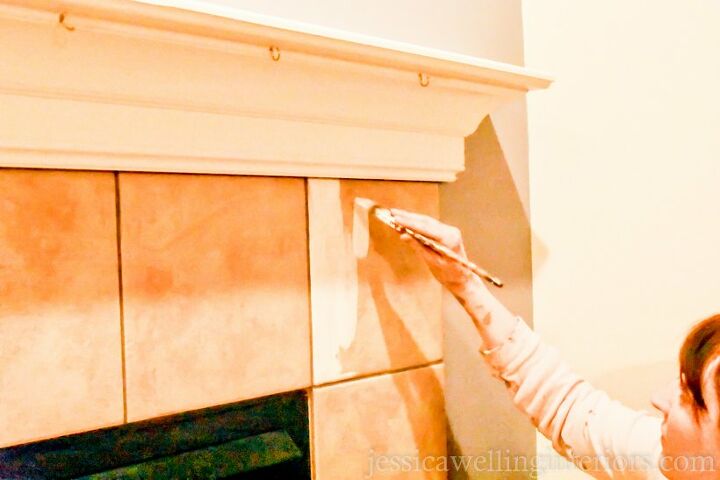
Step 3: Paint the tiles your base color. You will likely need to do two coats. Be sure this has time to fully dry. It would be good to wait 24 hours before stenciling to be sure you don't trap too much moisture in the paint.
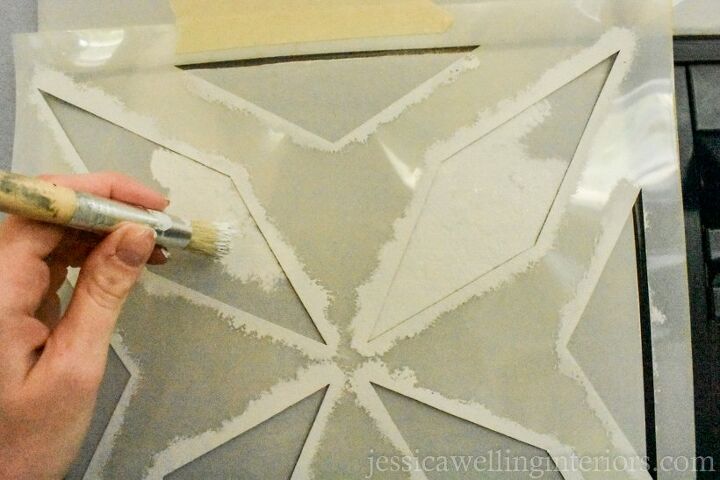
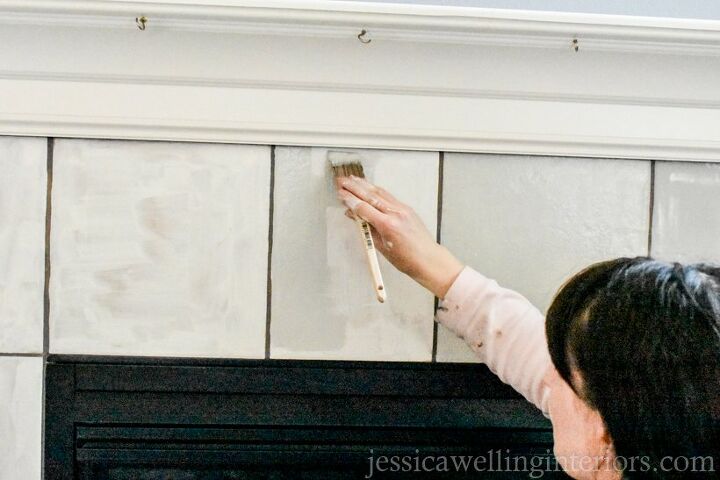
Step 4. Once everything is nice and dry (this is important because you don't want to put tape on paint that's still tacky!), tape your stencil in place and use the dry brush technique to apply paint to the openings in the stencil. I have a more detailed explanation of this in my blog post. If your stencil extends beyond the edges of your tile, just get close to the edge with the stencil brush and you can use an artist's brush to make touch-ups later.
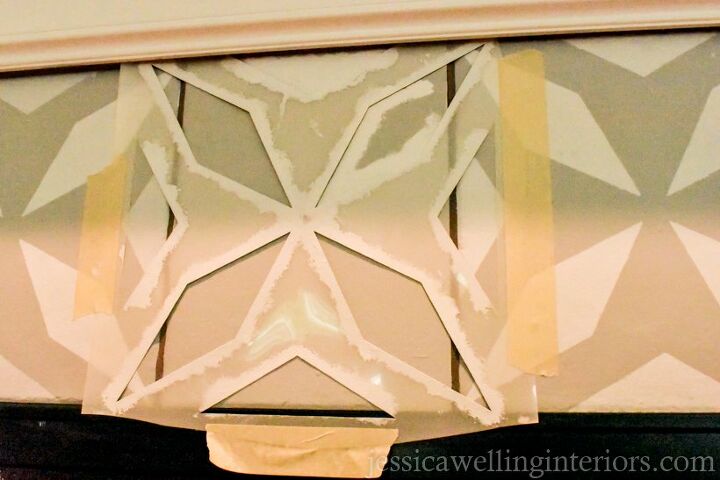
Step 5. Repeat your stencil until you're done. A few of your tiles will likely not be full tiles, like the one in the photo above. I just placed my stencil in the center and painted as much of the pattern as I could. You may have to get creative with some of the partial tiles. Just be sure what you're doing ends up looking symmetrical when you're done.

Step 6. Paint grout colorant in the grout lines and use a matte finish clear coat over the top of the tiles.
Resources for this project:
See all materials


Frequently asked questions
Have a question about this project?