


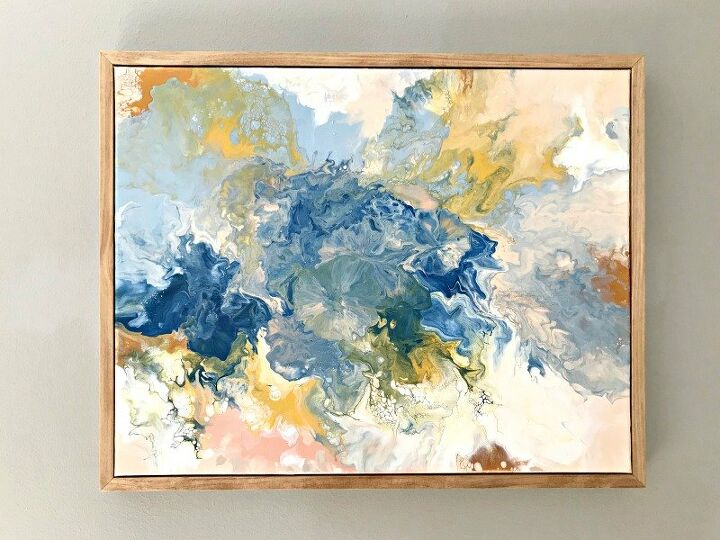
Paint Pour in Peaches, Pinks, and Blues
Paint pours are one of my new favorite DIY projects. They're fun and so cheap to do. You can find low price canvases on line or at Hobby Lobby or use 1/4" Luan plywood. And, craft acrylic paints are about $1 for each small bottle. So, yay!
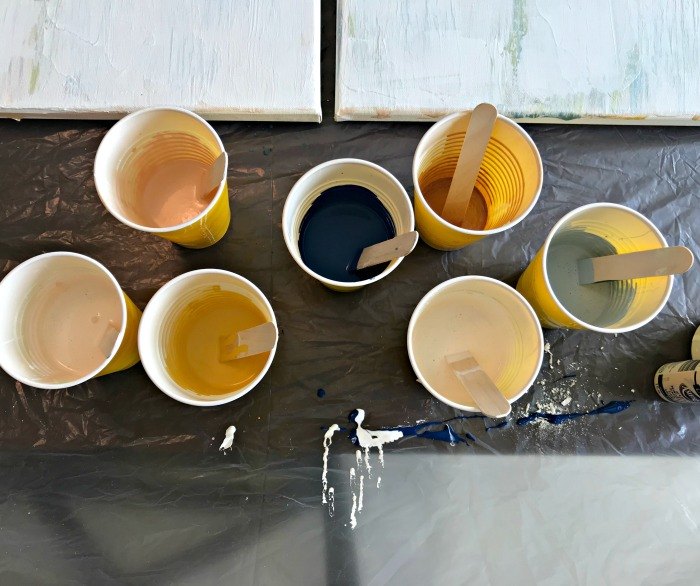
I start a new pour by mixing my colors. I used peaches, pinks, blues, yellow, and gold for this pour. Pick just a couple accent colors you only use a little of (usually the dark ones) so that they don't take over the other colors. I always use a lot more of the main colors I want for a pour.
Mix the acrylic with water and/or floetrol. For this pour, I used about 3 parts paint to 1 part water to 1 part floetrol. I've used just water before and think the results are just as good. You want the mixture runny so that it spreads easily with the blow dryer. You can see how thin mine is in the video above.
If you use plywood, seal the wood first with a coat of latex primer and let it dry.
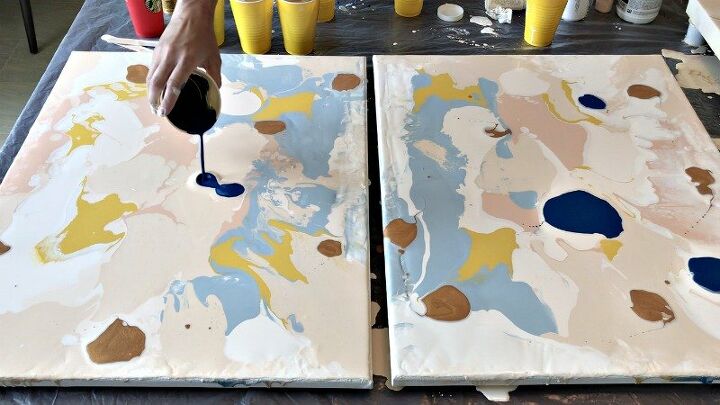
Pour on all of your main colors in whatever random pattern you like. Then add on touches of the darker colors. Don't worry about mistakes. If you don't like it, you can always scrape off the wet paint and try again.
You need to use enough paint to cover the canvas in about 1/8" of paint, so that it can be blown around by the blow dryer. Move fast so that the paint doesn't start to dry. But, you do have time to mix more paint, if you didn't mix enough before starting.
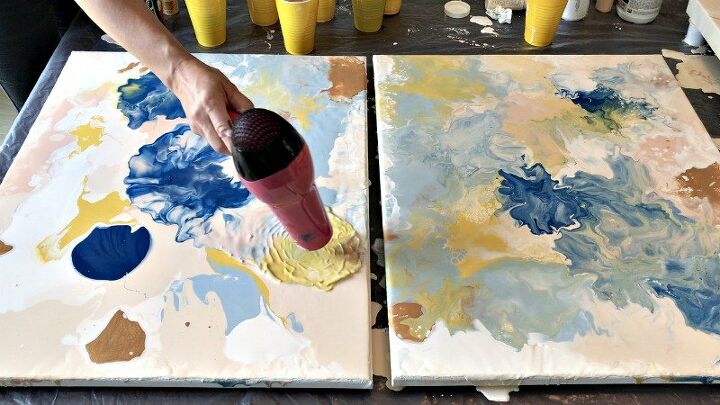
Use the blow dryer on high to blow the paint around. You can see how I do it in the video. I just keep working on the whole canvas until I see patterns and mixes I like.
I sometimes add a few more drops of paint in areas that I think need a little more color.
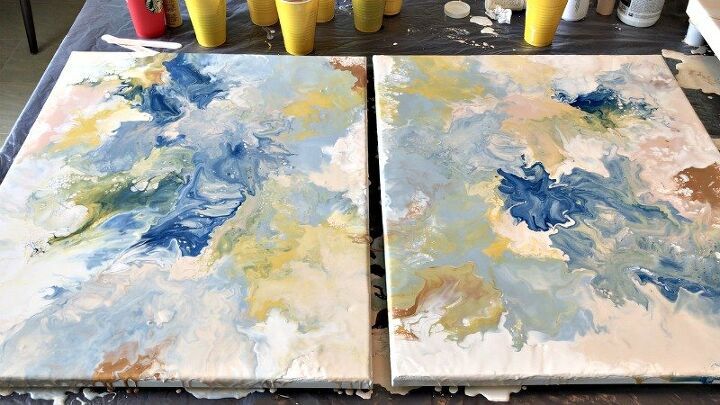
Leave it flat to dry for 24-48 hours (depends on how much paint was used).
The paint may continue to move slightly for a few more hours. With canvases, the big ones can sort of dip in the middle. So, the paint will drift towards the middle slowly. I actually prefer plywood for larger pieces because they are flat across the surface and that center drift won't happen. Canvases are flexible too.
After drying, you can seal the paint with Mod Podge and hang your new masterpiece.
You can see how I built those wood frames here.
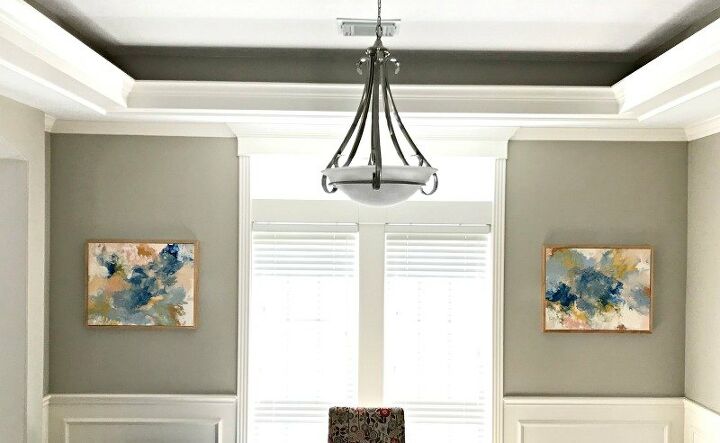
I love how this pair of canvases turned out. More pictures and tips for your pour can be found on my site, here.
Resources for this project:
See all materials


Comments
Join the conversation
-
Omg I absolutely fell in love with this!!! Absolutely going to try this ASAP!!!
-
Very interesting! Can I seal it with epoxy? For a countertop project?


Frequently asked questions
Have a question about this project?
I want to try this on a 1x10 to make a cart what do I seal it with when finished
What can I use instead of floutrol and do I need to seal it? I’m very inspired. Thank you.
I am going to do this! It is so perfect for the look I want. I have a question about another technique. I'm betting you know how to do this as well. I want to do a project with old leaded glass cabinet doors to make them look like stained glass. It must be removable paint just in case I change my mind etc. Any suggestions would be helpful. I read this post every day and love the hints that are shown. Thank you.