


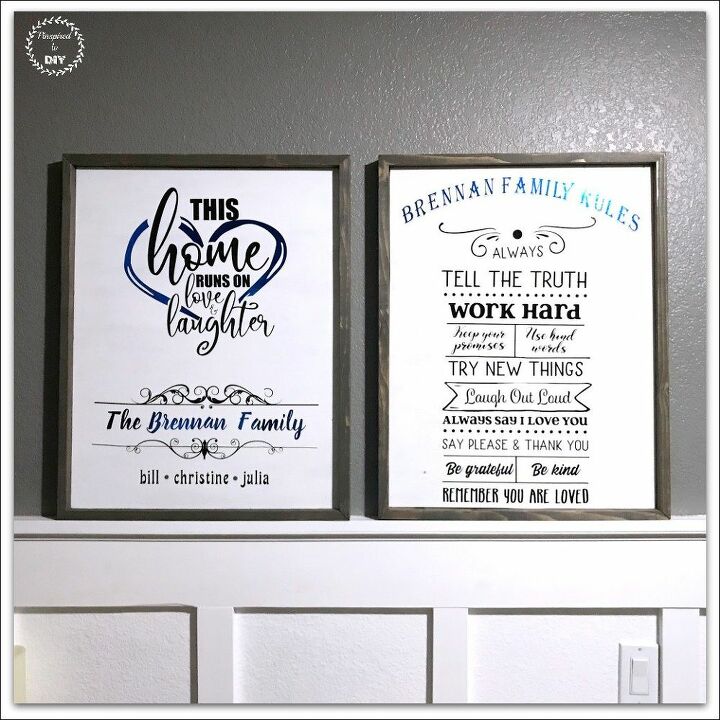
DIY Large Entryway Signs: Woodworking and Cricut Project
As part of a monthly DIY challenge I am participating in this year, I decided to use my woodworking and Cricut skills to create two large signs for the entryway of my home. This month's challenge was to create a project that could be completed in two hours. This project took me about an 30 minutes to cut and paint and stain the wood for the signs and then an hour and a half to cut and apply the vinyl (drying times for paint and stain didn't count towards the two hours).
Here are the abbreviated instructions for creating these signs, for full details click the link to my website at the bottom of this post.
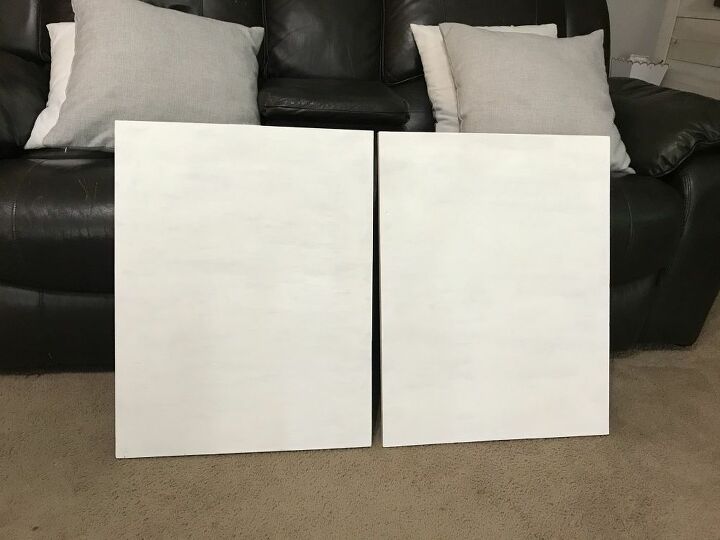
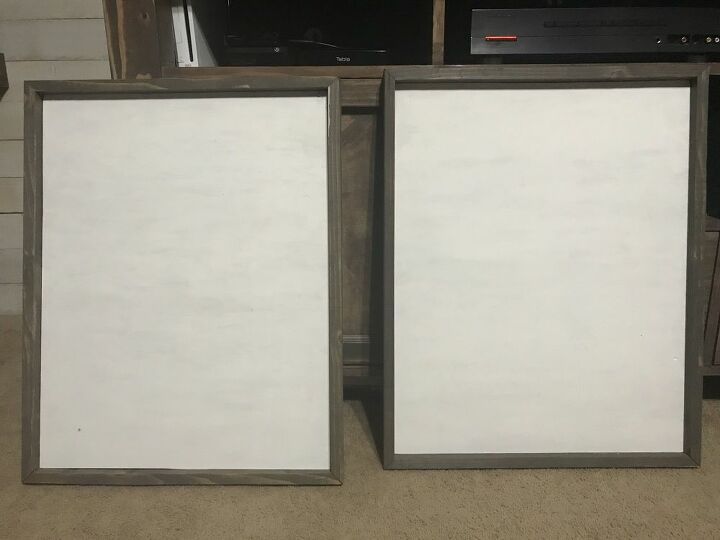
First cut the plywood backing for the signs using a jig saw or table saw. Then apply a thin coat of white chalk paint so the woodgrain still slightly shows through.
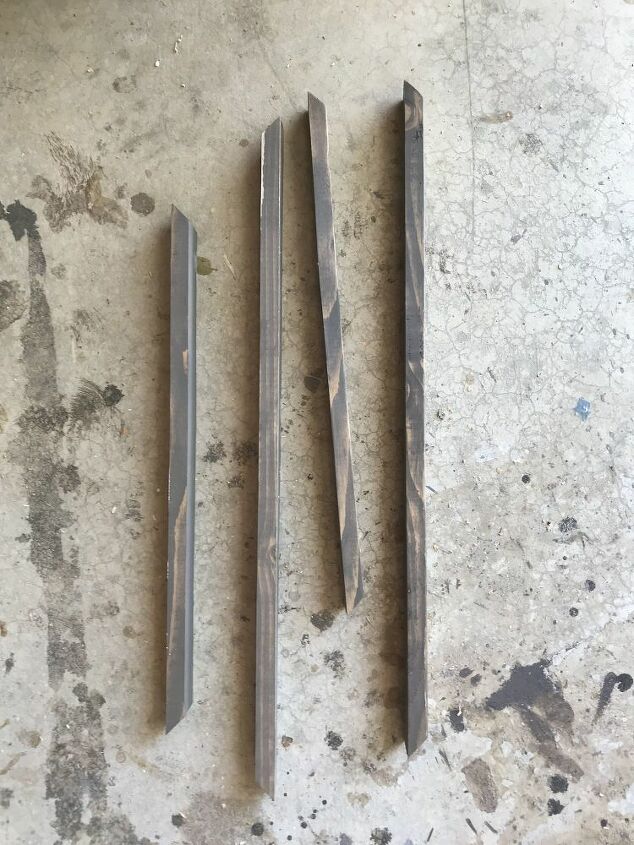
Next cut the boards to build the frame, with each end mitered 45 degrees, and stain the boards.
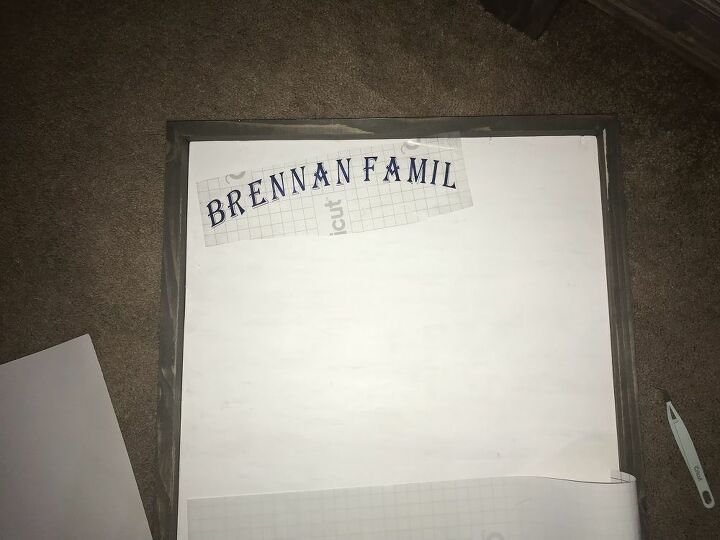
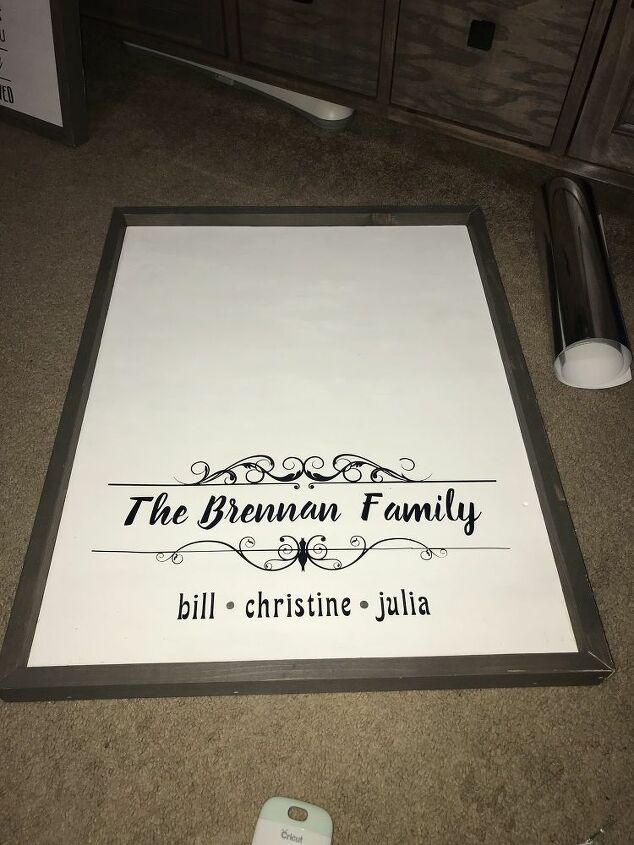
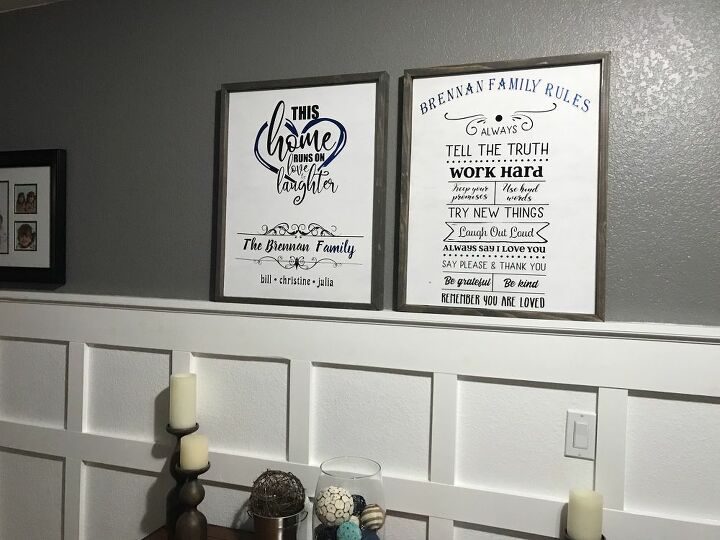
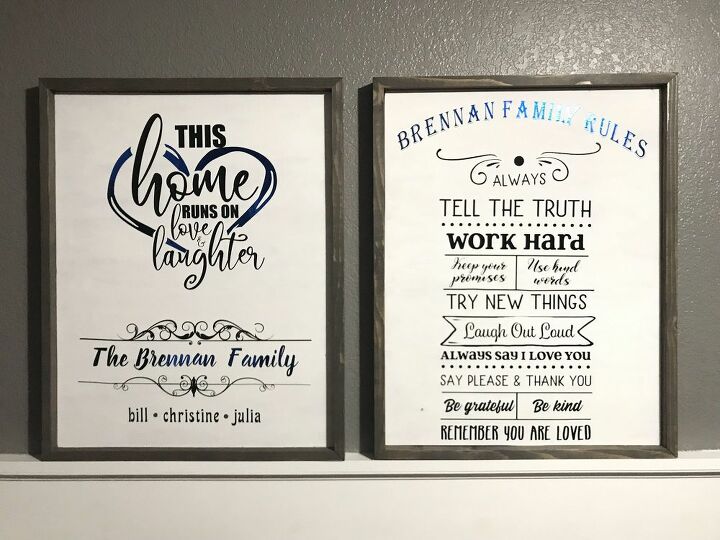
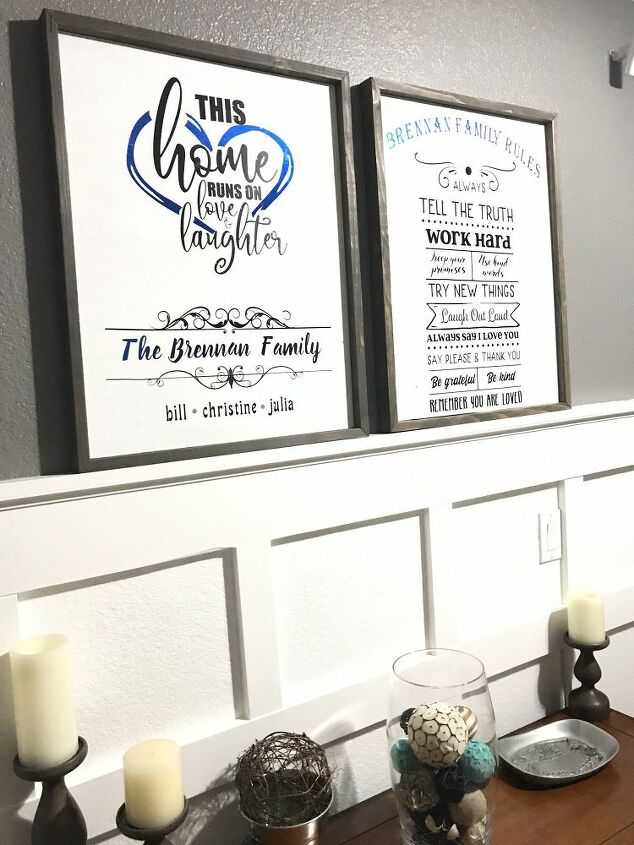
While the paint and stain are drying, cut out the vinyl designs with a Cricut cutting machine (I purchased most of the designs on the signs I created, you can find the links to the svg files on my blog post on my website). Then attached the frame to the painted plywood backing.
Next, use transfer tape to transfer the vinyl designs onto the wood signs.
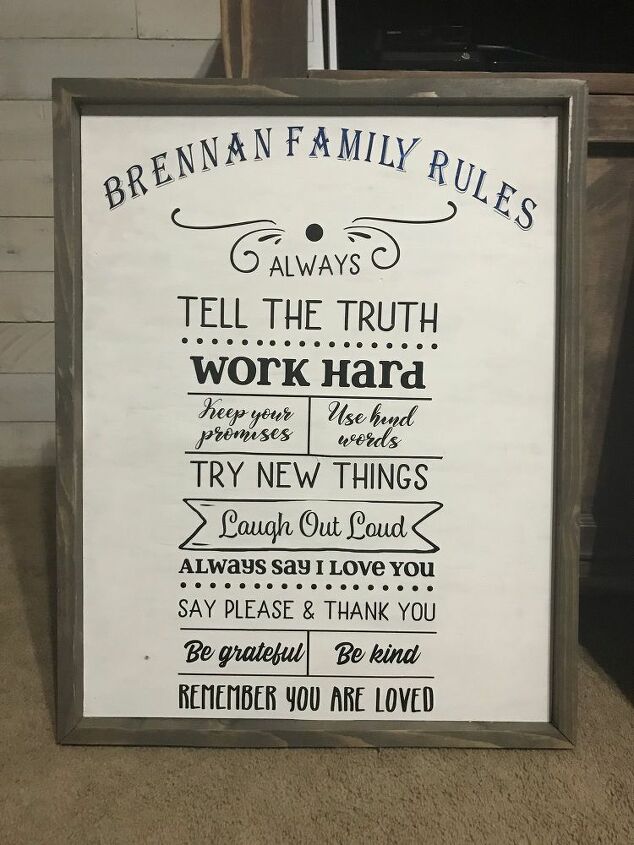
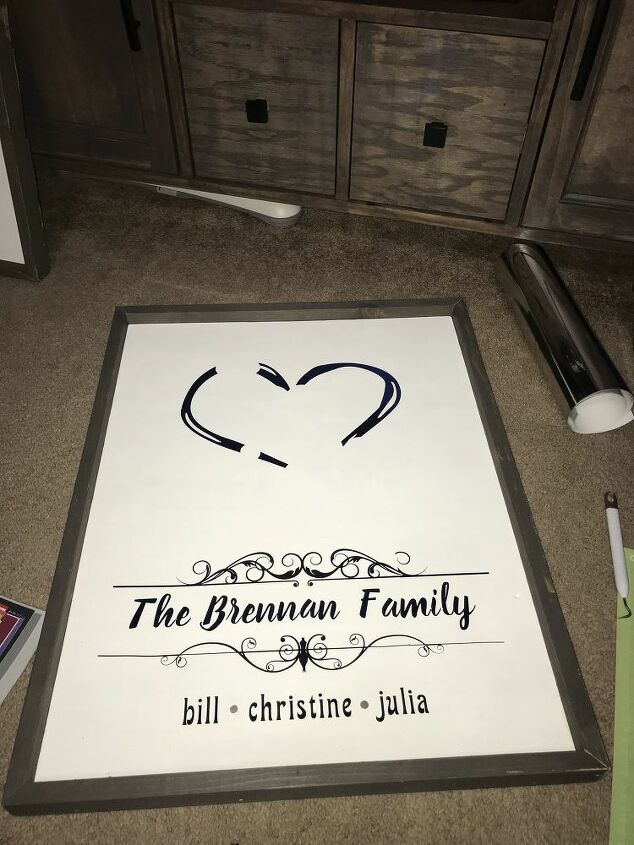
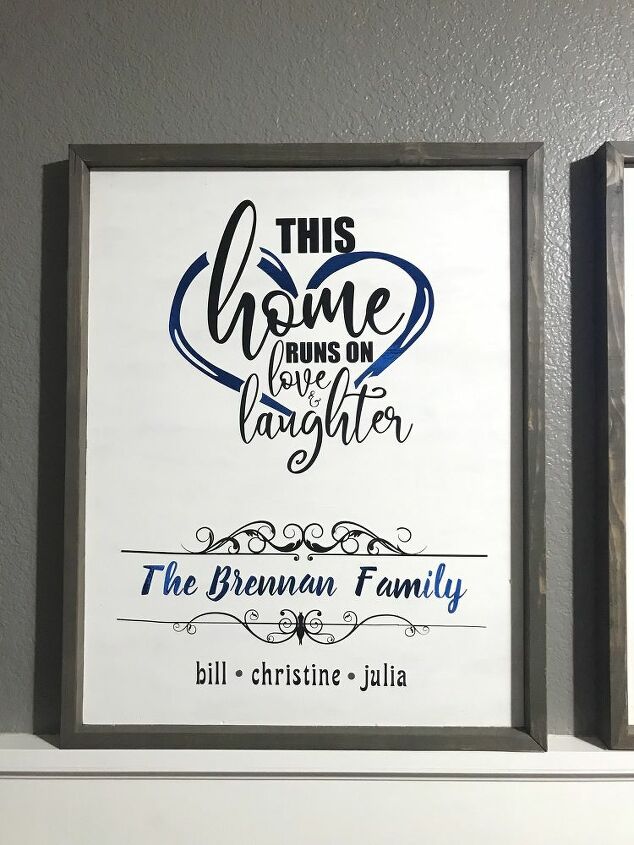
Lastly, add picture hanging wire to the back of each sign and hang on your walls to add some personalized, rustic wall art!
Resources for this project:
See all materials


Frequently asked questions
Have a question about this project?