


Quick & Easy Compost Sifter

Even though I'm still a gardening newbie, after a few years I've learned some hard lessons about gardening AND composting.
Now that we've got a good handle on this composting thing, I've figured out the solution to a problem I never even thought about until recently. I was getting some compost for a potted plant when I noticed there were some big bits that hadn't decomposed yet.
I'm talking whole avocado pits & skins. No es bueno.
(TIP: the smaller your scraps, the quicker & easier they will break down in the compost bin. Learn from my mistakes - crush those eggshells & cut up all those fruit & veggie peels.)
Anyway, I still needed the dirt sans scraps. So I made this for $0 using leftover wood scraps & chicken wire...
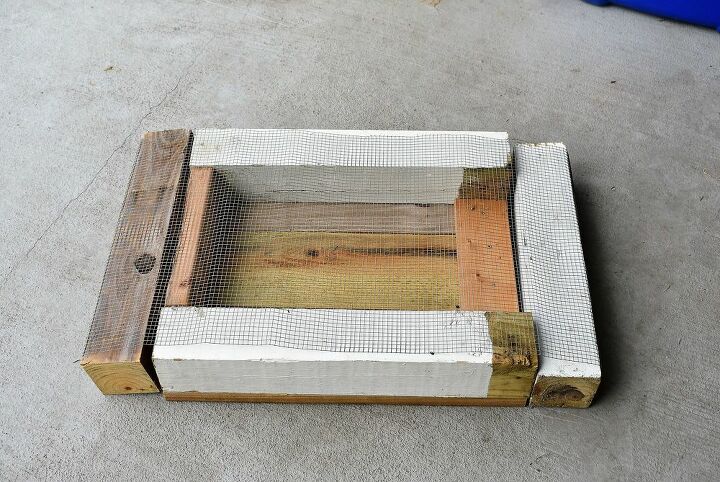
It's a compost sifter! I'm sure there's a dozen ways to make one of these, but this has got to be 1 of the easiest.
No power tools or serious measuring needed, just a couple of scrap pieces of wood and a staple gun. I used:
- 2 4"x4" posts, approx 3' long each
- chicken wire cut to fit the length of the post. DO NOT cut the width yet.
And here's how I did it...
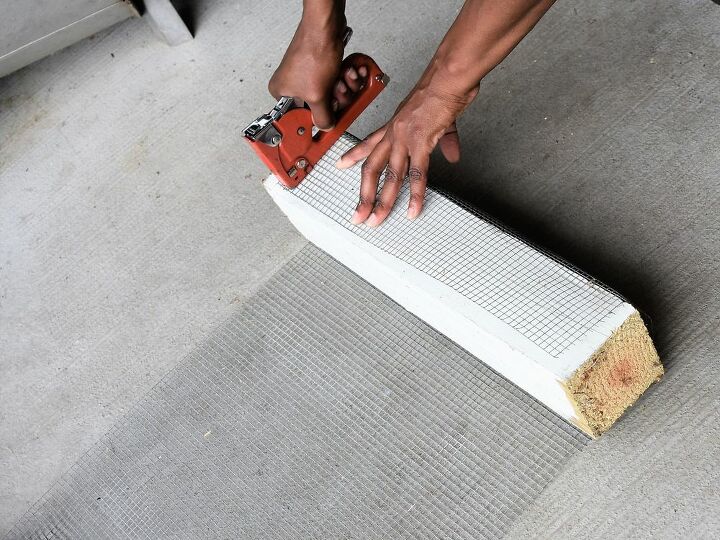
Starting with 1 4″x4″ post, staple the chicken wire in place along the length of the post so that it is very secure. I used about 7 staples on the 1st pass.
Roll the 4×4 into the chicken wire as if you are wrapping it. Bend the wire to help hold it in place & staple it secure on this 2nd side.
Repeat the process 1 more time on the 3rd side.
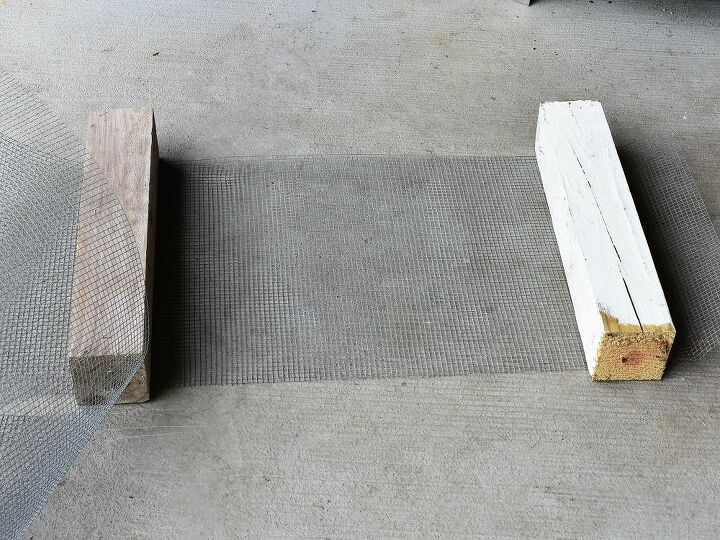
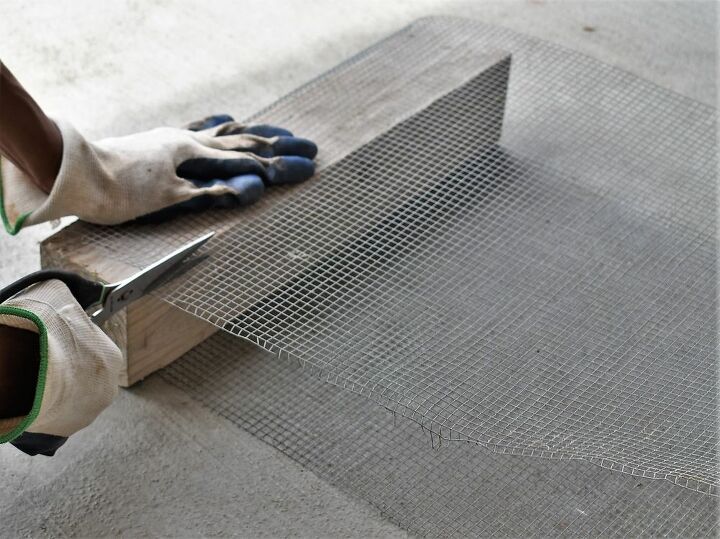
Determine how wide you want/need your sifter to be. Then stretch the chicken wire out as wide as you want it & cut the chicken wire long enough to wrap around 3 sides of the 2nd 4×4.
I definitely suggest using gloves for this.
Staple on all 3 sides just like with the 1st 4×4. Then flip it over & it’s ready to go.
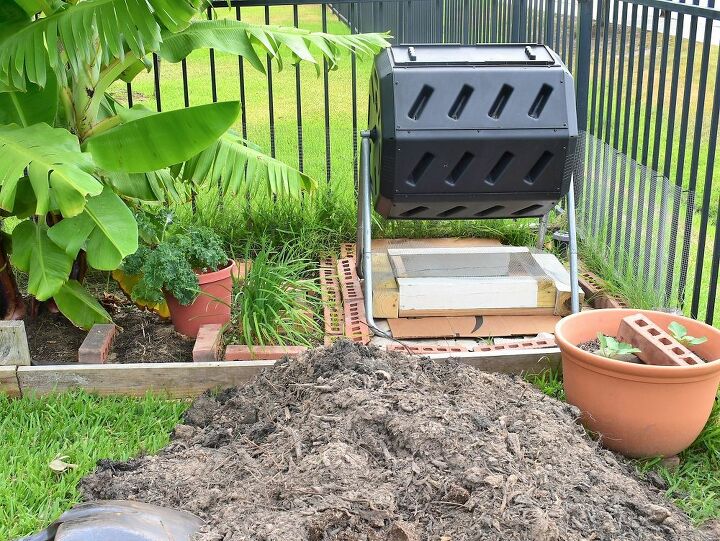
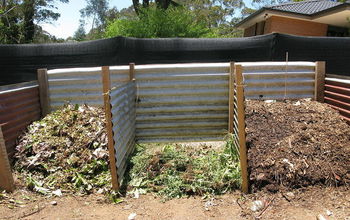
Here's my sifter in place under the compost bin. It fits perfectly but is still small & lightweight enough for me to move if I need to. I'm not ready to test it out on any compost quite yet, but that big pile of dirt could use some work.
Happy gardening y'all!
Oh and if you have any questions check out the full tutorial here. There's more photos plus a few tips & my witty commentary 


Frequently asked questions
Have a question about this project?