


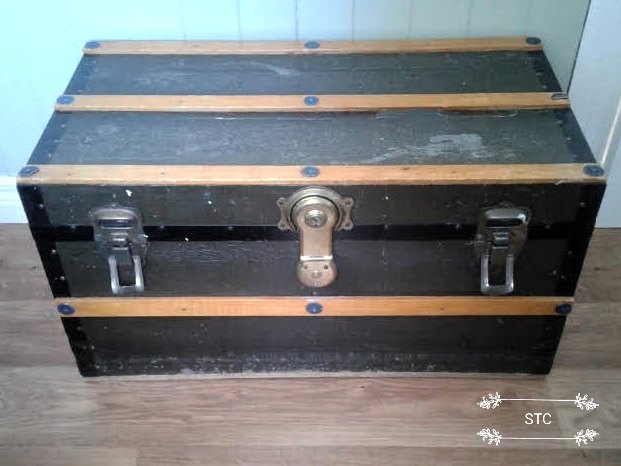
Trunk Restoration to Hold Special Treasures

When you find a vintage trunk they are often weathered and worn and this one was no exception to that rule. I set out to bring it back to its original look with no special skills just a desire to make it look like new again.
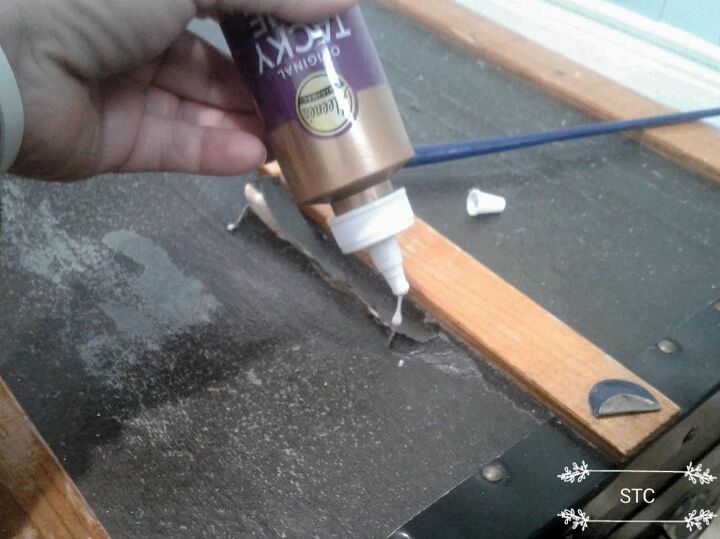
The top had paper peeling and tattered so first things first I glued them back down with Tacky Glue.
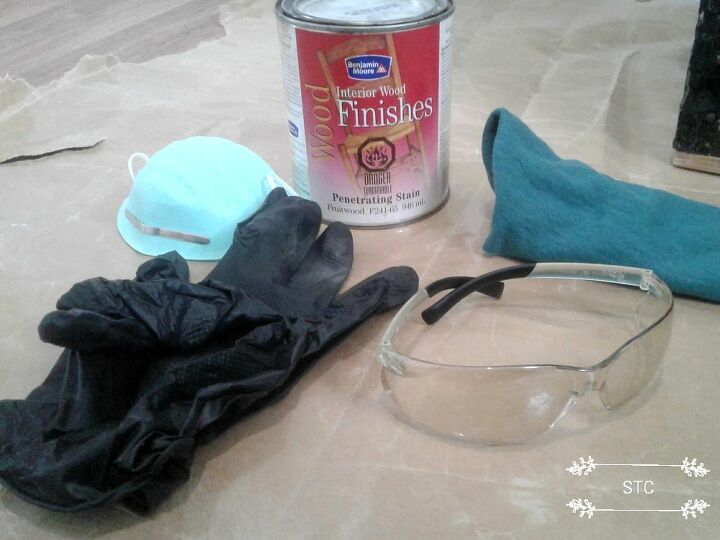
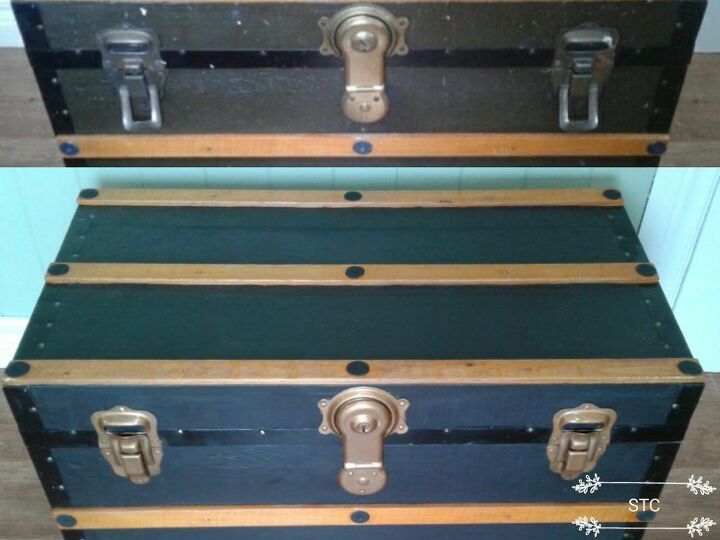
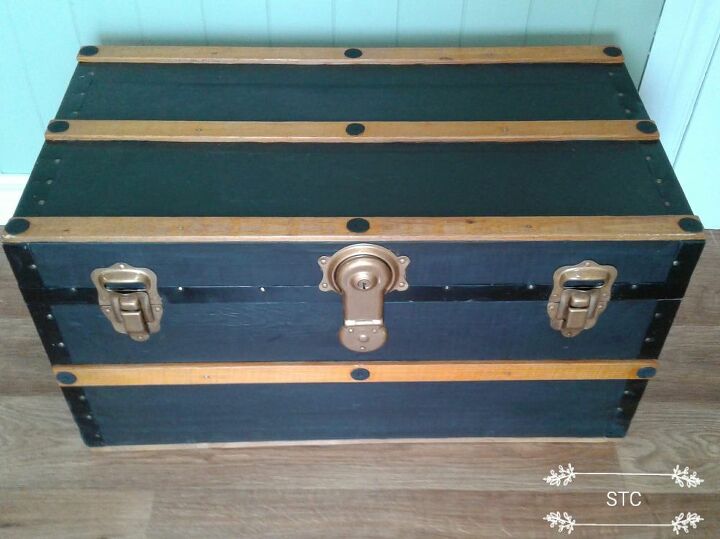
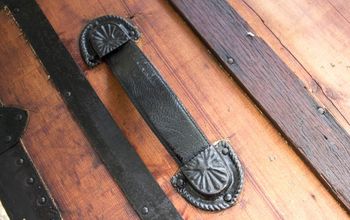
To restore the exterior color I used what I had on hand, a stain that was close in color to the wood strips and black chalkboard paint.
First I lightly sanded the strips oh, I didnt worry about scuffing the tacks because I'd restore those afterwards. I used 60 and then 120 grit sandpaper just enough to scuff the wood surface.

Next was to apply the stain with a lint free cloth, an old t-shirt works great and gloves are a necessity for this. Note I use the mask when around fumes or dust....due to sensitivities.
Next was to paint the chalkboard paint all around the trunk and carefully along those wood strips.
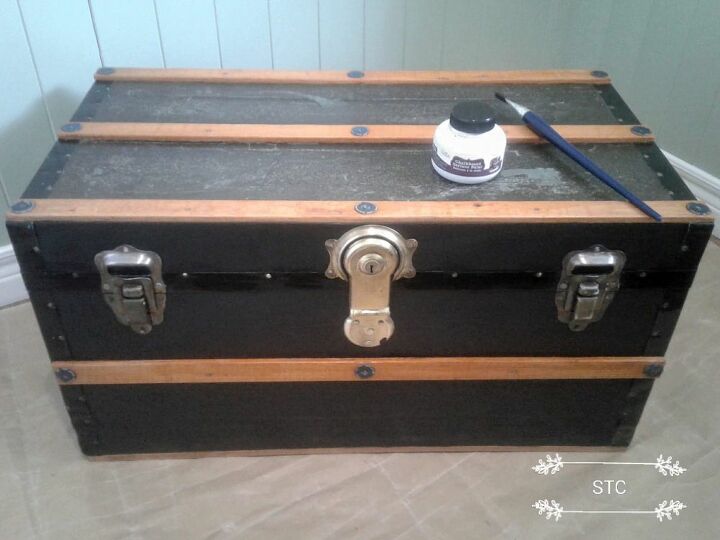
Lastly for the exterior I wanted to pretty up the hardware, I used black tremclad paint for the tacks and Testors Enamel paint for the latches.
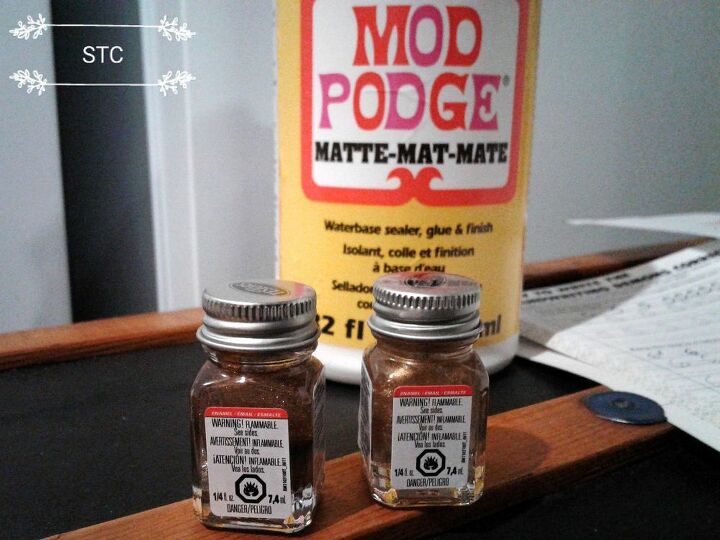
The paint for the latches required a few coats but it made a world of difference as you can see in the before and after shot. I bought two shades metallic, one copper and one gold but the copper was chosen for this project.
Moving inside now required a little more dexterity!😂 The lid had been used in the past to either sit on or store heavy objects on so the boards had become warped and a little weakened. To solve this issue my husband glued a thin piece of panelling on the inside to strengthen it, he adhered it with liquid nails. The trunk was tipped over and the lid was weighted with items until the glue set up.
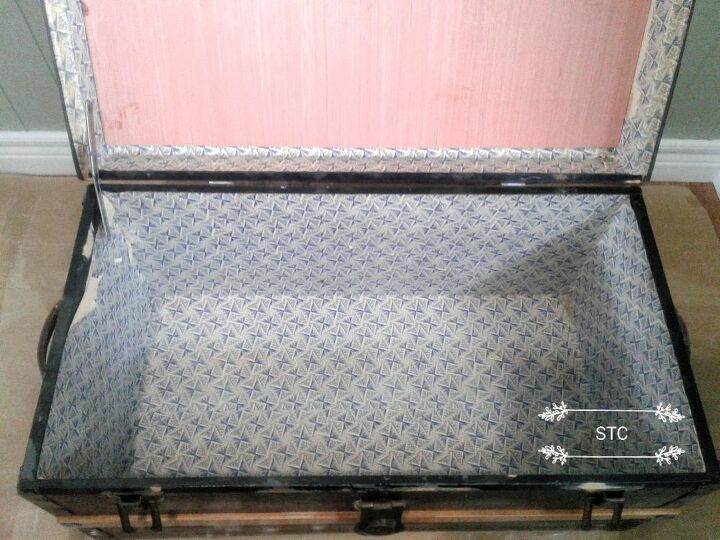
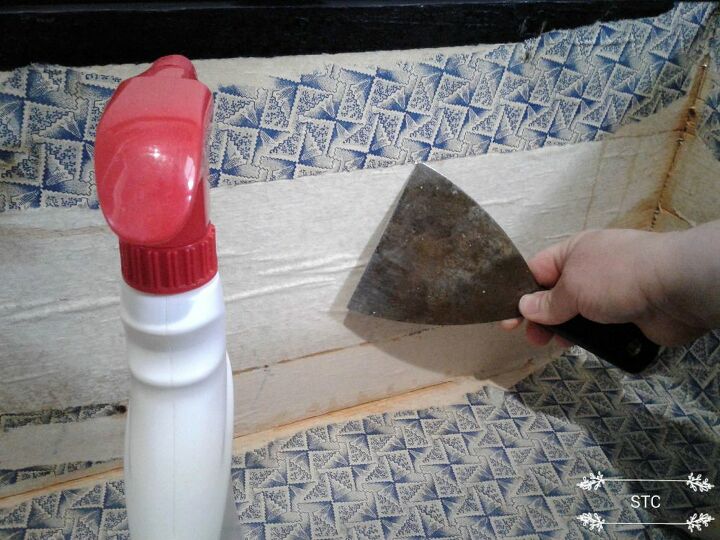
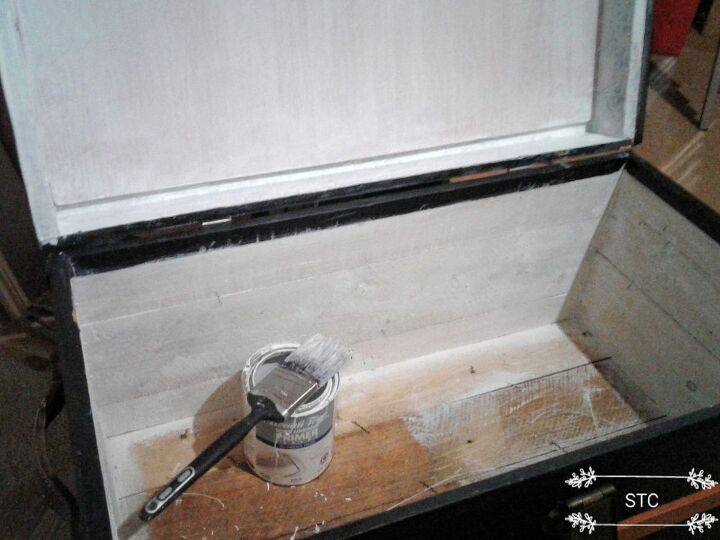
Next up was to remove the paper layer since it was tattered and discolored. I used plain water in a spray bottle, let it soak and simply peeled off with the aid of a putty knife.
Once the wood had dried out I applied a white primer coat over the bare wood to give me a solid color backdrop to start decoupaging onto.
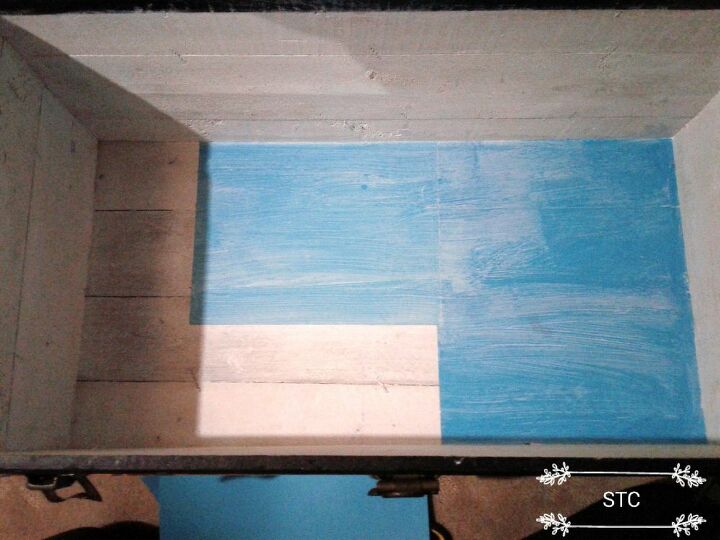
For the bottom which would likely be concealed once the trunk was filled I just used blue office paper. I applied a layer of mod podge with a paint brush then smoothed the sheet into place and sealed it with another layer of mod podge.
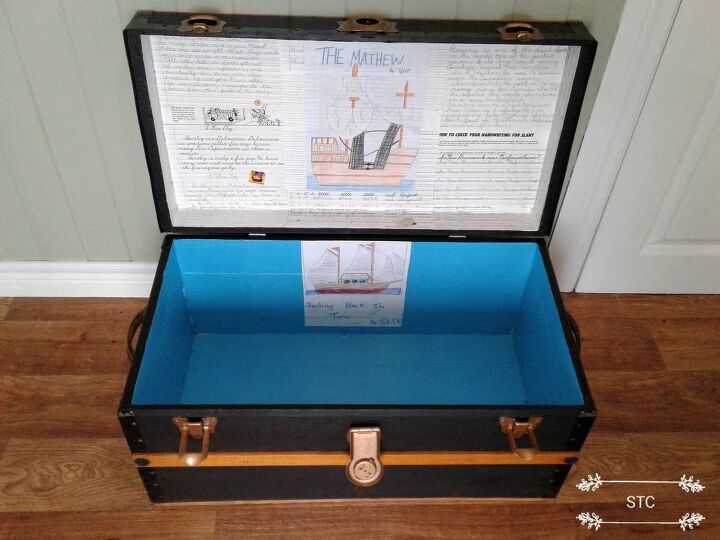
Now is where this project gets special, I've kept a few work projects and things from each year that my kids attended school. This is going to be a storage chest for all of my son's keepsakes so I thought I'd incorporate his work onto the lid. I used his writing book and drawings from Grade 4, he took a lot of pride in his drawings and was and still is very neat about things.

I picked out two ships from his drawings which I thought were quite fitting to put into the trunk. Everything couldn't fit on the cover so I added the second ship onto the base part. Pretty unique and pretty special? I think so anyhow because I'm the mommy!
Here is the finished look, the old trunk certainly shines now once again as when it was shiny and new!
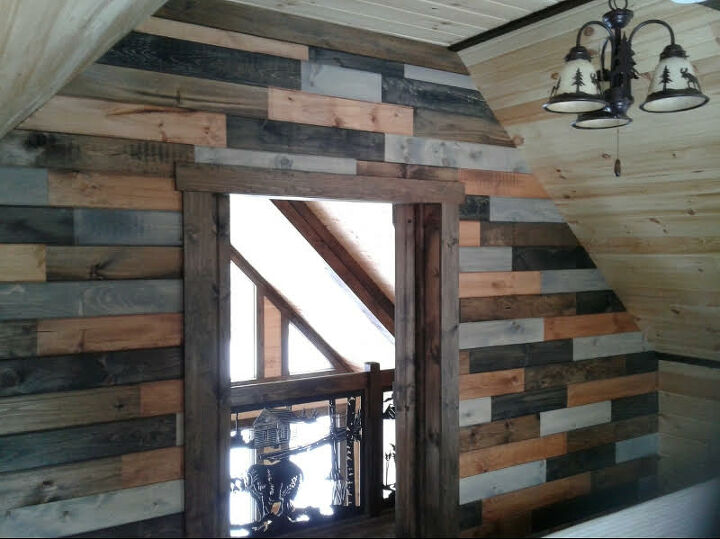
The trunk is ready to start the second phase of its long life holding my sons treasures in new vacation home! I've shared other posts from that build project seen here http://www.hometalk.com/diy/decorate/walls/ba... also here http://www.hometalk.com/diy/build/doors-windo...
Note the cost reflects true cost because really I only used a small portion of each product listed, many of the items were leftovers from other projects.
Resources for this project:
See all materials


Comments
Join the conversation
-
Aw, so sweet!
-
That’s gorgeous. I wish I could find a chest like that.


Frequently asked questions
Have a question about this project?