


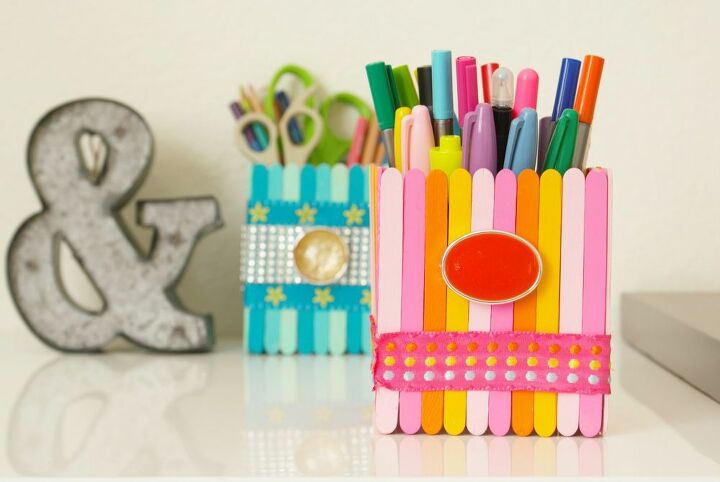
How to Make an Organizer With Wooden Sticks?
Hello, today I bring you a DIY idea to make this simple organizer for pencils, scissors, pens, ruler or any other object you want to place in these organizers.
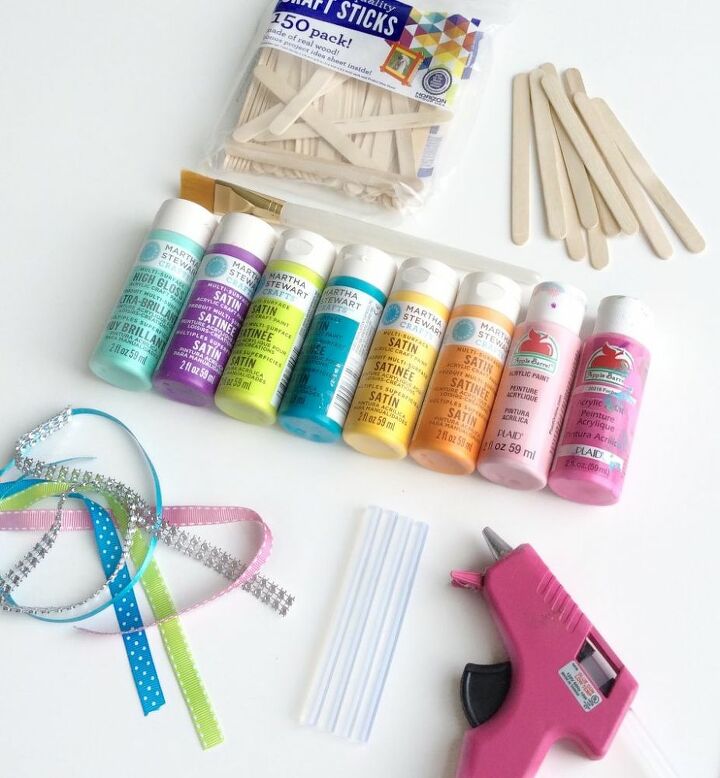
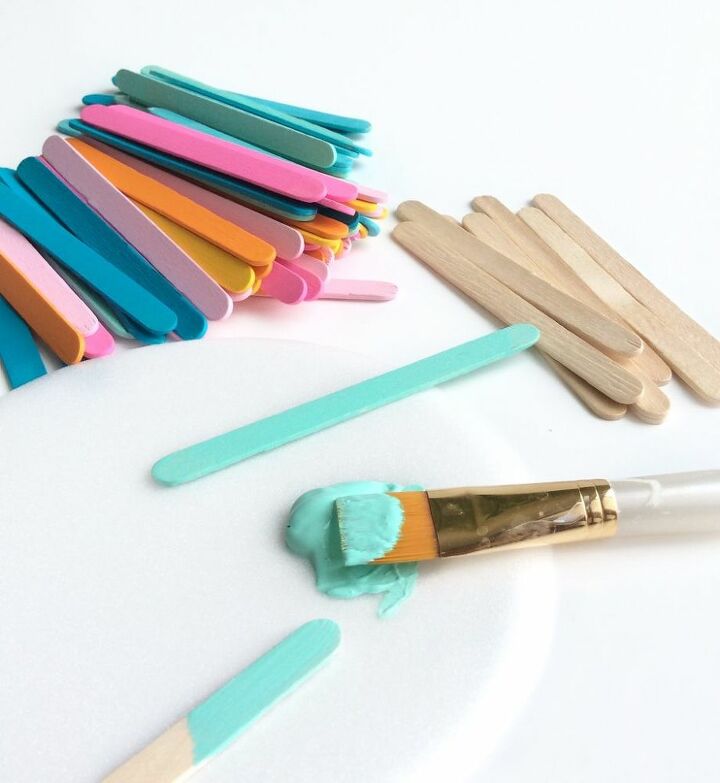
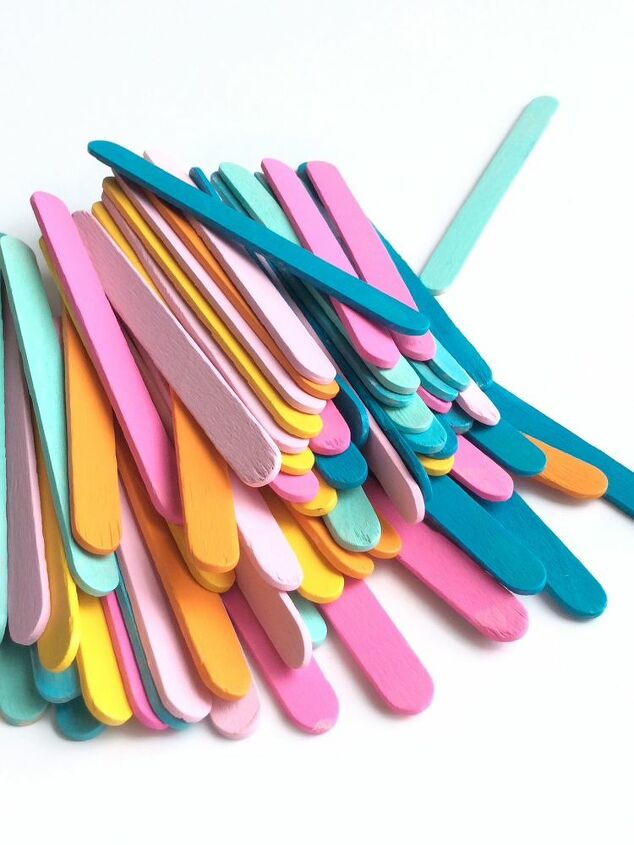
First, decide the colors and width you want to use with your organizer. You will paint them according to the combination you have decided or you can also make them in a single color or perhaps leave them as natural as the sticks come.
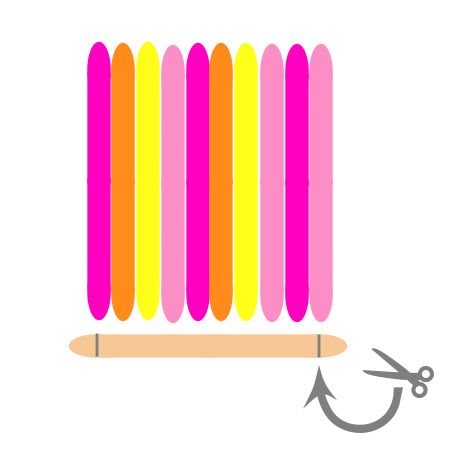
After you have painted all of them arrange them according to the combination you want, then continue adding sticks until you reach the width you want your organizer or box.
Next take a stick and cut both ends so that it's long enough to cover the other sticks
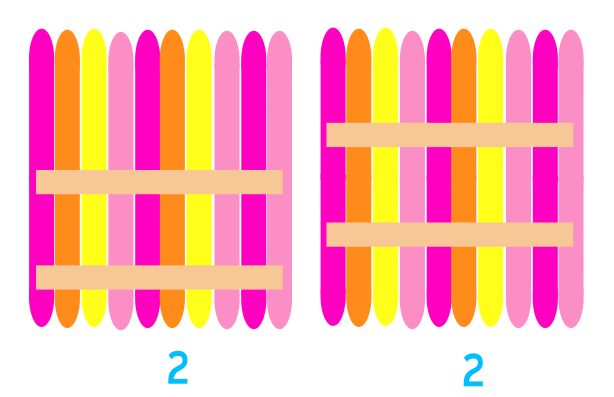
You must cut two (2) sticks for each quadrant, that is for each side of the organizer. Now it's time to affixed them to the quadrant this will be the base. Look closely at the bottom picture, there are two quadrants where the sticks are in one direction and on the other they are on a different direction. This is done so that the corners don't hit each other.
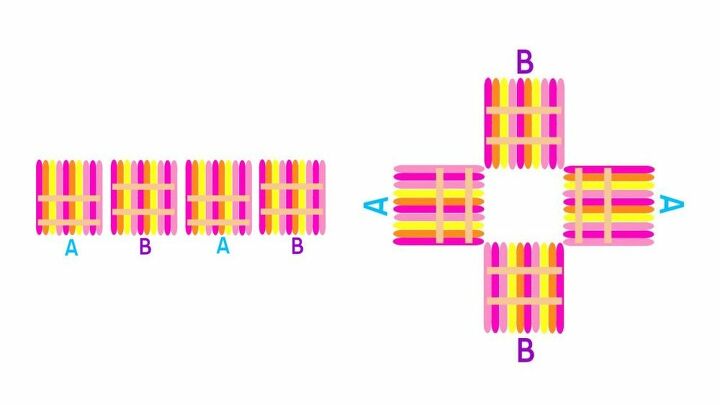
At this point you have made 4 quadrants , 2 of each and you must arrange them as shown on the pic below
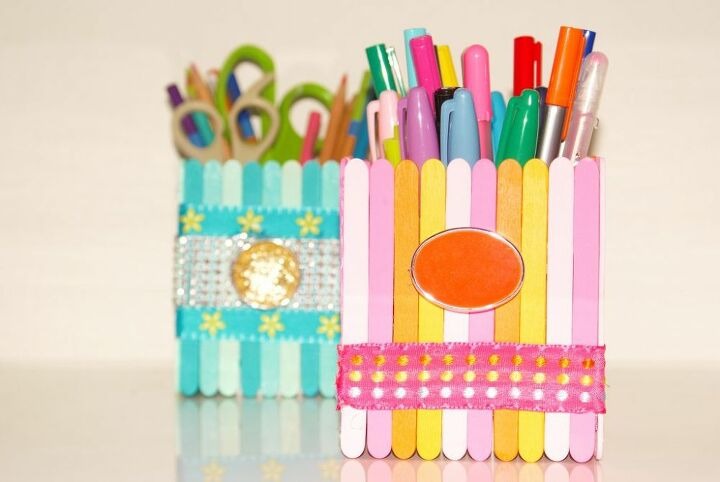
And this should be the result. A very nice looking , economical and useful craft.
See you soon with a new tutorial! Don't forget to follow us on
Resources for this project:
See all materials


Frequently asked questions
Have a question about this project?