


Fall Hoop Wreath
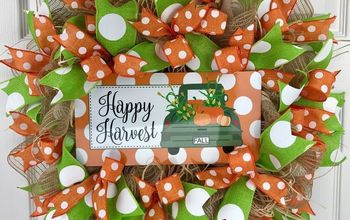
My favourite season has come around once again. I love sweater weather. There’s just no way around it. What better way to kick off my favourite season with one of my favourite types of DIYs? A wreath! I’ve made a few embroidery hoop wreaths before (for Spring, and Canada Day, and Christmas… ). There’s just something about the simplicity of an embroidery hoop wreath. I can’t get myself to make anything else. Oh, and bonus! I’ve joined 8 other talented bloggers sharing their fall wreaths which you can check out at the end.
Find more great DIY Home Decor and Renovation ideas on our blog, Love Create Celebrate!
What better way to kick off my favourite season with one of my favourite types of DIYs? A wreath!

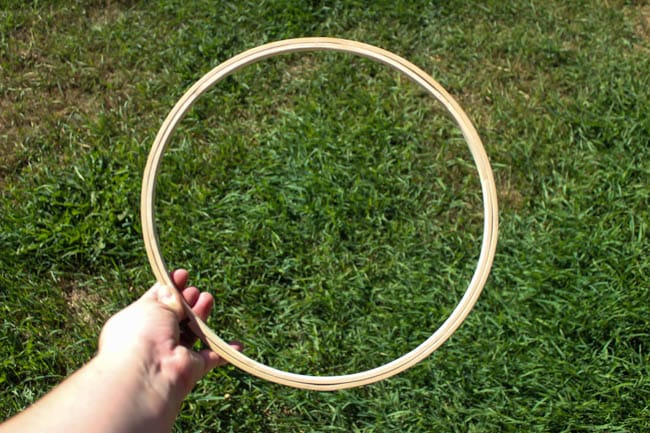
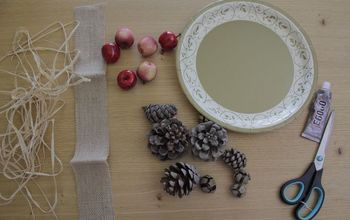
1. For this wreath, I decided to spray paint my embroidery hoop white.
2. Using side cutters cut out whatever faux florals of your choice.
2. Once you cut out your leaves and florals, plan out how you want to design your wreath. I started the bottom layer with the leaves and gradually add the other pieces using the power tac glue. I covered 2/3 of the hoop.
I filmed a video of myself putting the wreath together so you can see how easy it is! Find the VIDEO HERE!
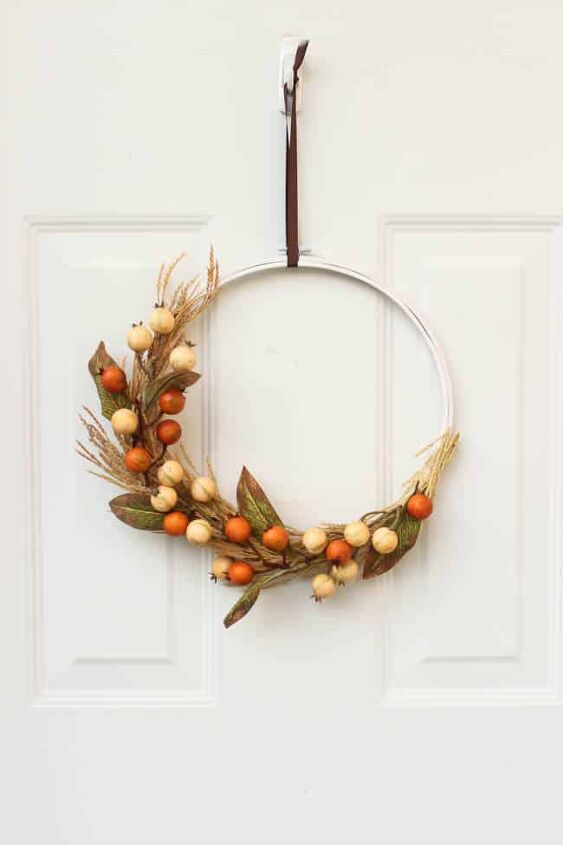
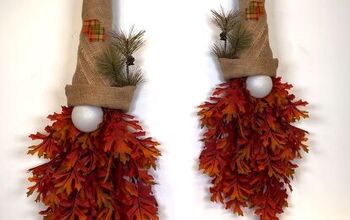
3. Put as many layers as you like and glue them together.
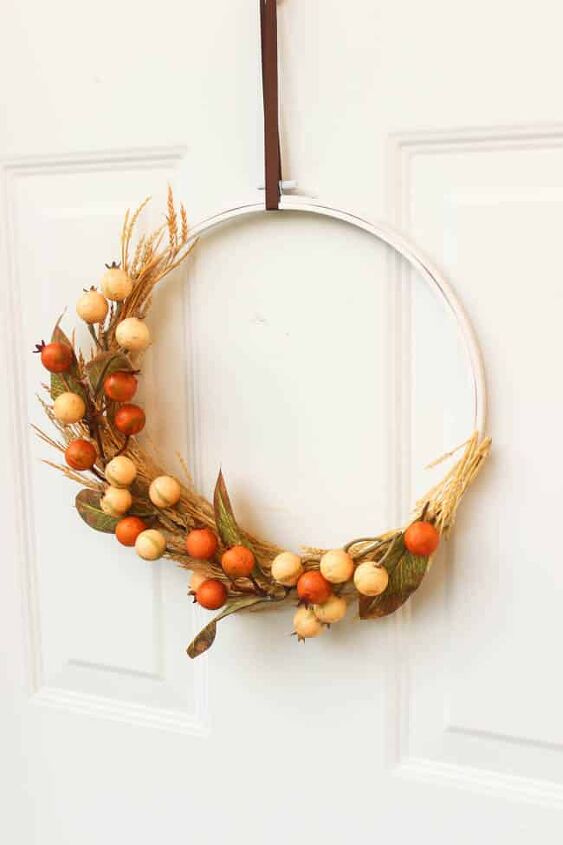
That's it! I love my fall wreath and it is super to make!
Resources for this project:
See all materials


Comments
Join the conversation
-
Classic, simple, and beautiful.
-
Love this!


Frequently asked questions
Have a question about this project?