


Easy DIY FALL Pillow Cover
Making your own decorative pillow cover is one of the simplest and quickest ways to really punch up the look of a room. It’s also inexpensive, which makes it even better.
If you’ve never made an envelope pillow cover, be encouraged because they’re absolutely the easiest little sewing project ever.
Start by measuring your pillow and cut a rectangle from your pre-washed fabric to fit by using this guide:
- measure the width of the pillow from seam to seam and add 1 inch (for my pillow, that’s a 17″ wide cut).
- measure the height of the pillow from seam to seam, double that distance, then add 6 inches (that’s a 38″ length cut.)
- That’s it!
Here’s what I used:
- a 16-inch pillow
- canvas fabric
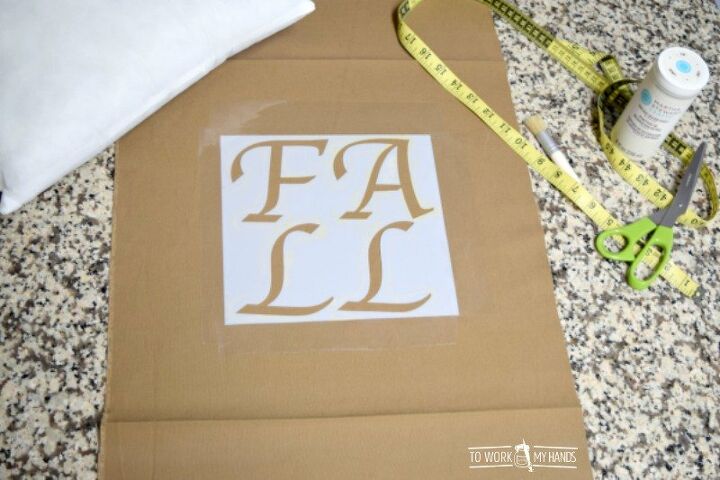
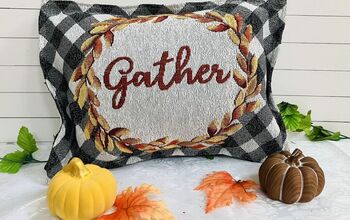
- FALL stencil (I made my own. Here's how.)
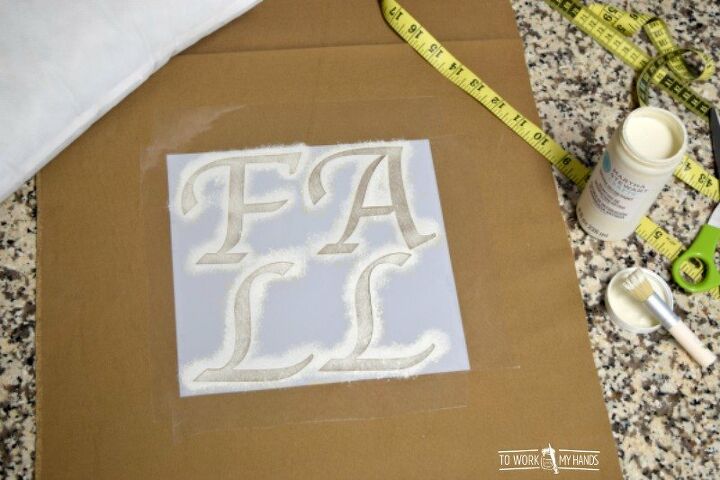
- Martha Stewart Vintage Decor Paint – Linen
- stencil brush
To make sure the stencil would end up centered, I wrapped the fabric around the pillow from top to bottom, and ironed in creases.
Then I used a measuring tape to center the stencil between the side edges and top and bottom creases.
If you’re good at eyeballing…yay you! I’m not so good at it.
After the stencil is dry, all you have to do is sew six simple straight stitches:
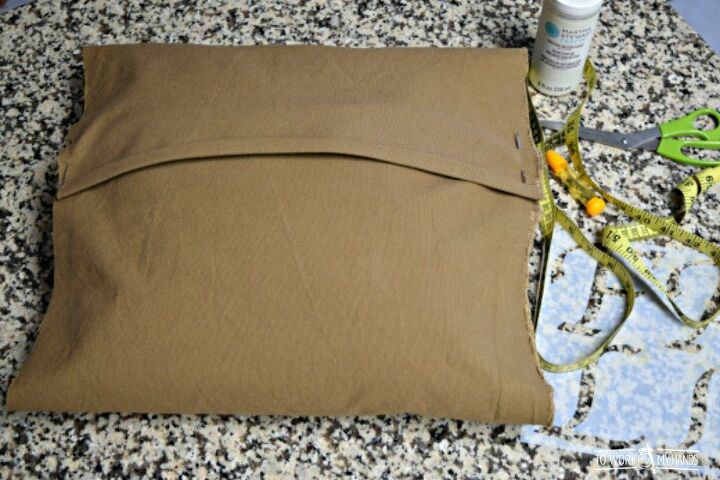
- on the wrong side of the fabric, sew a double 1/2″ hem along the top and bottom edges (fold over 1/2″ and stitch, then fold over another 1/2″ and stitch again to hide raw edges.)
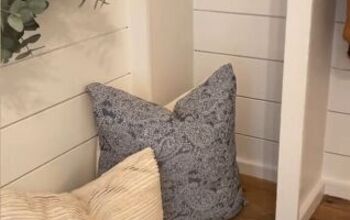
- overlap the top and bottom edges on the back, 3-4″ – depending on how tight you want the cover to fit (see photo above), and pin in place.
- stitch the two sides closed with a 1/2″ seam allowance.
- turn right-side out and use a pencil or something blunt to push out the corners.
- insert the pillow.
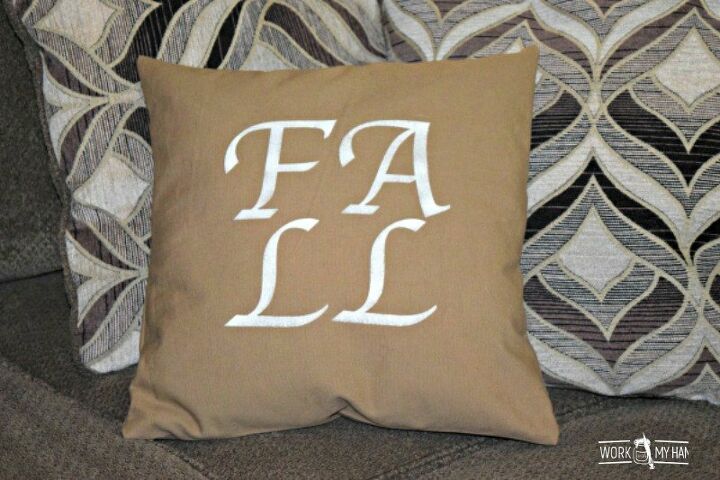
Wasn’t that easy?
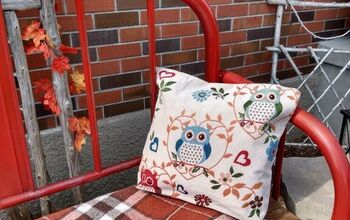
You can use this basic idea and make all kinds of pillows.
Use any stencil you like – for any season or holiday. You can also use a wide range of fabric types and colors too.
Resources for this project:
See all materials


Frequently asked questions
Have a question about this project?