


Sew a Simple Seam Repair

It always surprises me that so many people can't make a simple repair on their clothing. I have made many repairs for people over the years from sewing a hem, mending a seam, or a button on (for free). But, it truly is a simple project with very few items needed. If you already sew, I realize this isn't something you need. But why pay (or beg) someone when you can do it yourself? So, here are a few simple steps to repair a seam on a pair of yoga pants. The thread probably caught on something, pulling out a section of seam.
My eight year old granddaughter can do simple stitching, thread a needle, and tie a knot, and I'm confident you can too!
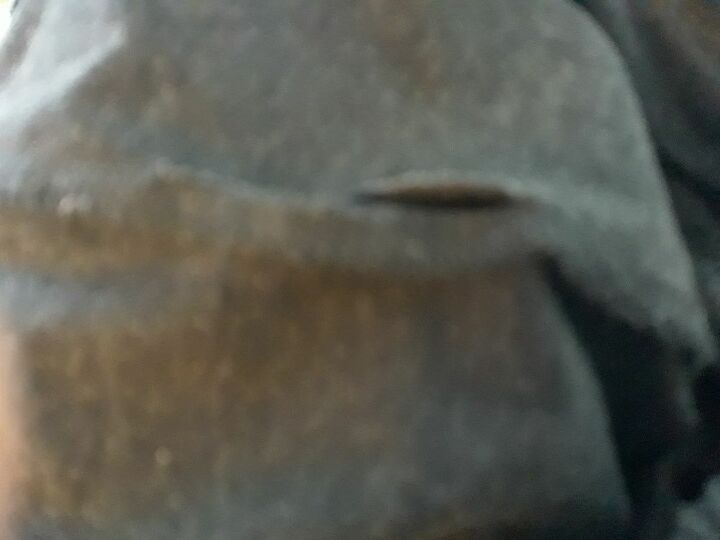
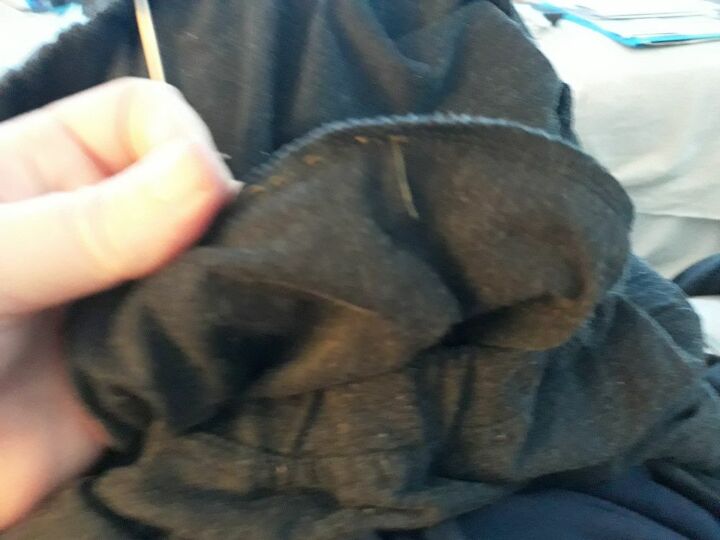
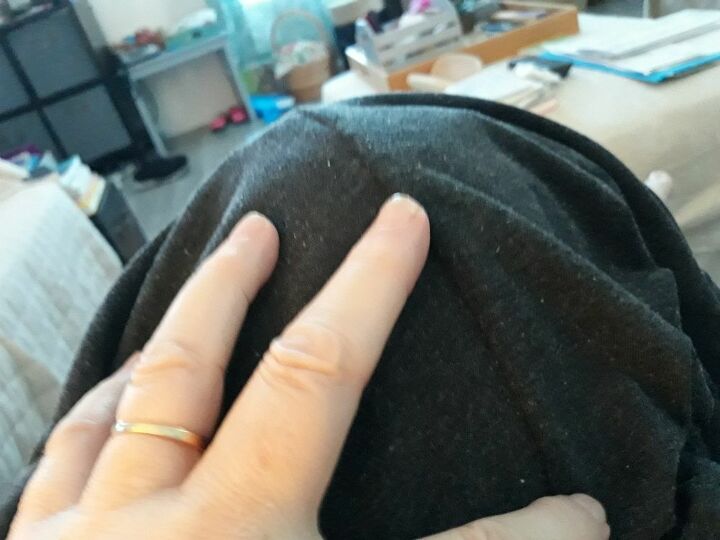
Here is the seam that opened up on my yoga pants.
ITEMS NEEDED:
a needle
thread close in color to what you are repairing or close to the color originally used for the seam
scissors
Thread a needle with thread that is close to the color of the item you are repairing. It won't matter if it isn't an exact match since you won't be able to see your stitches if you keep them small, on the wrong side of the garment, and where the original stitches were. I usually thread the needle with a thread at least twice as long as the repair so I won't have to rethread the needle part way through.
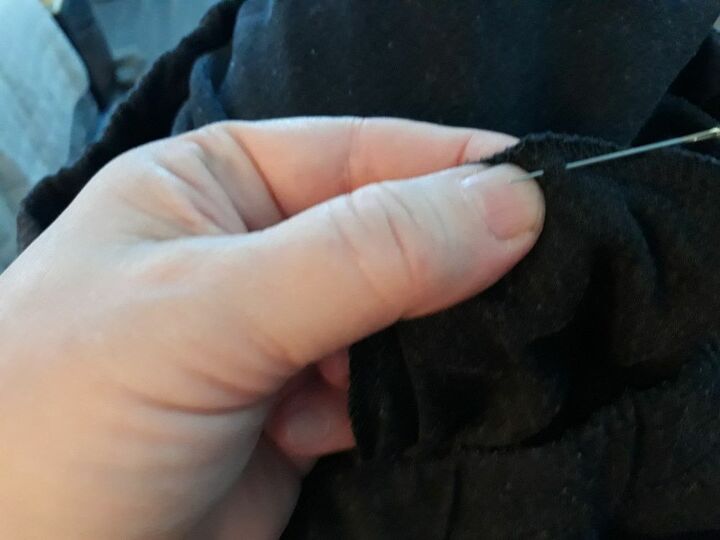
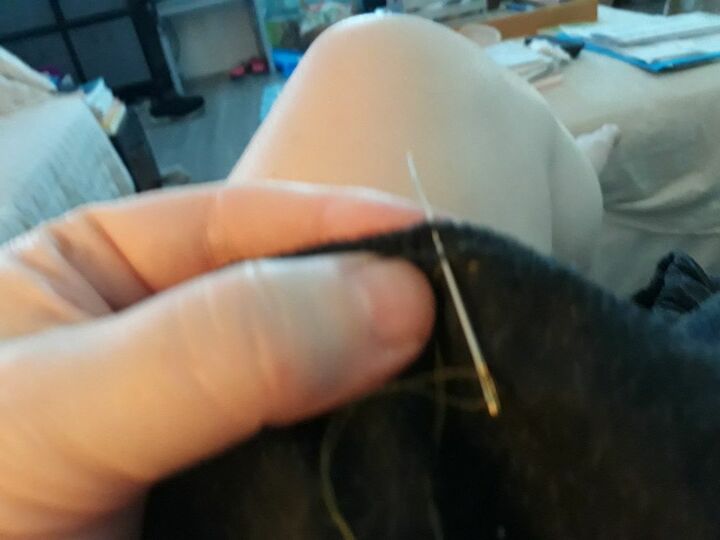
The pants are inside out, and holding the edges together where it was sewn, I take my first stitch.
HINT: Start sewing where the fabric is still sewn so you don't end up with a gap between the intact, factory stitching and your repair.
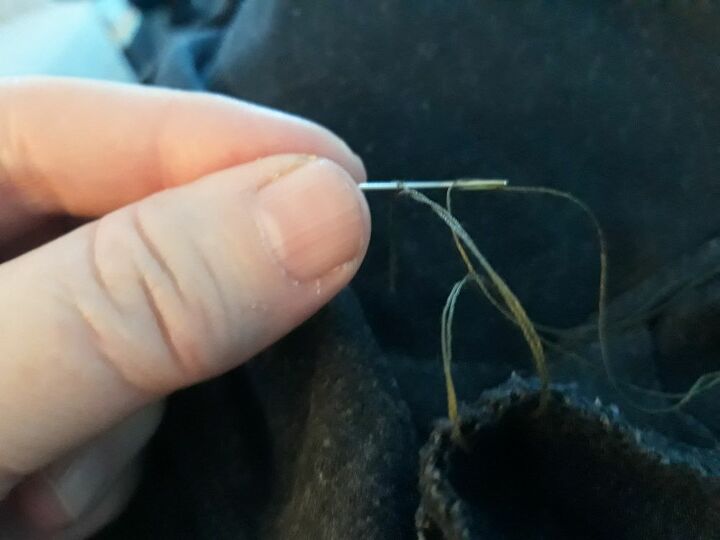
Stop, lift the knotted thread over the needle and pull the needle until the first stitch "locks". To clarify, you are putting the sharp point of the needle through the two sides of the thread where it is knotted. Then you are pulling the needle gently until the loose thread is all pulled through and you are then ready to take your next stitch.
Make small stitches going in a line, following the original line of stitching. Don't pull on the thread or stretch the material since that will give you puckering. Just take small stitches and keep them fairly close together. If they aren't perfect, don't worry
Small stitches kept in line are the key.
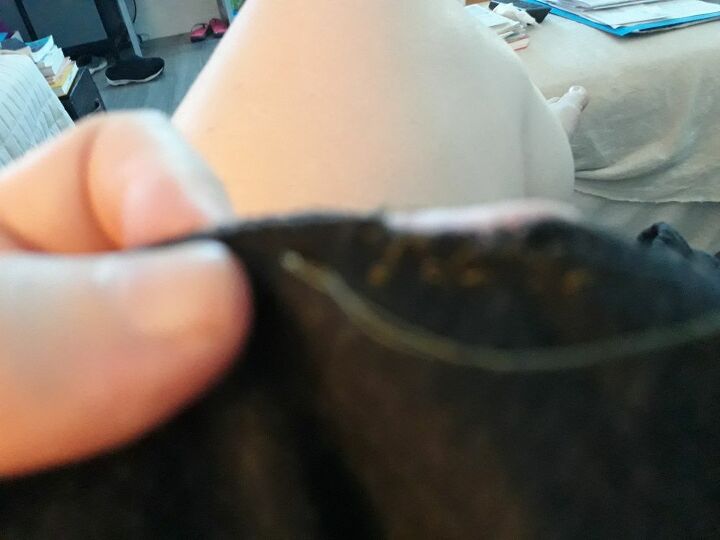
I go past the end of the gap, again to prevent a small open space between the machine stitches and hand stitching. Since this type of material has an over stitch on the edge of the seam, I just head back in the direction I came from, following the line of stitching I just did, going up and down over the unfinished edge of the material, just down to the line of stitching. This will make my repair stronger since the material is thin and stretchy.
I go back over the top stitches I just finished in the opposite direction, at least two or three stitches before cutting the thread close to the needle, and tying a knot. This will help keep your thread from pulling out.
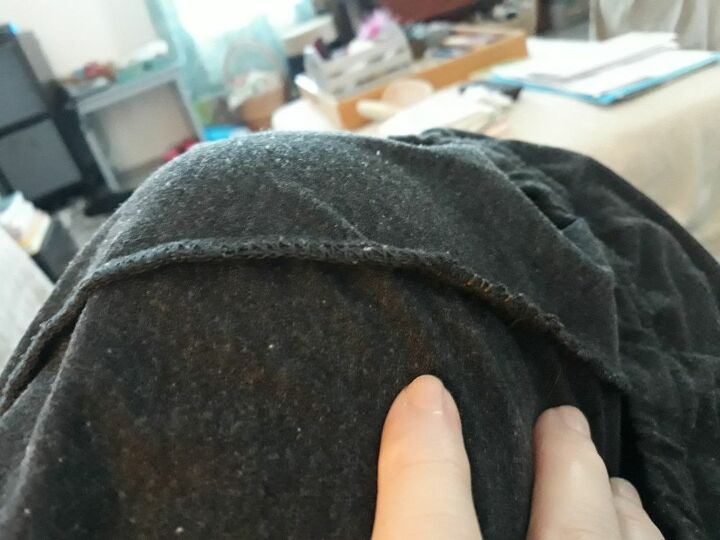
This is how the finished repair looks. Notice how it blends in with the rest of the seam.
Turn it right side out and check out your repaired seam. Remember, it is only thread, which you will have more of, if you don't like your first repair. Then just cut the knots and gently work the thread back out of the fabric.
HINT: if you need to undo part or all of your attempted repair, use your needle to work the stitches out of the material, sticking the needle under the thread and then gently lifting the thread out of the material. Going backwards/in reverse from the original stitches you took make them come out easily.
FOLLOWING ARE PICTURES WITH WHITE MATERIAL AND RED THREAD TO MAKE IT EASIER TO SEE
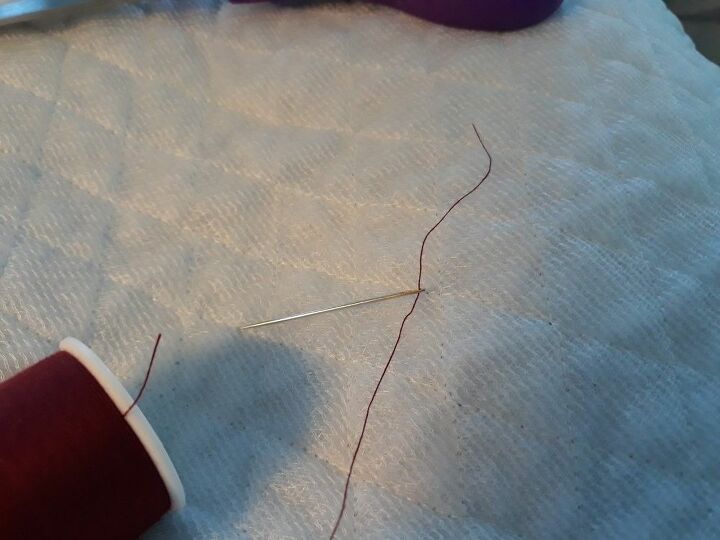
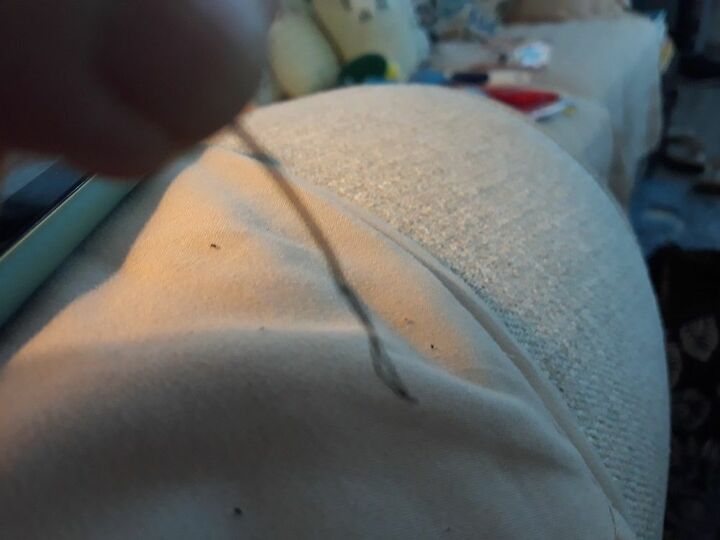
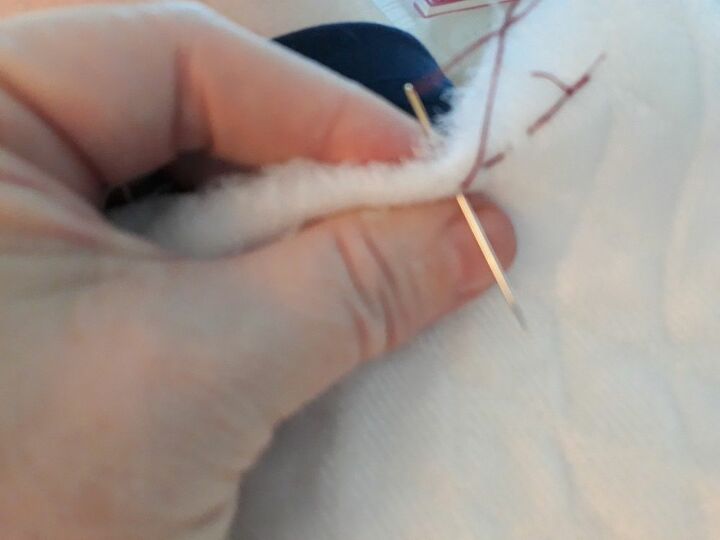
Thread your needle.
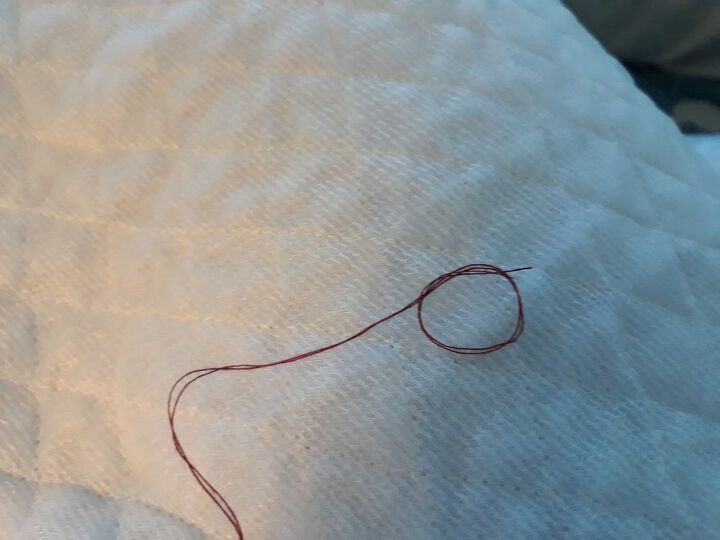
Tie your knot.
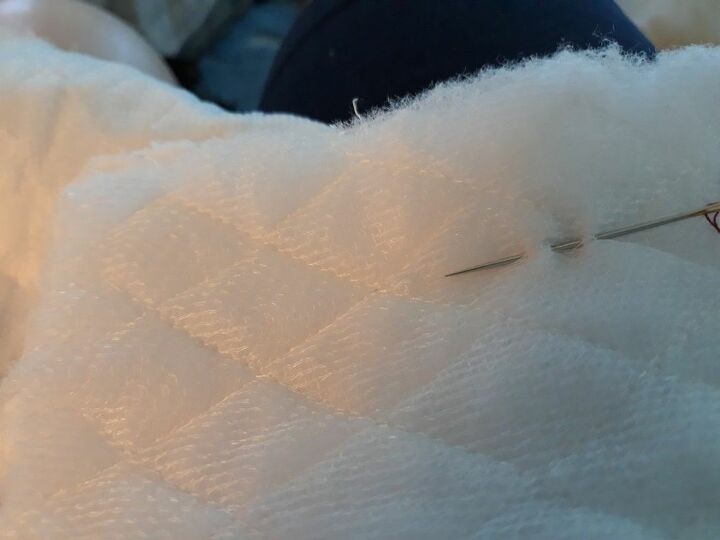
Remember to "lock" your first stitch and then make small, even stitches. I deliberately did them a little bigger so you could see what I mean, with the red thread.
After the gap had been sewn, start your over stitch at the top edge.
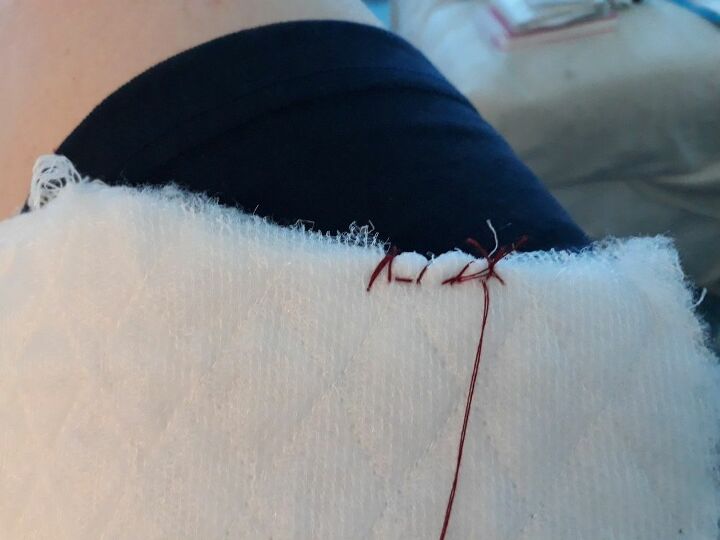
The over stitching.
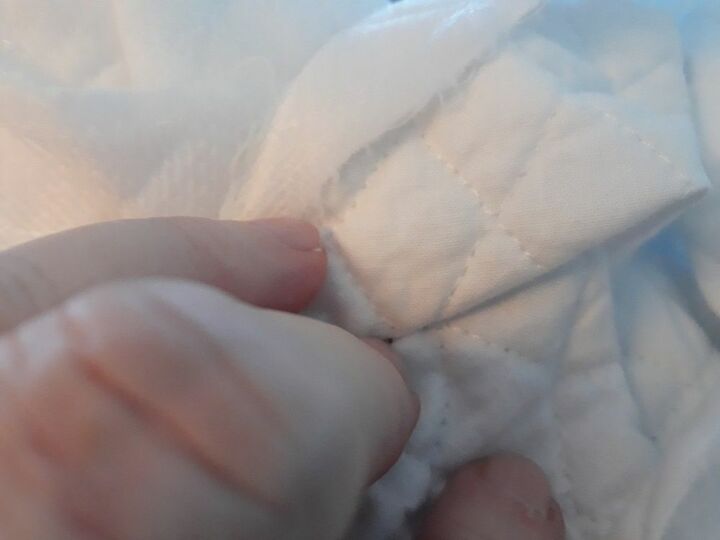
Turned to the right side, you can see how the stitching won't show.
If this was helpful, let me know. After all, buttons are even easier! I'd be glad to do additional posts if it would help you!


Frequently asked questions
Have a question about this project?