


$10 Brass Thrift Store Lamp Makeover- Easy Tutorial Using Chalk Paint!
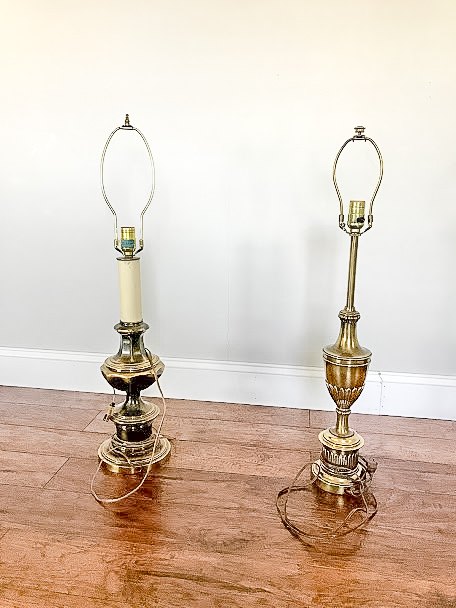
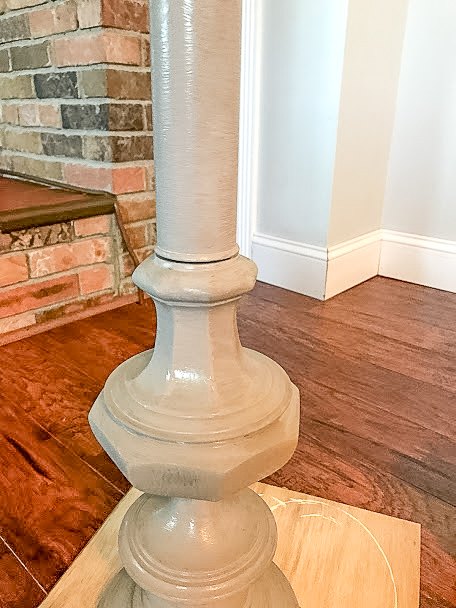
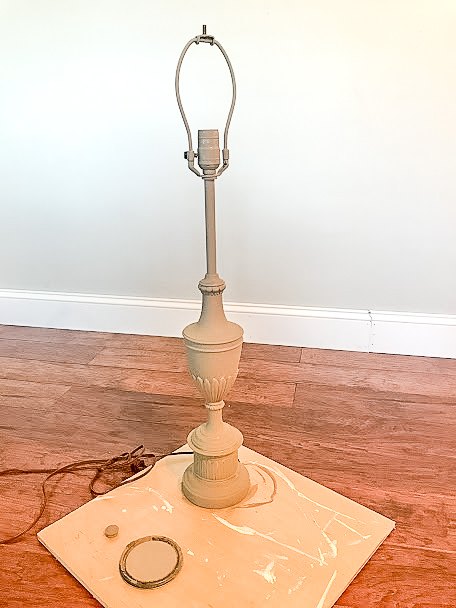
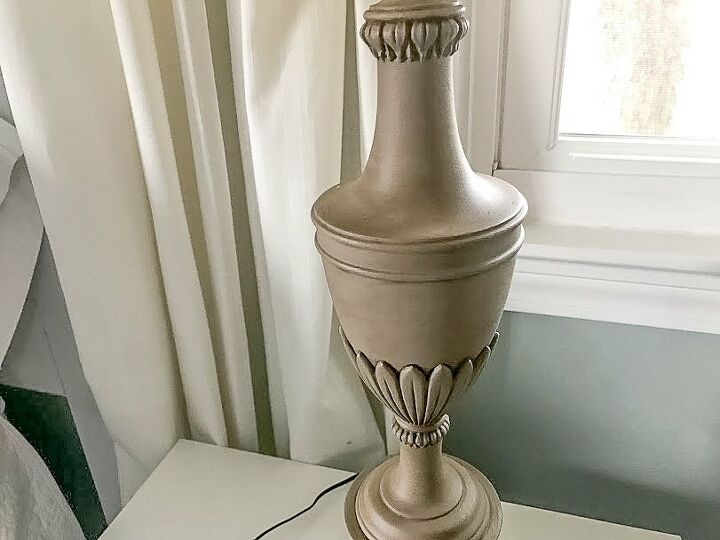
The lamps I had in my master bedroom were in sad, sad shape. While my husband and I were out thrift store shopping one day, I spotted this ugly brass lamp pair. I wasn't sure what I could do to them but I loved how tall they were, how sturdy. They really don't make 'em like this anymore. I knew they had the potential to be something beautiful. So off they came with me.
I had some leftover Annie Sloan chalk paint in the color coco from a previous project. I decided that color would work in our bedroom color scheme and I love the antique-y feel of that color paired with a dark wax.
You may notice that they aren't an exact match. But since the scale and height of them are similar, once they are painted you won't ever notice!
Here's an after shot for you.
It really was so easy. If you've never used chalk paint or wax before, do not be scared of it. But the important thing is to use good quality chalk paint. I've used a lot of different chalk paint in a lot of different price points. Annie Sloan is the best for a reason. It may be pricey, but it goes a long way.
The cheaper stuff doesn't go on as well. It chips easily. And I've had to use 5-6 coats to get a decent coverage. I never have to do more than 2 coats with Annie Sloan.
So how did I do this?
Tip: Make sure to clean your lamps thoroughly before starting!
Then, start applying your first light coat of chalk paint with a good quality 2 inch angled paint brush. It may look a little rough going on in the first coat. That's just the way chalk paint is. The next coat will look better, scout's honor.
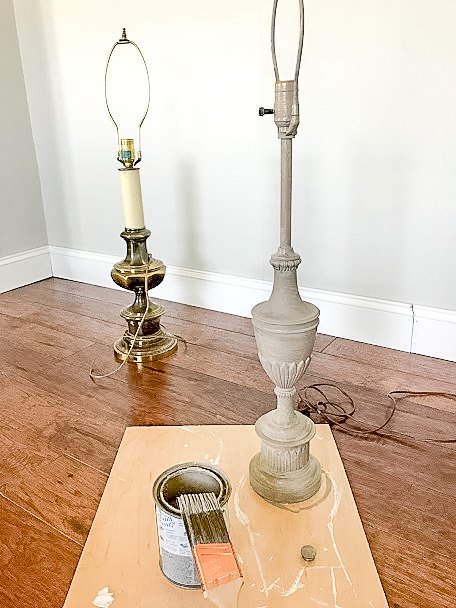
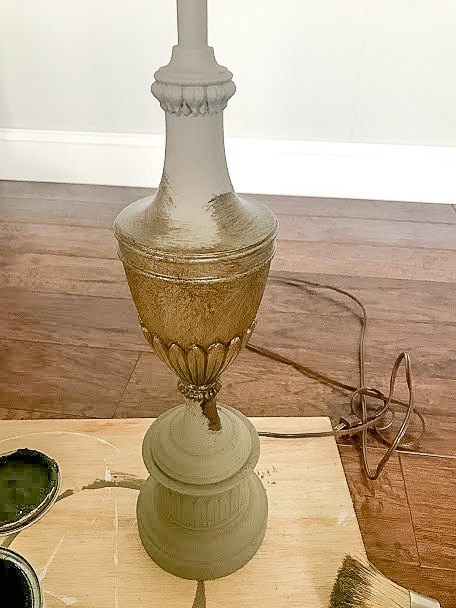
Here's one lamp with one coat of chalk paint.
Here's the first coat going on the second lamp.
Now, once your paint is dry to the touch, you can begin your second light coat.
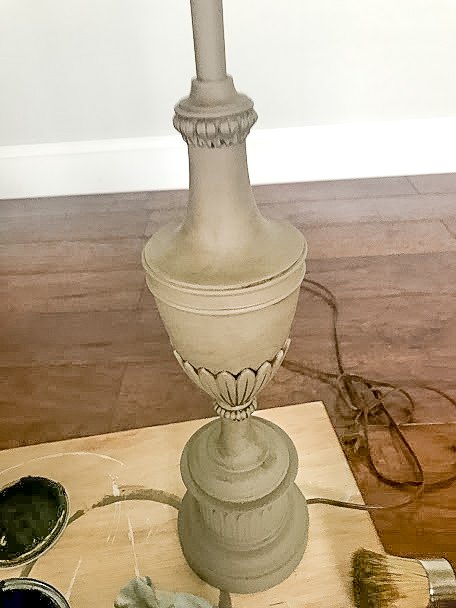
Here's what it looks like after second coat. You can see the paint has an overall smoother finish and the brush marks are no longer visible.
*If you desire a distressed finish, this is where you would do it. Use a sanding blog and with a light hand, give a little scuff to all the places that would normally age over the years. I chose not to distress, so I skipped this step.
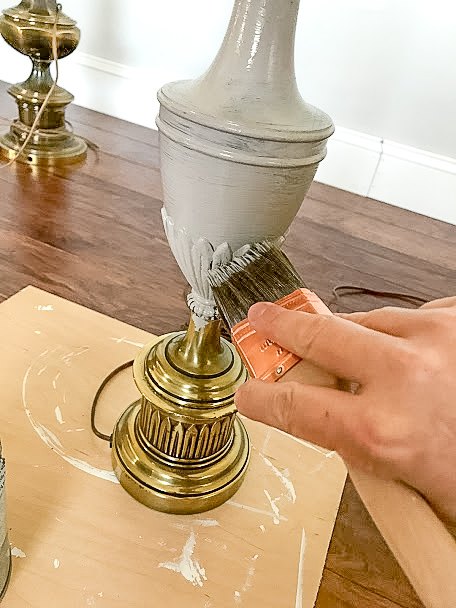
Now onto the wax. If you want to keep the paint color looking exactly as is, use a clear wax. I wanted an antique finish so I chose to use the dark wax. It gives it an antique glaze that works really well with the Coco color.

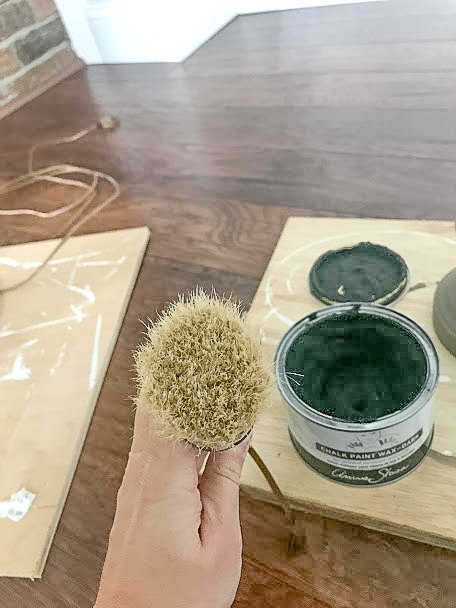
It looks a little scary with the top off. Don't be scared.
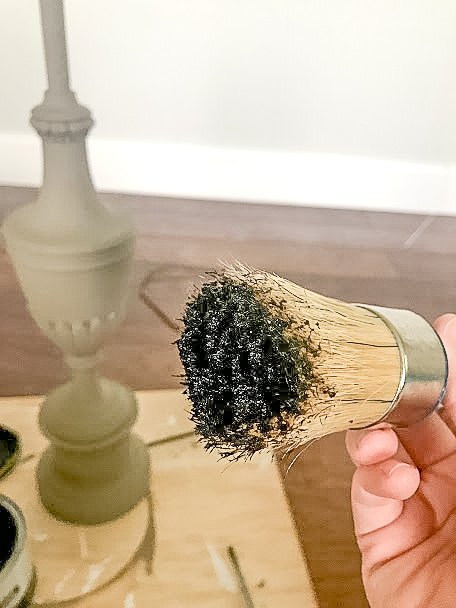
You then take your special wax brush and dab a little onto your brush. Less is more, here. This amount I have on my brush will almost do half of the lamp.
Then, apply to the lamp in small sections using a jabbing motion. This stuff dries super fast so you want to work in small sections so you have time to wipe the excess off before it dries.
I worked in sections about this size. Then, I took an old rag and started wiping the excess off.
This is what it looks like after the wax is wiped off. You can see how the detail work pops out at you now.
Just continue working, section by section repeating the same process.
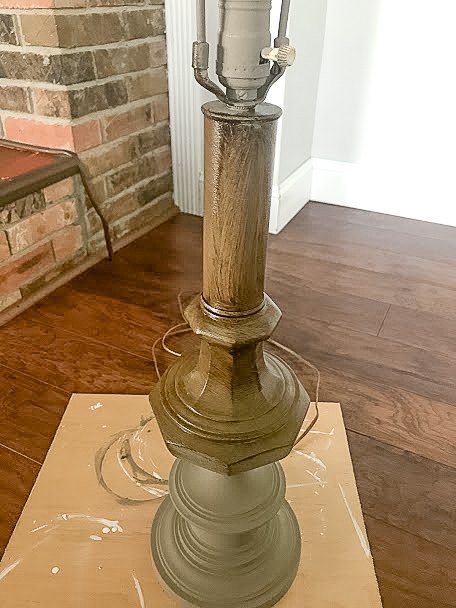
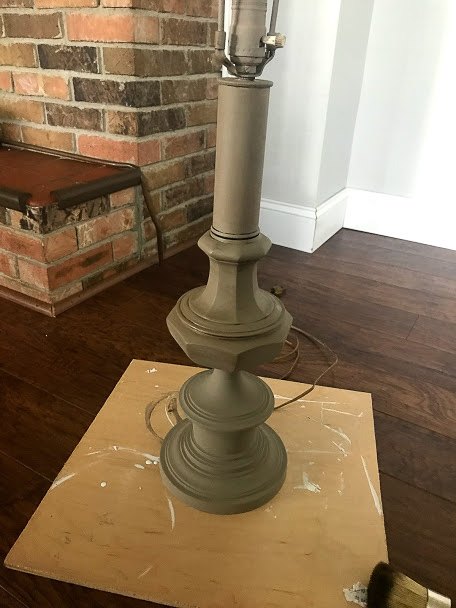
Now onto the next lamp.
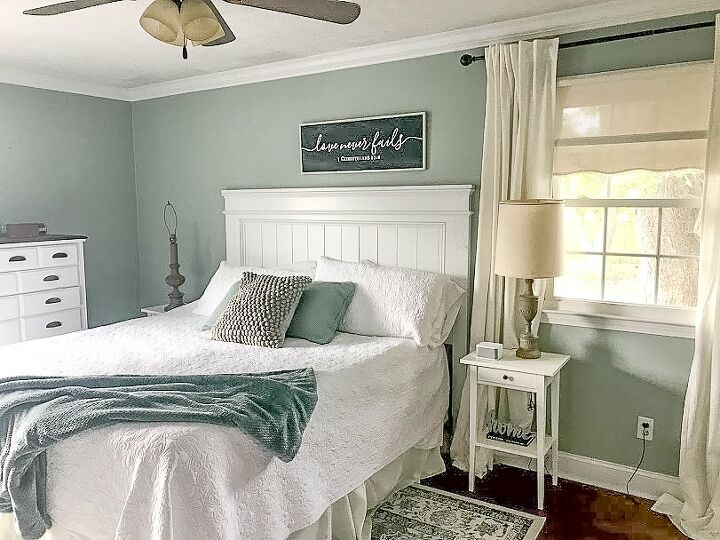
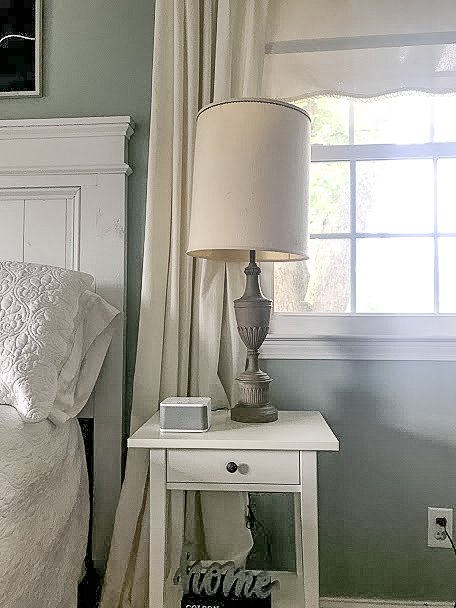
Still need to find new shades for them. But here they are in their new homes. I love how one is more feminine looking and one is more masculine. Perfect his/her lamps for a master bedroom!
Resources for this project:
See all materials


Comments
Join the conversation
-
Gorgeous! Did you seal the paint with anything, or does the wax do that on glass? Thank you!
-
Love them !! Great idea on his n hers 👏🏻


Frequently asked questions
Have a question about this project?