


How to Make Shaker Style Cabinet Doors the Easy Way...
In this tutorial and video I'll show you how to make shaker style cabinet doors withOUT the use of a table saw or a router. The ONLY power tool required will be a circular saw.
This method is the easiest way to make a set of Shaker Style cabinet doors. Cabinet makers would probably scoff at this tutorial but I needed a set of EASY(no table saw required) cabinet doors and this method is E-Z.
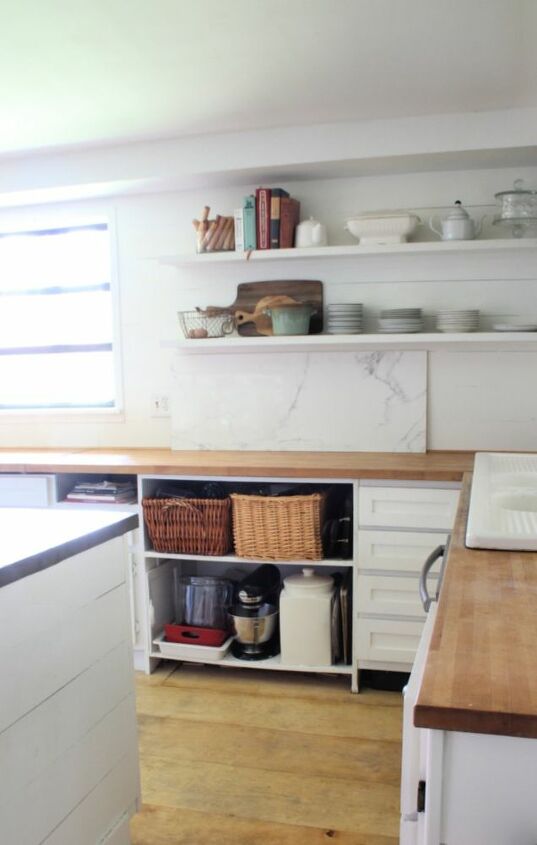
When we bought our house ten years ago the cabinets were flat front partial overlay icky brown laminate cabinets. My first kitchen project was to trim them out with lattice trim to make the doors look like shaker style doors. Then I painted them all white.
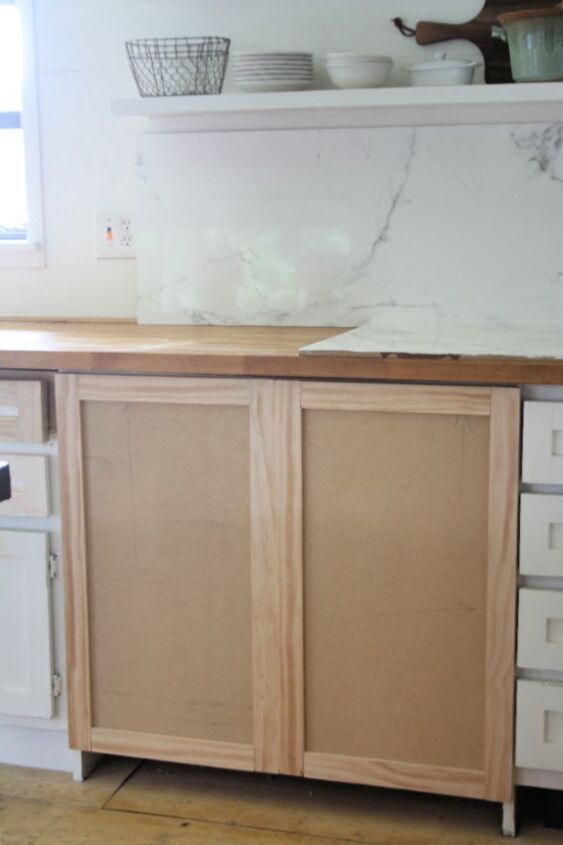
Well… a refrigerator used sit in this spot and I’m finally making the cabinet doors for the box I created 10 years ago. So when I started to plan for making the doors I decided I would make the simplest and fastest doors possible since I plan to replace this entire 1962 kitchen some day.
On with the tutorial...
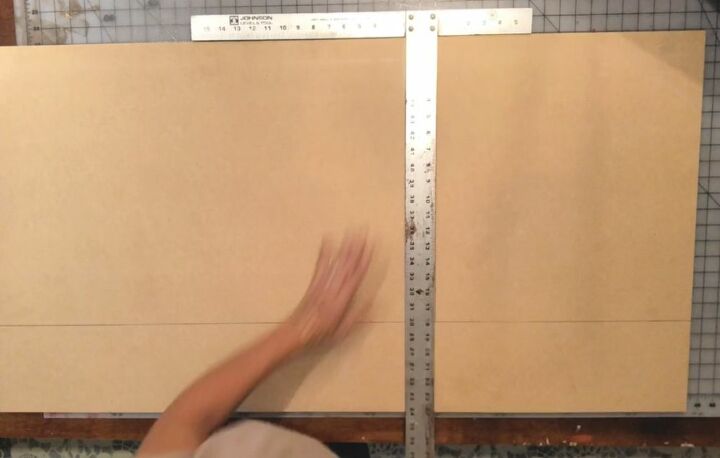
Measure and mark the correct size for each door.
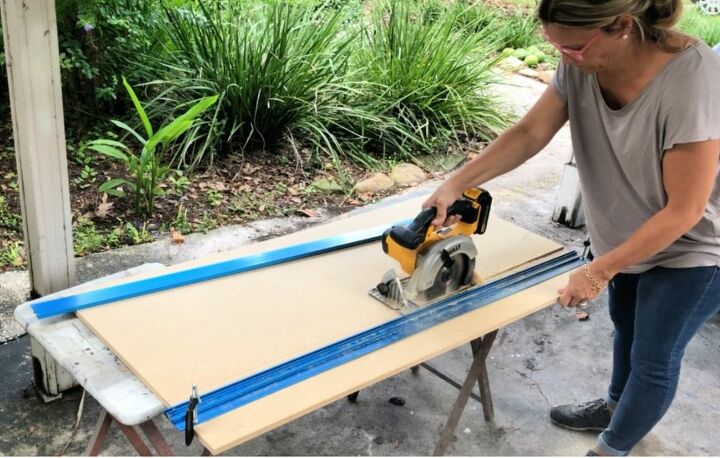
Set a jig, ruler, or 2×4 to use as a straight edge. I used the Kreg Jig for rip cuts, fastened with C clamps.
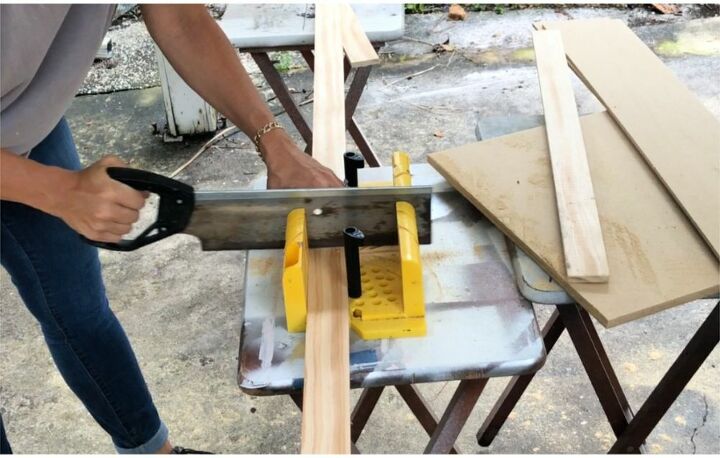
Then measure and cut the lattice trim moulding to the correct size. I butt joined my trim, which is typical for shaker style. No mitered corners thankfully.
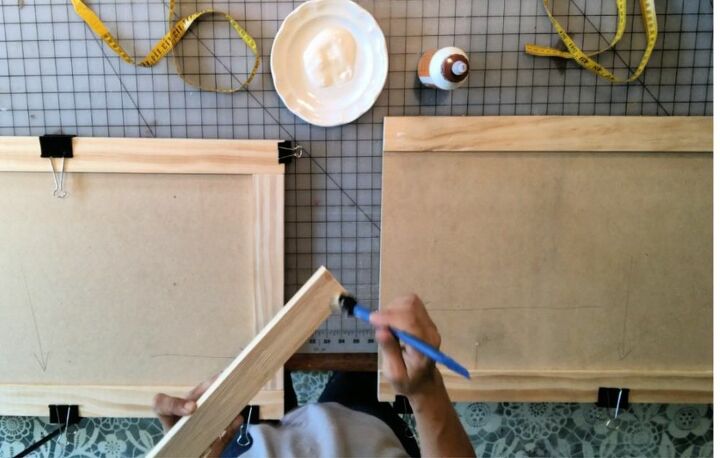
Sand the cut ends smooth, and apply a good quality wood glue to the trim moulding. Make sure to cover the whole back of the wood trim in order to get a good bond. Then use small trim nails to secure the trim in place. I actually didn’t have any trim nails, so I just glued and clamped my trim and the Gorilla glue is definitely sufficient.
The last step is to attach hinges and hang the doors....
Check out the video…it has way more detail and I give brief explanation of the hinges. I’ll update you once I have everything painted.


Comments
Join the conversation
-
Now that was easy! I did mine the hard way. Used 1x4s for the frame. Connected with the Kreg pocket hole jig. Routed a slot along the inside. Cut and placed plexiglass inside. Secured with specially made tacks. Mine was a lot of extra work for a similar result.
When you redo your kitchen, consider putting rollers on the bottom cabinets. Roll them into place and build your counter over them. Then, when you need extra counter space, just pull out your bottom cabinet (I made mine into 3 along one wall) and you have what you need some of the time. Just use your imagination. I'm sure you'll find an easier way to do it just like with this project.
Happy renovating!


Frequently asked questions
Have a question about this project?