


Rebar Revamp: How to Upcycle Rebar Into a Lamp

by
DIYfixman
2 Materials
3 Hours
Medium
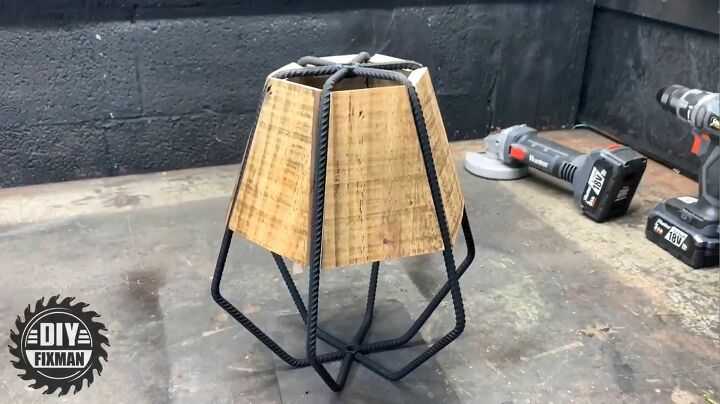
Think you can’t upcycle rebar into anything beautiful for inside your home? Think again! I used scrap pieces of twisted steel reinforcing bars from a job site and used a rough sawn plank to create an amazing hanging light fixture for under $30. The mixture of metal and wood produces a timeless industrial look that complements almost any decor style and is such a versatile combination for lighting. You can find rebar at salvage yards, your local Habitat Restore, or even by checking craigslist.
{
"id": "6042706",
"alt": "Rebar Revamp: How to Upcycle Rebar Into a Lam",
"title": "Rebar Revamp: How to Upcycle Rebar Into a Lam",
"video_link": "https://www.youtube.com/embed/odHJFFjhfp0",
"youtube_video_id": "odHJFFjhfp0"
}
{
"width": 634,
"height": 357,
"showRelated": true
}
You Will Need:
- Rebar
- 6 inch wide rough sawn plank
- Metal Bender
- Welder
- Saw
- Grinder
- Hanging light socket with wire
- Black spray paint
- Spray Sealant
- Rubber Mallet
Step 1: Cut Rebar
I measured and cut six equally sized lengths of rebar for the body of my lampshade. How long you cut them will be dependent on how large a light you want to create.
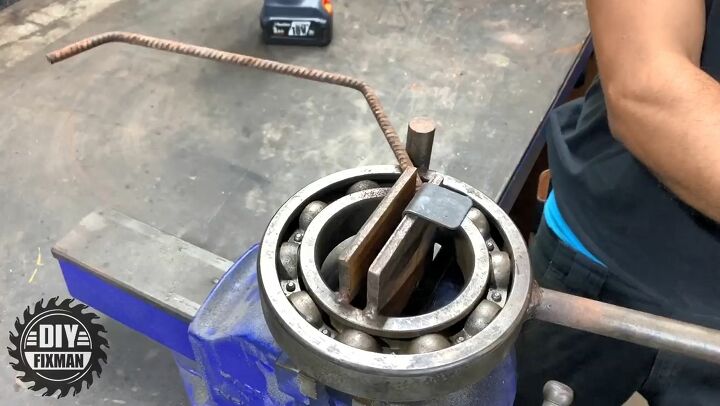
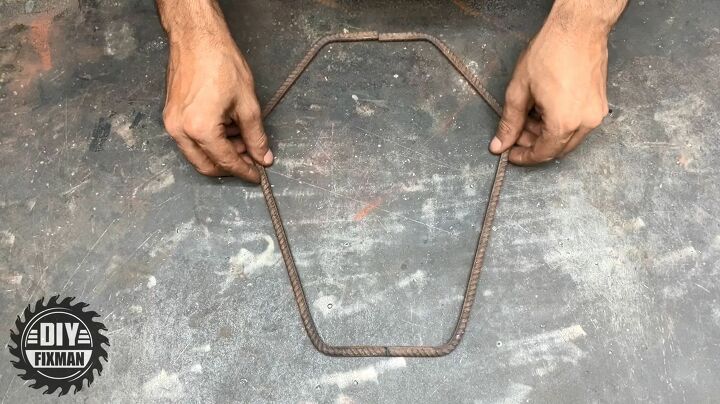
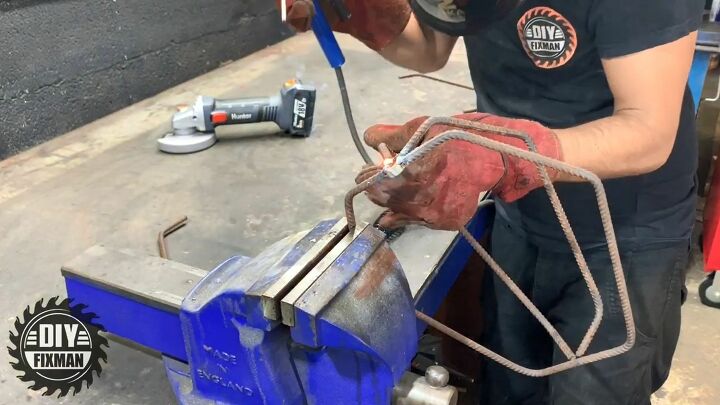
Step 2: Bend Rebar
I used a metal bender to shape and bend the six pieces of rebar into the form that I wanted for my lamp body. I chose to create a diamond shape with the metal bars. The metal bender was essential to create bars that were exactly the same shape because it has an angle lock to repeat the same bending angle for all six pieces.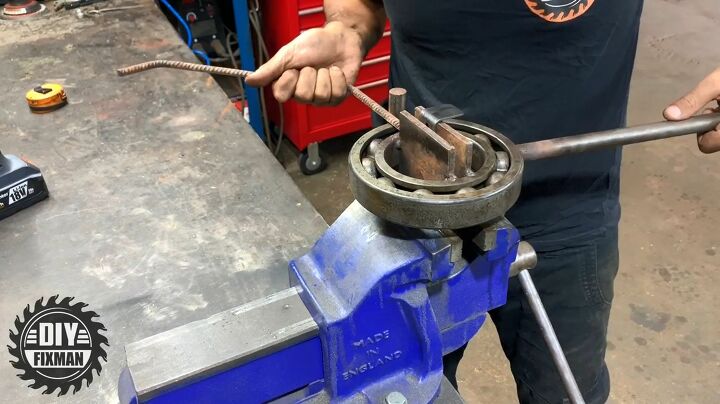
Bend Rebar
Bend Rebar
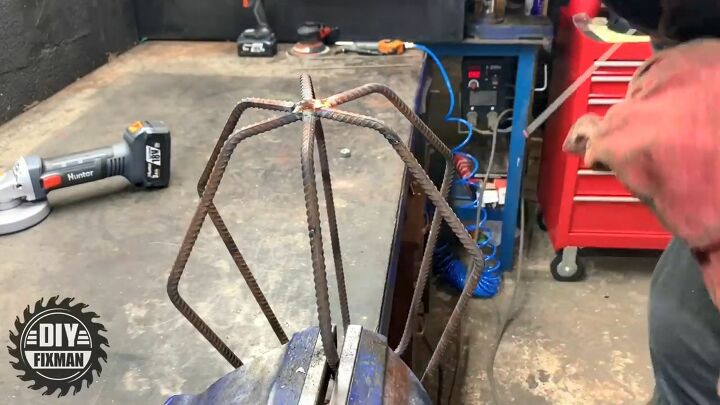
Step 3: Join Rebar in Center
I joined all six pieces of the rebar to a center nut by placing a tack weld where each metal end joined the nut, one bar at a time. I flipped the light frame over and repeated the same procedure on the underside with another nut.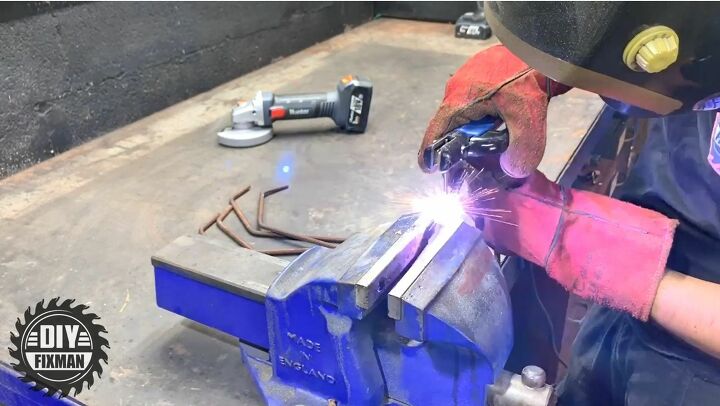
Join Rebar in Center
Join Rebar in Center
Step 4: Spray Paint Metal
I used black spray paint to thoroughly cover the rebar light frame on both the inside and outside. The black spray paint did a great job bringing out the twisted design of the metal.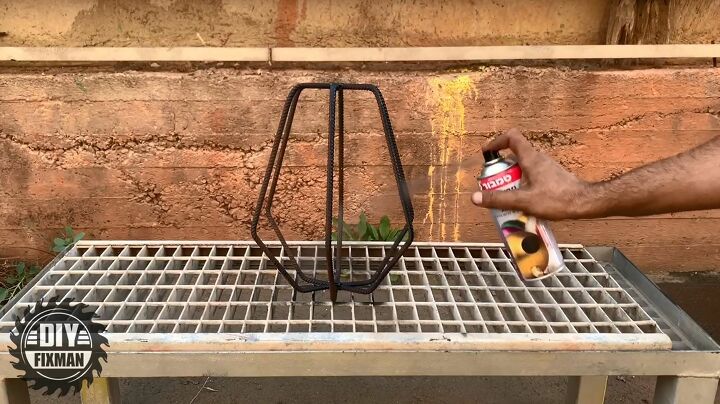
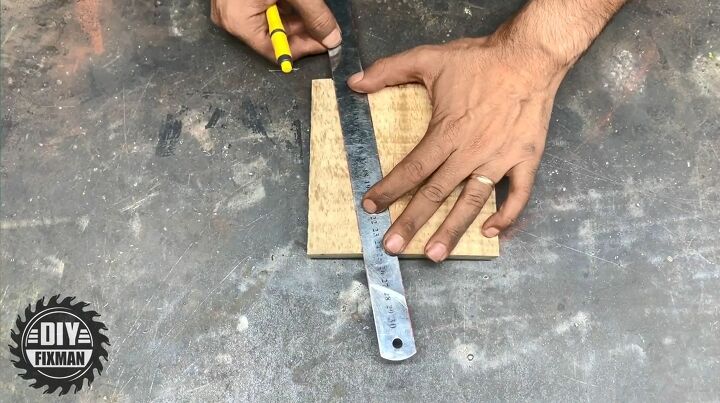
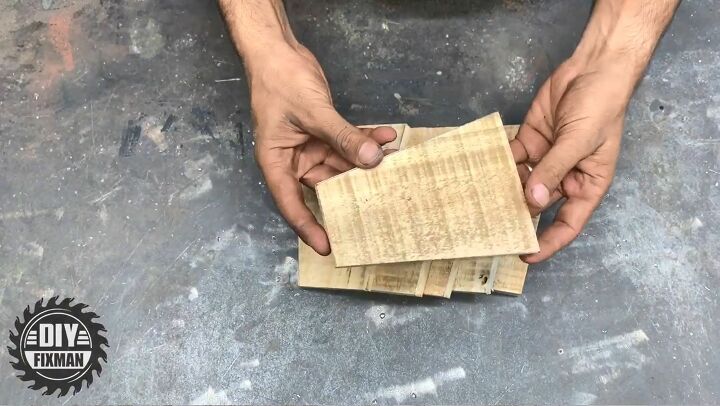
Step 5: Cut Wood For Lamp Shade
I measured the angled opening in my welded rebar frame where I wanted my wooden lampshade pieces to fit and first cut small squares then trimmed them into the angled shape; wider at the bottom than the top. I cut a total of six pieces to form each panel of my wooden lampshade.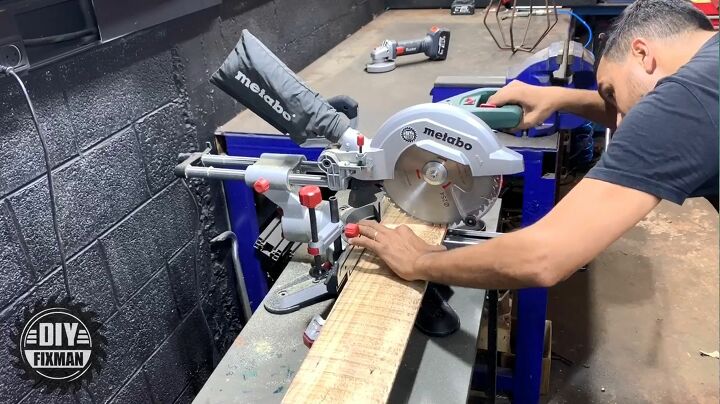
Step 6: Spray and Seal Wood
I used a clear coat spray paint to cover all of the wood panels for my light fixture and let it dry thoroughly. I chose the clear coat because I preferred a natural wood look for my lamp but you can choose a golden or a dark stain depending on what shade you are trying to achieve.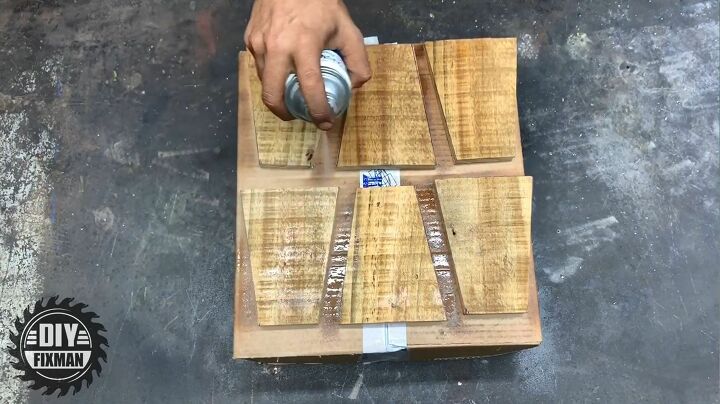
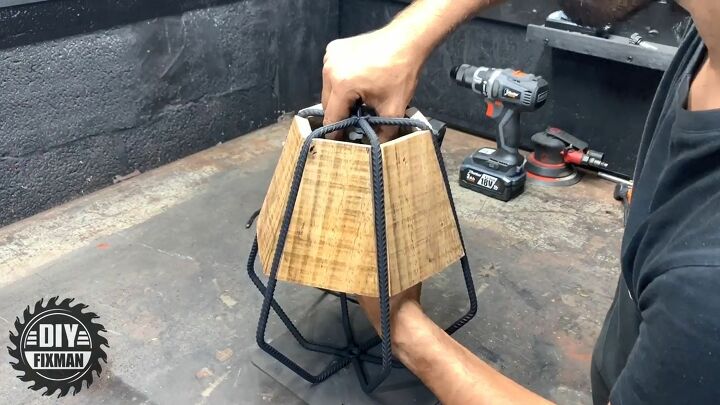
Step 7: Insert Wooden Shade Pieces
I wedged the wooden shade pieces into each opening in the light fixture and then pounded them securely into place with a rubber mallet.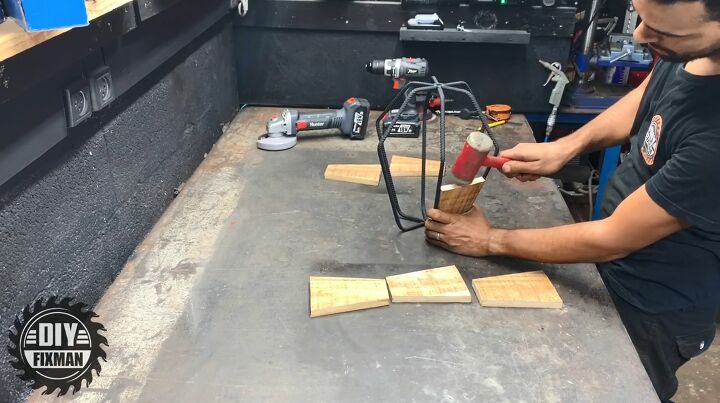
Insert Wooden Shade Pieces
Step 8: Install Light Socket
I wanted my light to be a hanging fixture and installed a hanging light socket by threading the wire up from the inside of the metal lampshade frame and through the nut in the center.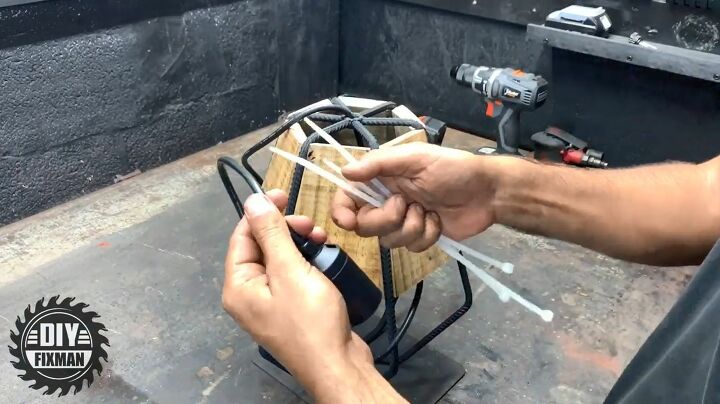
Install Light Socket
Step 9: Install Light on Ceiling
I connected my hanging light socket to an existing ceiling light fixture in my kitchen dining area over the table and added a lightbulb.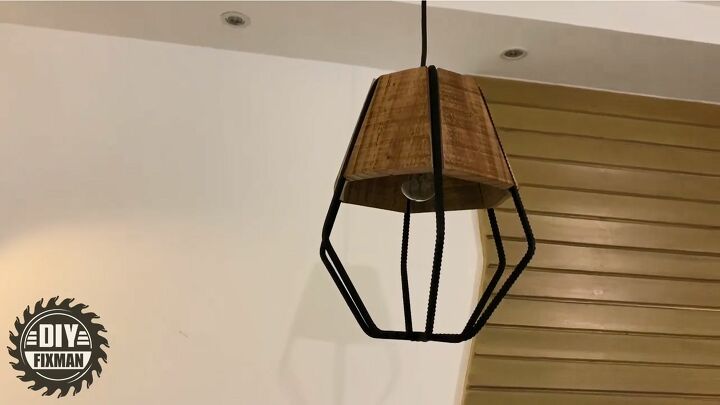
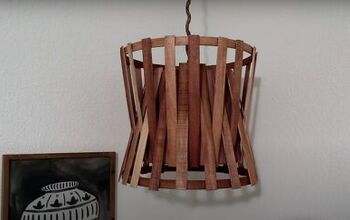
Upcycle Rebar Into a Lamp
I’m so happy with the finished product and love the added style the new metal and wood light fixture brings to my home. DIY projects like my rebar wooden light fixture that utilize unexpected materials or upcycle metal that would otherwise end up sitting in a scrapyard, can result in amazing and beautiful additions to your home. There is so much more charm and character in a handmade light fixture than anything that could be found online or in stores. Next time you are out thrifting or wandering through your local Restore; instead of seeing junk, get in touch with your creative side and visualize how to turn scrap materials into works of art for your home.
{
"id": "6041750",
"alt": "",
"title": "",
"video_link": "https://www.youtube.com/embed/odHJFFjhfp0",
"youtube_video_id": "odHJFFjhfp0"
}
{
"width": 634,
"height": 357,
"showRelated": true
}


Any price and availability information displayed on [relevant Amazon Site(s), as applicable] at the time of purchase will apply to the purchase of this product.
Hometalk may collect a small share of sales from the links on this page.More info
Comments
Join the conversation
3 of 21 comments
-
Wow, what a great job. Nice piece.
-
DIY Man I have a love/hate relationship with your posts lol! I LOVE your projects and hate that I don't have the tools or strength to do them myself. Great light!


Frequently asked questions
Have a question about this project?
Love it! Why did you need the two cable ties on the lamp cord?