


DIY Picture Frame Accent Tray

Everyone was turning picture frames into serving trays so you know I had to try it too. This was my very first attempt and I'll share with you what I learned.
Lesson No.1
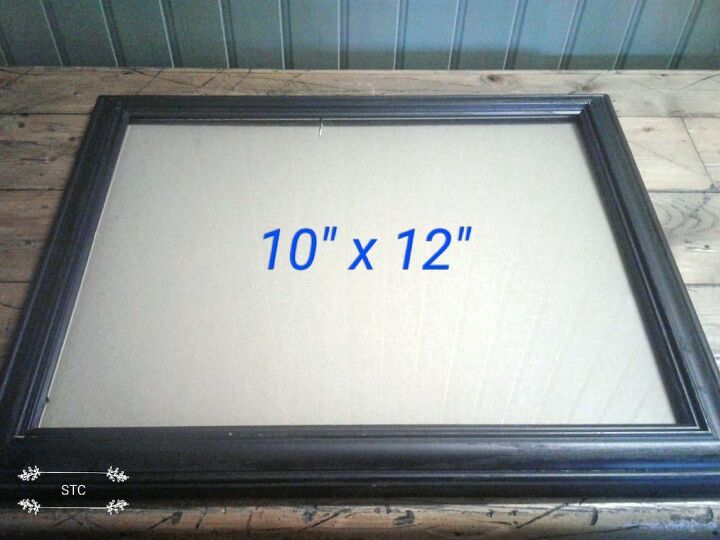
Not all picture frames are of the same quality whether it has to do with the material the frame is made with and or the thickness of the glass insert. I chose a solid, wooden frame and the glass was thicker than most others I had too.
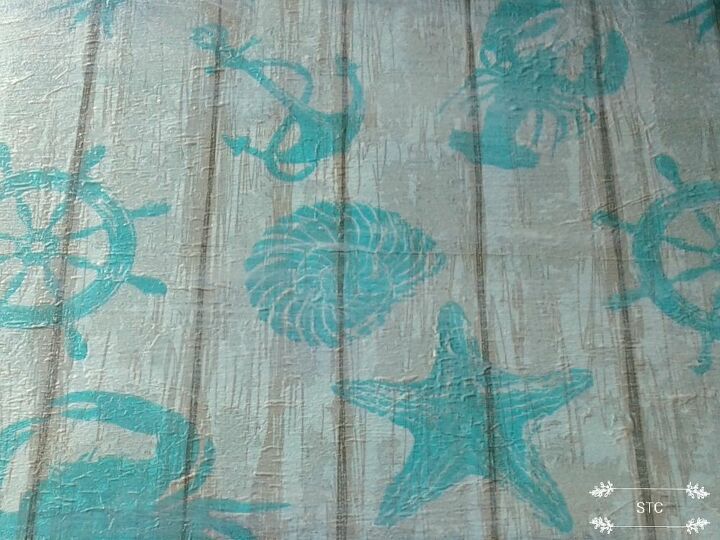
Having no set of instructions before me I thought to myself that this was going to be a piece of cake...just decorate and add handles. So I quickly took out the cardboard backing, separated and tossed the white tissue layers away from the top print layer of the napkin and matched up the pattern for the join. Spread a layer of mod podge onto the cardboard, carefully spread the napkins on, another layer of mod podge over top of that and I was done in about 5 minutes flat! BUT...there's always a but when you try something for the first time!
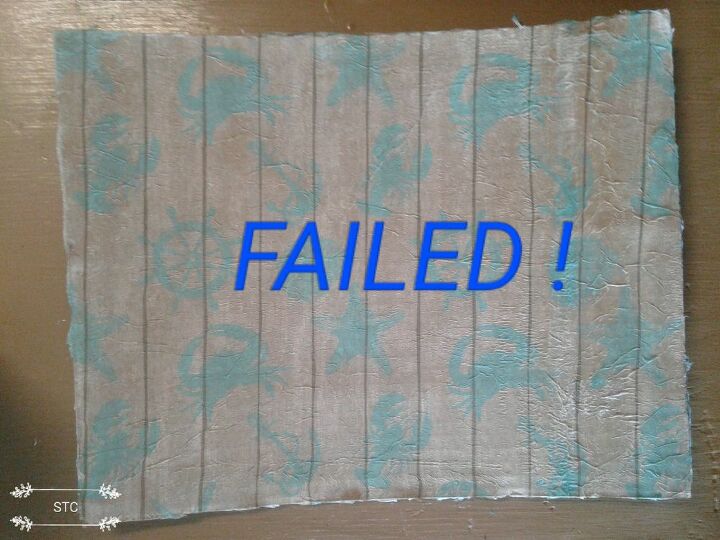
It was a FAIL....the brown cardboard color showed through my nice white background napkins! That's not the look I wanted!
Lesson No.2
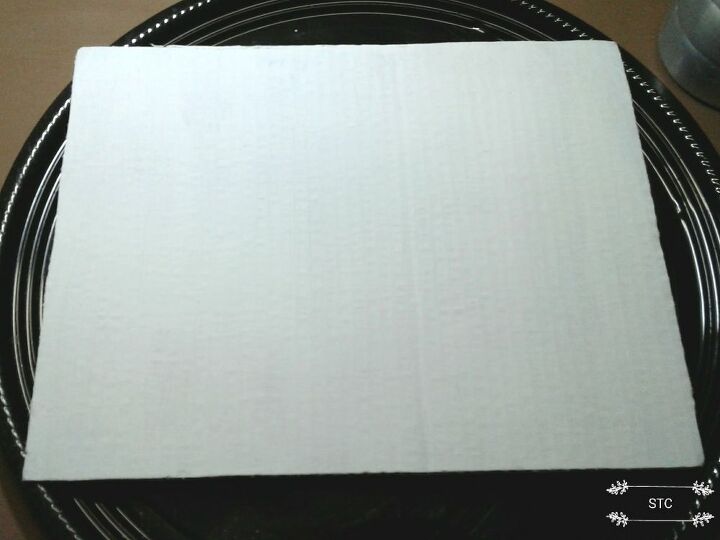
I needed to paint the cardboard the main base color of my napkin which was white. You see whatever color is underneath is what is going to show through the napkin because they are so thin. Onward I went, I flipped the cardboard over and started again on the other side with a coat of white primer paint.
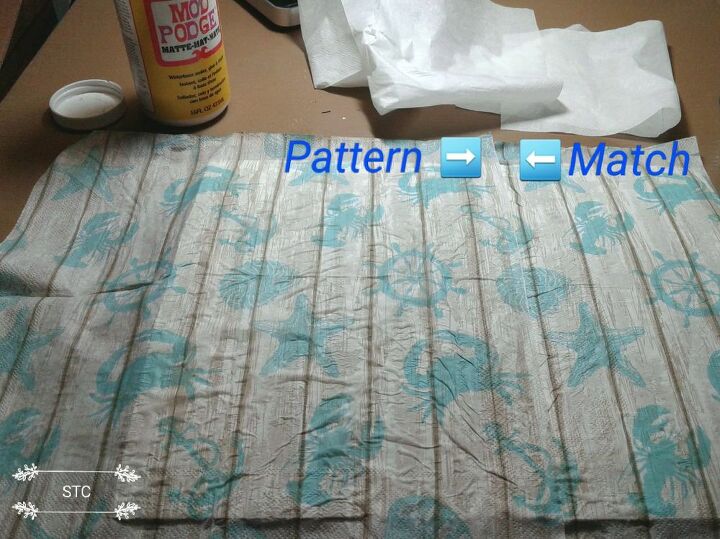
While the cardboard dried, I again separated the white tissue layers away from the patterned layer I'd be using. Once the paint was dry I again had to match the pattern for a join I'd need because one napkin wasn't large enough to cover the area. Now comes brushing on a thin layer of Mod Podge completely over the cardboard surface and afterwards carefully positioning your napkins over top attempt to get a smooth seal! Lol! I then very carefully brushed on another layer of mod podge over the entire surface of the napkin, this will act as your sealer.
Lesson No.3
I found that by wetting my finger with Mod Podge on this last step I was able to succeed better in getting out some of the napkin wrinkles. Too, practice makes perfect... I did get better at it!
Now for the frame, mine was already black but if you want this look you'll need a base coat of black painted onto your frame first. I just use my chalkboard paint, it hasn't failed me yet! The next layer was my colored chalk paint, again you can personalize this with your own colors. Once it was dry I distressed with a high grit sanding block.
Lesson No. 4
I stumbled upon this, I noticed that when I dampened the sanding block with water it's far more effective in removing paint for distressing that way. You'll only need a few passes with light hand.
For the handles, these were recycled from a cabinet and I stuck them on with E6000 glue. To secure them in position until the glue was set, I used painters tape.
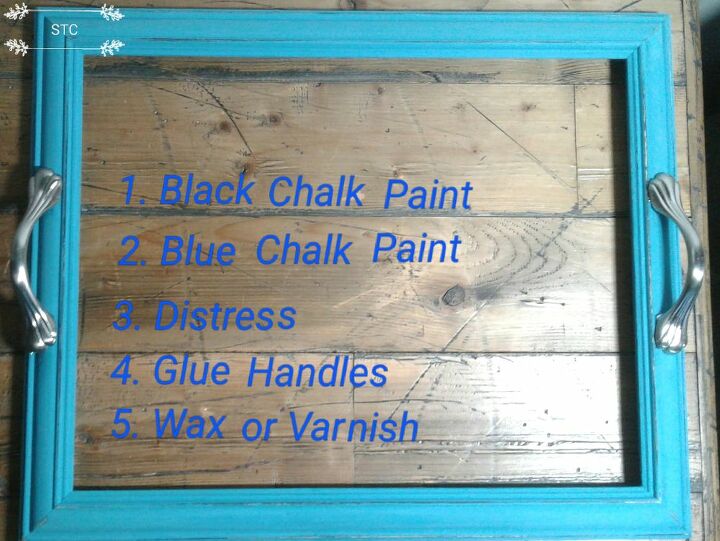
Lastly, after everything is dried and handles are secured I gave the frame a light coat of wax, if you don't have wax you can use polyurethane as well. All that's left now is to reassemble, the cardboard is just kept in place at the back with duct tape....yes duct tape! I may want to change out the pattern at a moment's notice and afterall it's only cardboard!
If you want to add legs, furniture protectors or a wooden panel for the back you can do so but I like flexibility. I DIDN'T make this for a SERVING TRAY...it's just for TABLETOP DECOR.
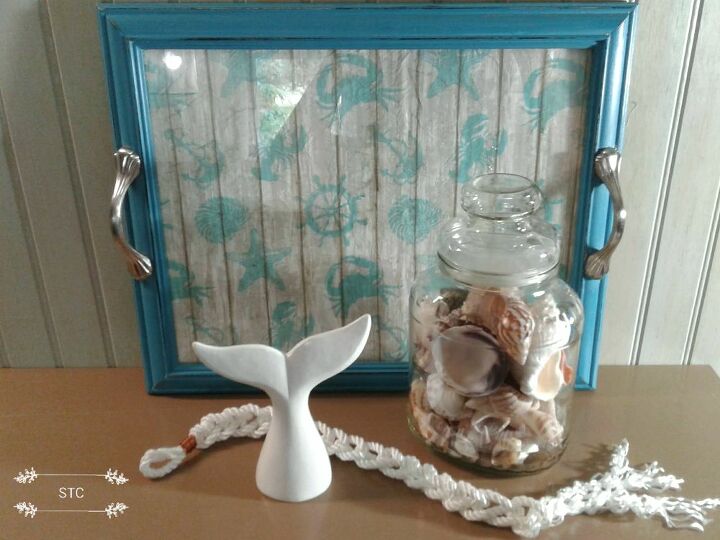
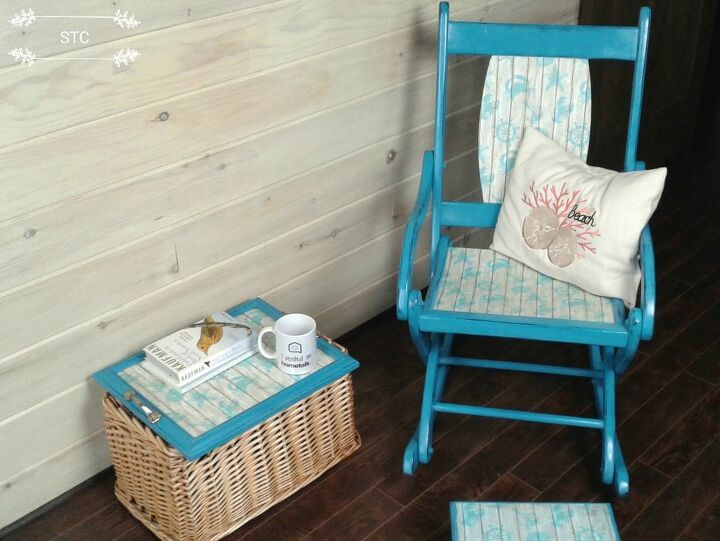
After I completed the tray I created a coordinating rocker and stool set in the same color and finish. The tray is just for looks, a resting spot for my mug or magazines beside my rocker.
You can see my previous post about the transformation I gave it here http://www.hometalk.com/diy/bedroom/furniture/rocking-chair-trash-to-treasure-makeover-43622513" target="_blank"> http://www.hometalk.com/diy/bedroom/furniture/rocking-chair-trash-to-treasure-makeover-43622513...
I hope you are never too busy in life to try crafting something new, its how our creative minds expand!
*Costs were based on completing a single item as much of the supplies I already had.
Resources for this project:
See all materials


Comments
Join the conversation
-
I love that you included your issues! As a newer crafter it can be frustrating how easy others make it look when mine doesn’t turn out! I also leaned some good tips! The tray looks great!
-
LOVE IT! Thanks for the great tutorial and for including the 'oops' parts too. I think it really helps to inspire others to give it a try.


Frequently asked questions
Have a question about this project?