


Build DIY Farmhouse Pipe Shelves Yourself

Open shelving has become a popular form of storage in recent years. Throw in some farmhouse style and you’ve got yourself a stunning statement piece. I built these beautiful rustic galvanized pipe shelves to complement this farmhouse kitchen. It was quick, easy, and required minimal power tools, so you likely have everything you need to get started. I will also show you how to hang the shelves on tile, without cracking a tile! Check it out!

Tools and Materials:
● One 2”x8” 10 foot piece of lumber
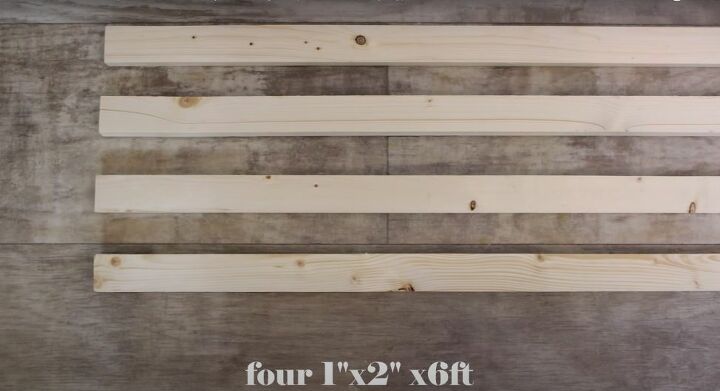
● Four 1”x2” 6 foot pieces of lumber
● Miter saw
● Tape measure
● Six ½” galvanized pipes - 10 “ long
● Four ½” galvanized pipes - 12” long
● Six floor flanges
● Two pipe tees
● Four pipe elbows
● Eight tube straps
● 1¼” trim head screws
● ¾” construction screws
● Drill and impact driver
● Wood filler
● Sanding block
● Stain
● Rag
● Polyurethane
● Paintbrush
● Wood conditioner
● Level
● Tile drill bit
● Heavy duty wall anchors
● Safety goggles
● Ear protection
● Mask
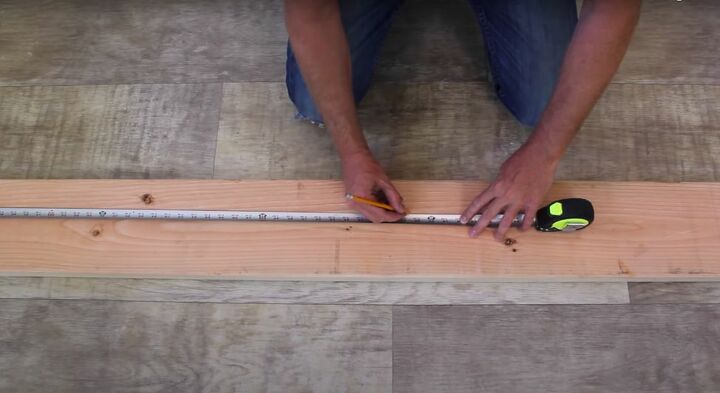
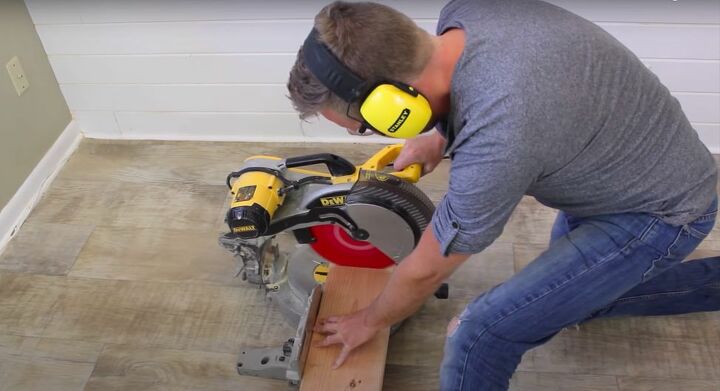
The first thing I had to do once I had all of my materials in one place was to cut my lumber. Using a miter saw, I took the 2”x8”s and cut them into two pieces each, 58 ½” long. Then I took my 1”x2”s and cut four pieces that were 60” long and four pieces 7 ¼” long. The measurements I’ve provided are for 5 foot long shelves. If you want a different length adjust accordingly. Note: if you don’t have a miter saw, your local hardware store will likely be able to help you cut your lumber accordingly. To save you some time, and energy, have your measurements ready to go when you purchase your lumber so that they can cut it on the spot.
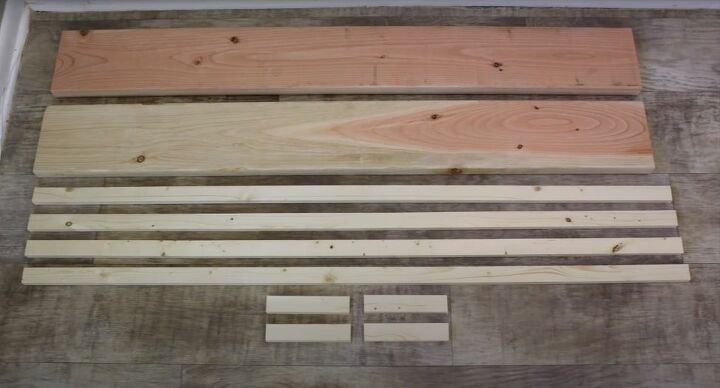
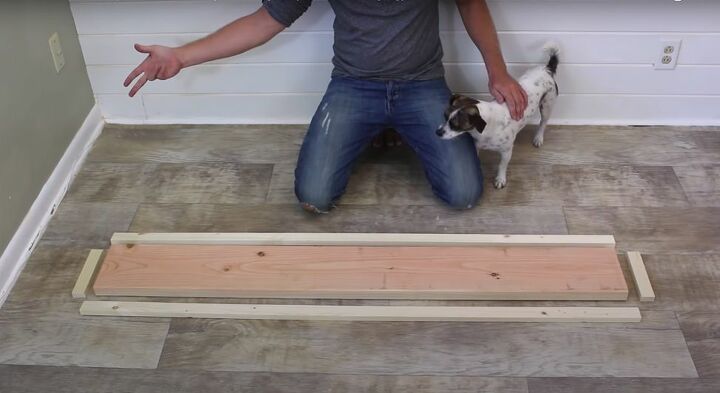
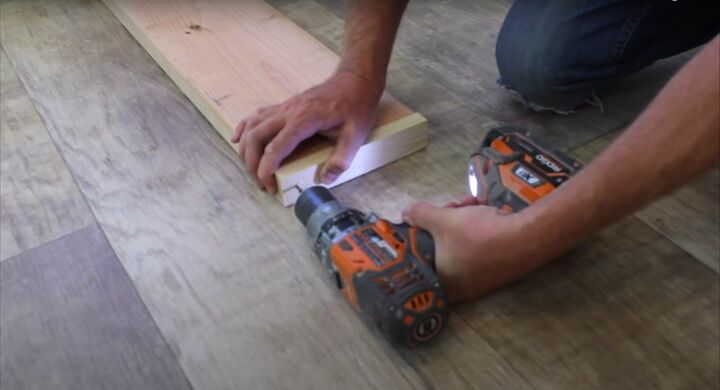
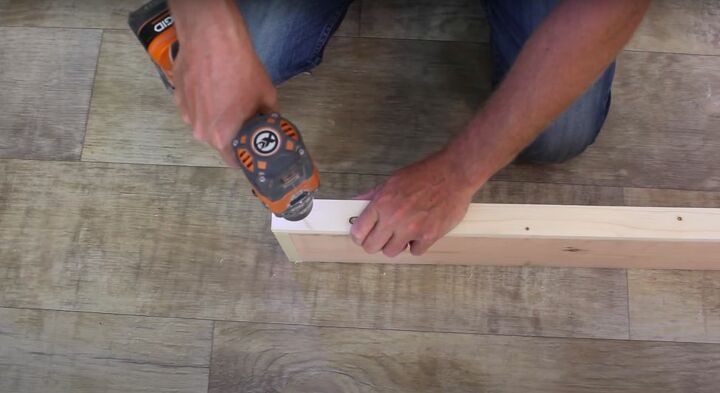
I lay the wood pieces out such that the smaller pieces frame the larger piece, basically creating a border. Then, using trim head screws, I attached the smaller pieces to the larger plank, starting with the shorter ends. Then I attached the longer pieces to the outer edges of the plank. Use as many screws as needed here, you don’t want anything to be loose. One I finished the first one, I repeated the process with the second plank.
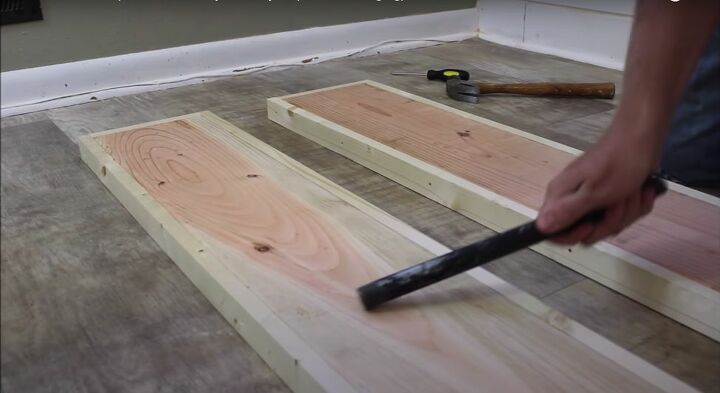
To add to the old farmhouse look I was going for I decided to distress the shelves a bit. I beat the shelves up a bit using a pipe, screwdriver, and hammer. How you do this is really up to you!
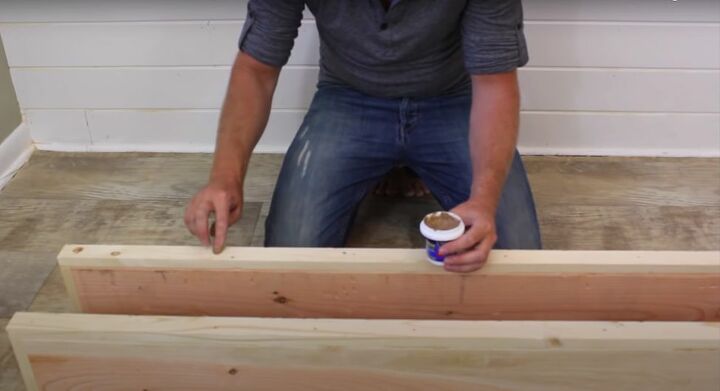
I didn’t want all of the holes from the screwing the wood together to show. Using wood filler, I went back and filled in all the screw holes along the edges of the shelves. This smooths the overall look.
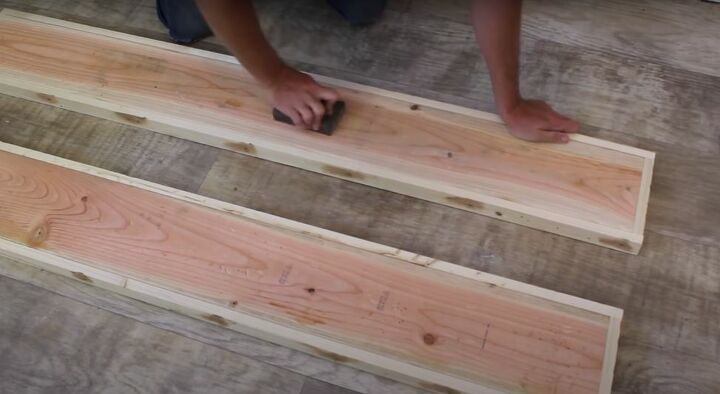
To further smooth out my shelves, I sanded the entire piece using a sanding block. Even after sanding, I still wanted a smoother finish, so I used a wood conditioner. This is optional, so if you don’t feel like doing this, or you're happy with the smoothness you got from sanding, then go ahead and skip this step.
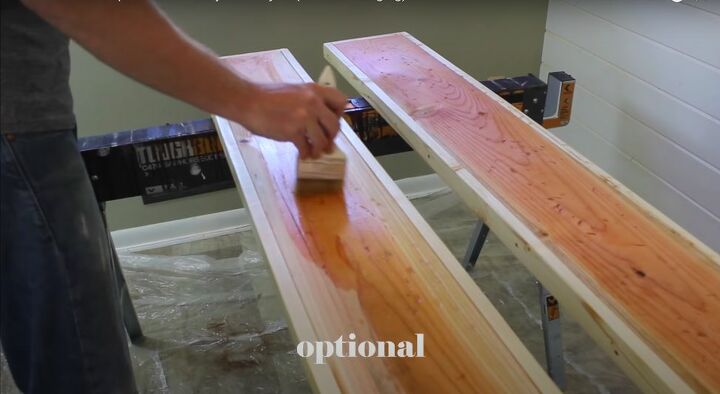

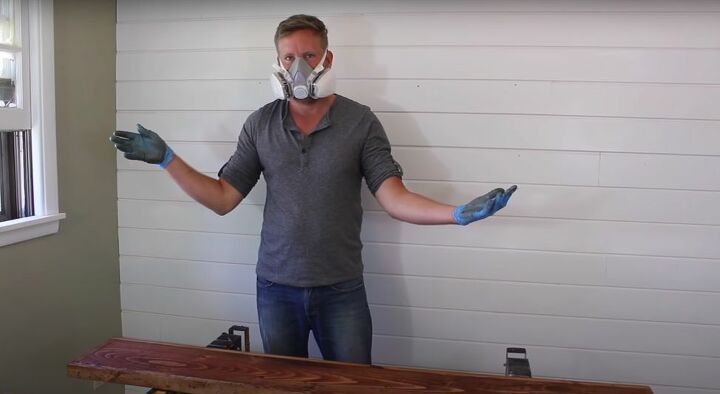
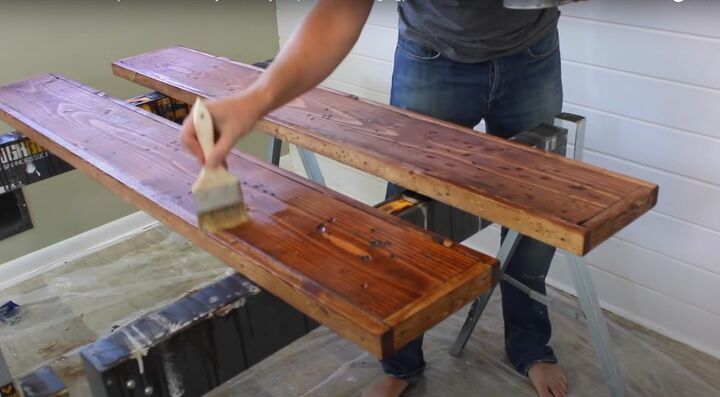
I really love a beautiful stain on wood, and this project is no exception! I used a bit of a darker stain to complement the galvanized pipes I’d be using to hang these shelves. Using a rag, rub the stain evenly over the wood piece. Make sure not to miss any bits of the wood. It’s also important to use proper protection while using products like wood stain, so don’t forget your mask and gloves.
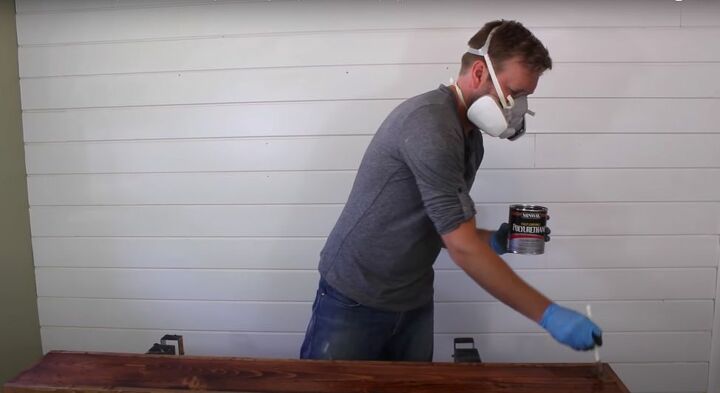
Once my stain had dried, I sealed my shelves using polyurethane. Apply an even coat using a paintbrush. Polyurethane is a sealant that dries clear and protects woods. It is especially useful for the wood I’m using in this project because the finished shelves will be hung in my kitchen, where they can easily be splattered with water, food, or oil. I don’t want to have to end up removing my shelves to sand and restrain, and polyurethane will ensure that I don’t have to!
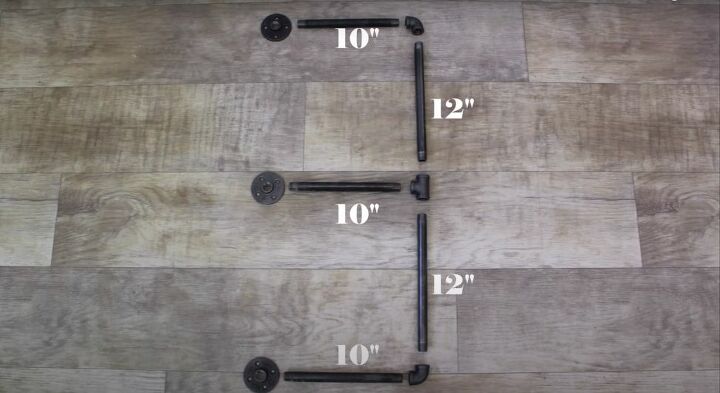
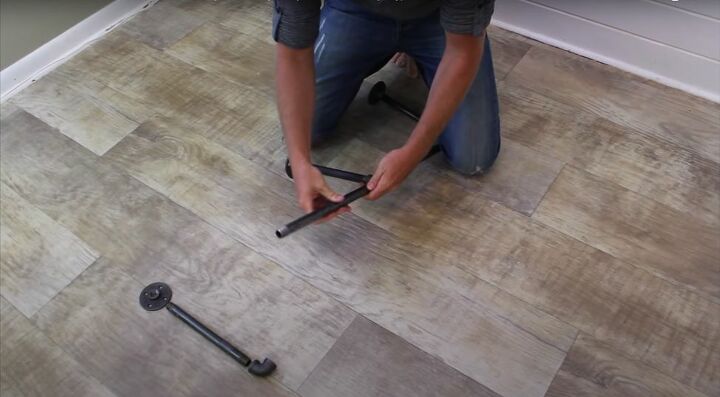
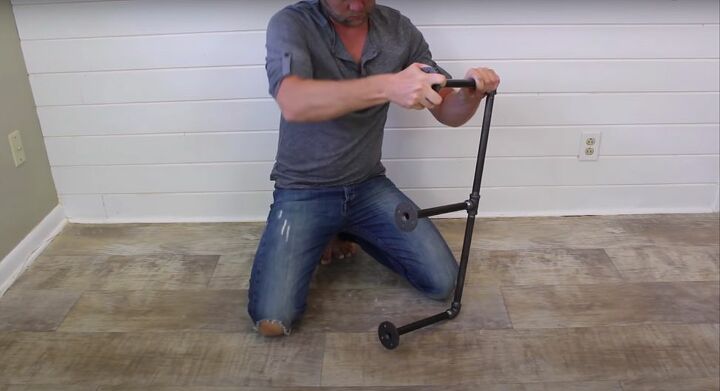
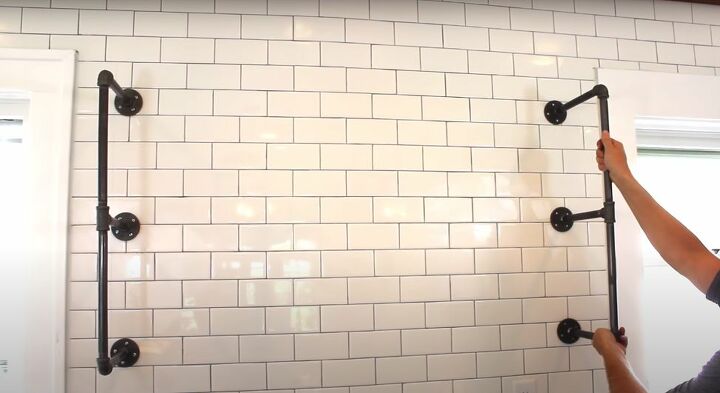
While the shelves are drying, I took advantage of the time to lay out my piping. I laid it out as shown in the picture above, with two of the 12” pieces of galvanized pipes connected by a pipe tee. Then I added two pipe elbows at the end of each side of the connected pipes. I screwed 3 10” galvanized pipes into the open parts of the two pipe elbows and the pipe tee. Then I screwed floor flanges into the open ends of those three pieces. It’s super easy to put galvanized piping together, as all you really need to do is screw the pieces together, no tools required!
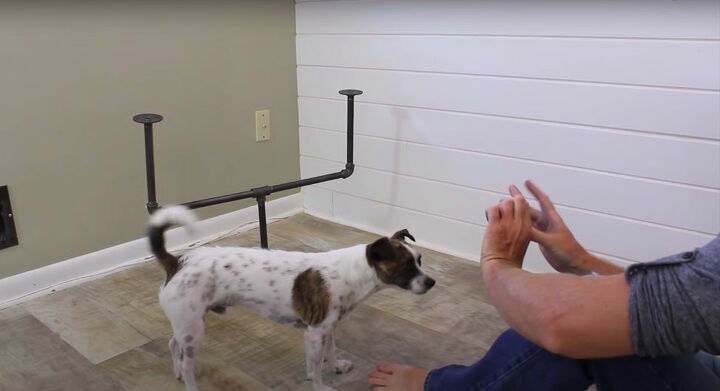
I also had some time to take a break and play football with my pup!
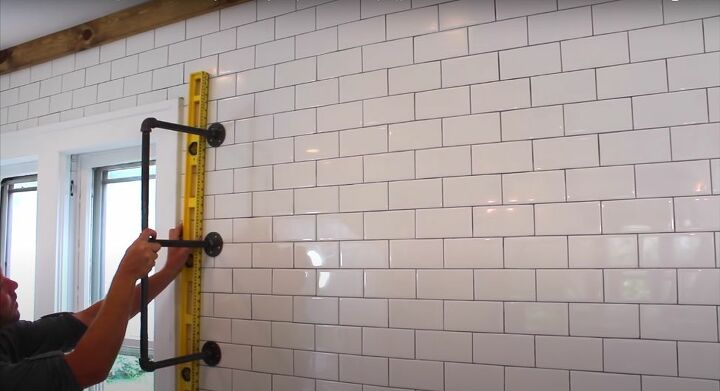
Once you’ve decided where to hang your shelves, use a level to make sure that it’s not crooked. Holding the level in place, I made a line as a guide for where the pipes need to be screwed into the wall.

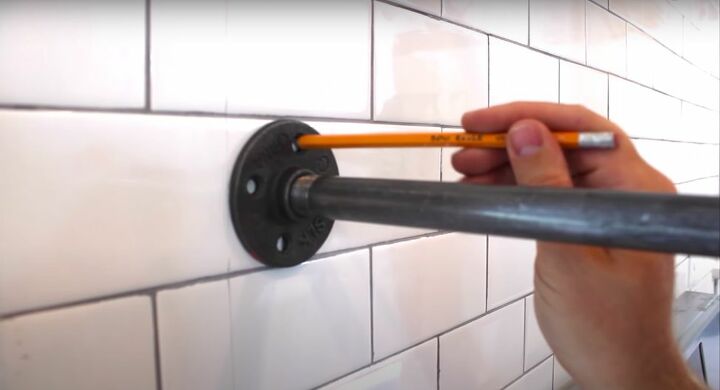
Then I held the pipes up to the line and marked where I needed to make holes for the flanges.
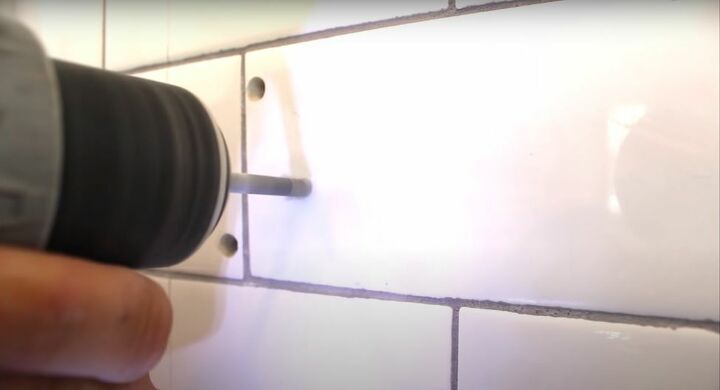
Using a tile drill bit, I screwed holes into the wall for each anchor I would need. It’s important to use a tile drill bit because it’s made specifically for drilling into tile. If you use a different drill bit you run the risk of cracking the tile. Replacing cracked tile is no small feat, and I sure didn’t want to have to do it here.
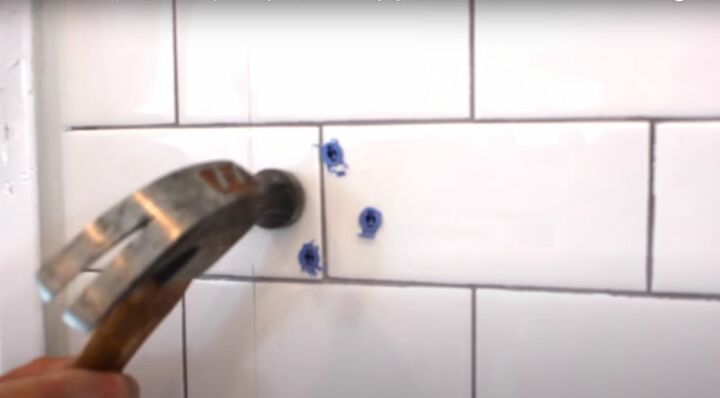
Using a hammer, I knocked the wall anchors into place. You want them to be as flush as possible with the wall so that the pipe will hang evenly. Be careful not to smash your tiles in the process.
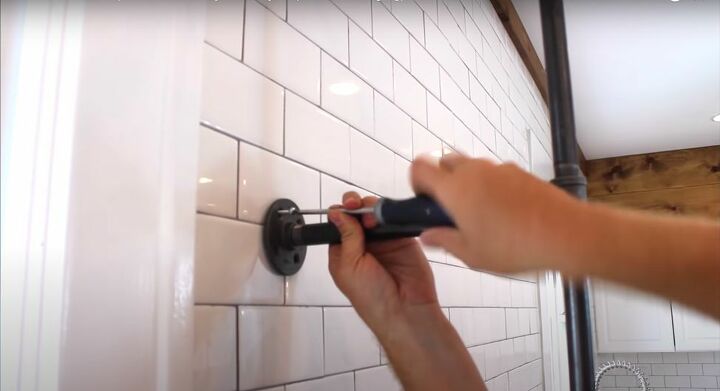
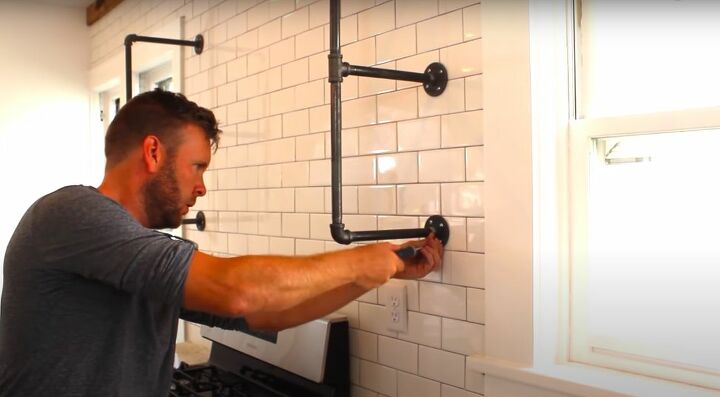
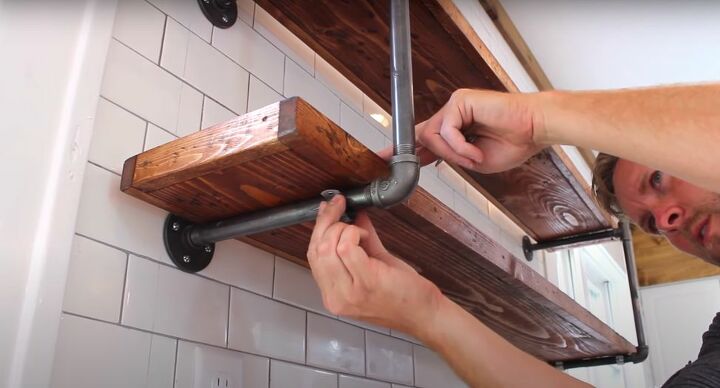
Now I was finally ready to hang the pipes in place! Using a screwdriver, not an electric one, I screwed the flanges to the wall using the wall anchors I had already placed. A note, do not use an electric screwdriver here, as you don’t want to overtighten the screws and run the risk of cracking your tile. A regular screwdriver allows you to easily feel when the screw is tight enough and stop before you overtighten.
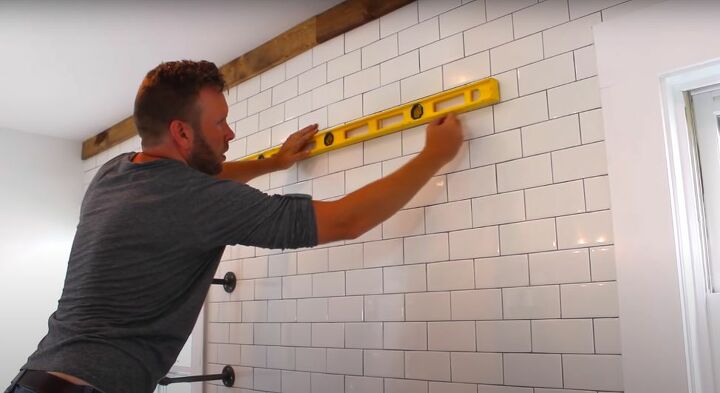
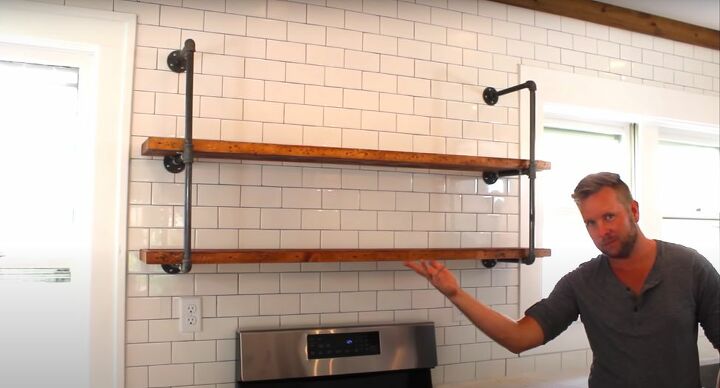
Using a level, I made a straight line across the wall from my first pipe. Then I placed my second pipe up against the line, around 48” from the first pipe. I made sure that it was level and then repeated everything I did in step nine.
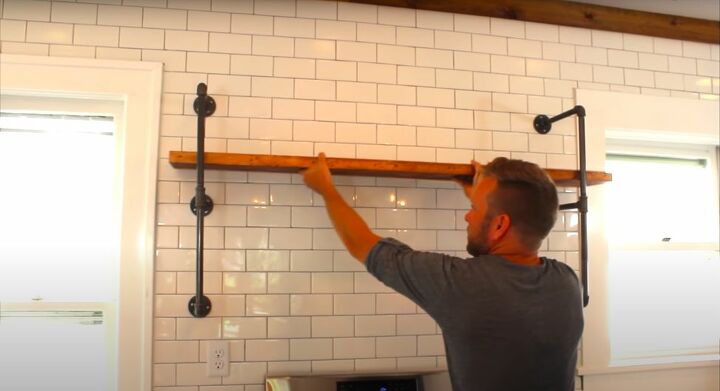
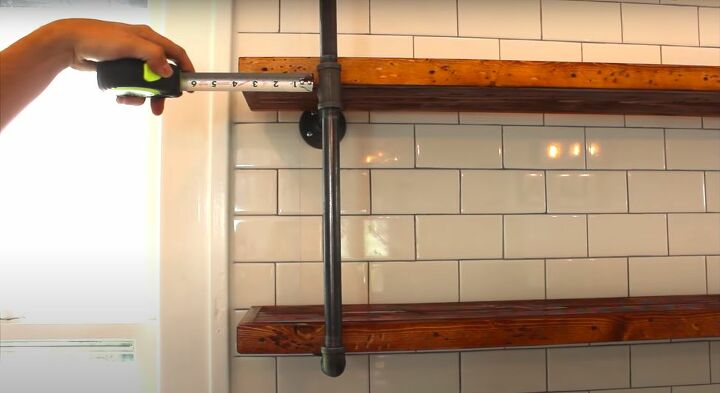
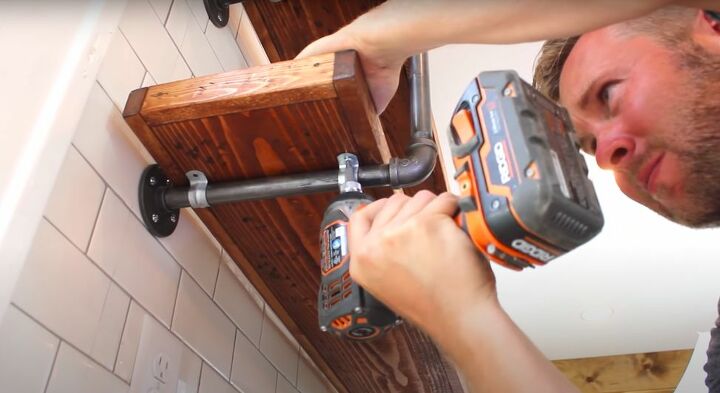
With my pipes in place, and hopefully level, all I had to do was slide the shelves into place. I measured the overhang on each side to make sure that they were even. Once I was happy with their placement, I attached two tube straps under each end of the shelves. I then secured them using my ¾” screws.
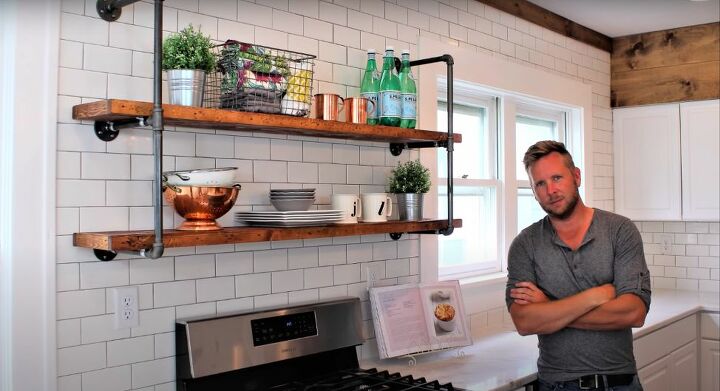
And that’s it! I love how these farmhouse shelves turned out! Rustic, yet chic, and stunning to boot! They complement the subway tile backsplash perfectly and add a statement piece to this farmhouse kitchen.
Comments
Join the conversation
-
I just wanted you to know I thought this idea is just wonderful and really came out great!!!!
-
Passing this on to my husband for sure.


Frequently asked questions
Have a question about this project?