


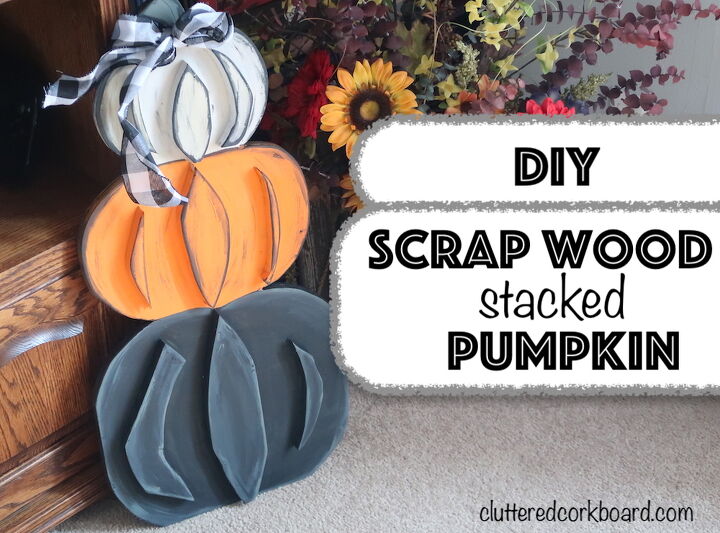
DIY Scrap Wood Stacked Pumpkin | Decor for FALL // Cluttered CorkBoard
I have been working on my Fall decor and decided that I wanted to make a stacked pumpkin design
to add to my home this year! So I found some wood in my scrap wood pile and got to work on it!
I am using a piece of cabinet board I had leftover from when I made our closet built ins but other plywood options would work for this project nicely as well.
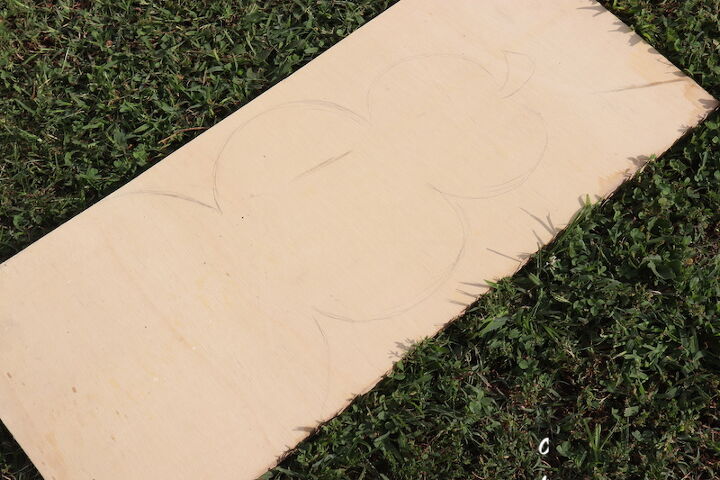
I started by drawing my basic shape onto the board with a pencil.
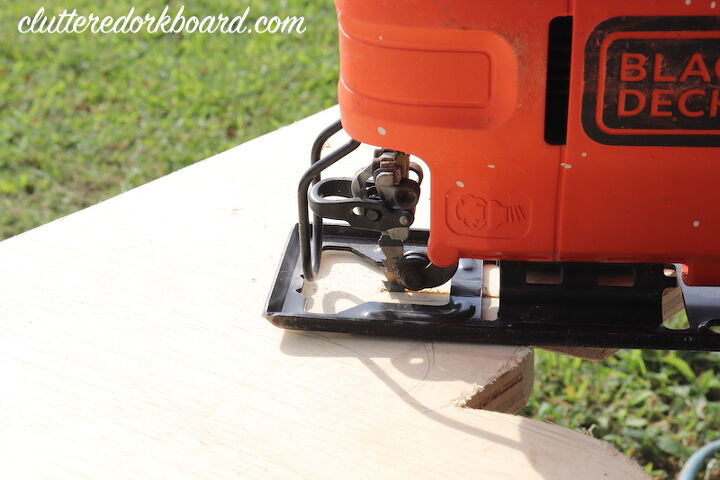
Then I used my jigsaw to cut out the shape.
I knew I wanted to add some dimension to my project so using the scrap pieces left from my project I decided to cut out some random
shapes.
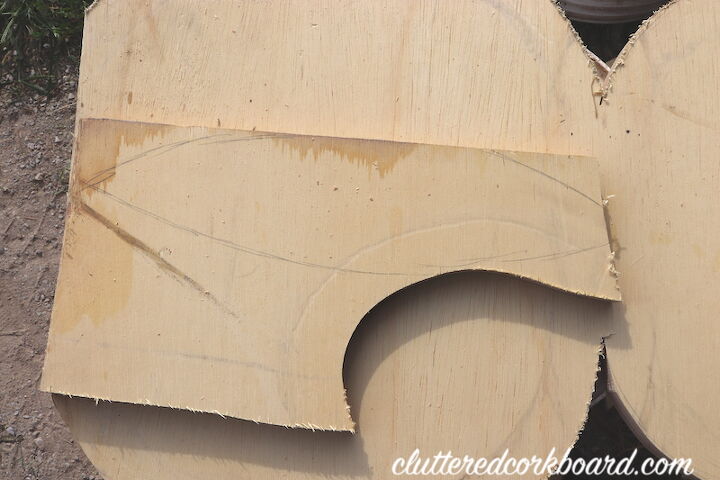
So I placed the scrap pieces onto my design and drew the shapes I wanted and cut those out.. I wanted to give my pumpkins some depth.
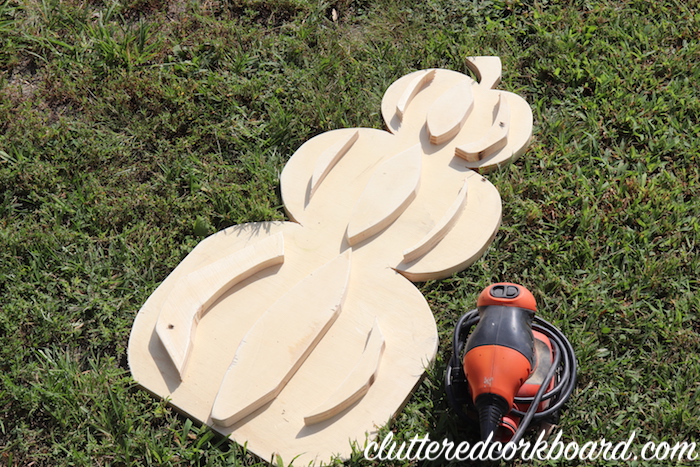
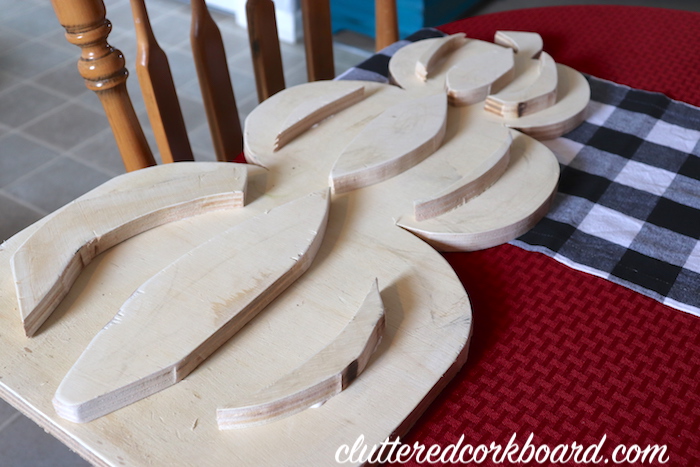
Here is a look at the design with all the random cutouts.. what a difference some scrap pieces made!
The next thing I did was sand down all the edges on the cutouts.
Then I brought it indoors and glued all the pieces into place.
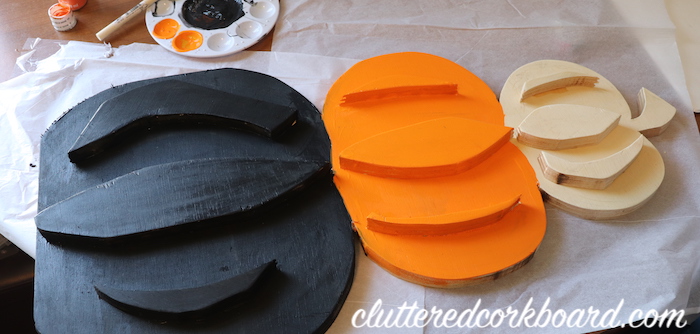
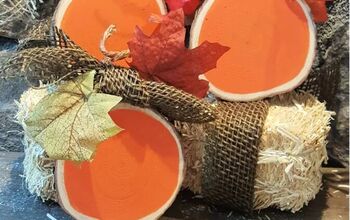
After it had dried I was able to start painting and I chose to paint each pumpkin a different color.
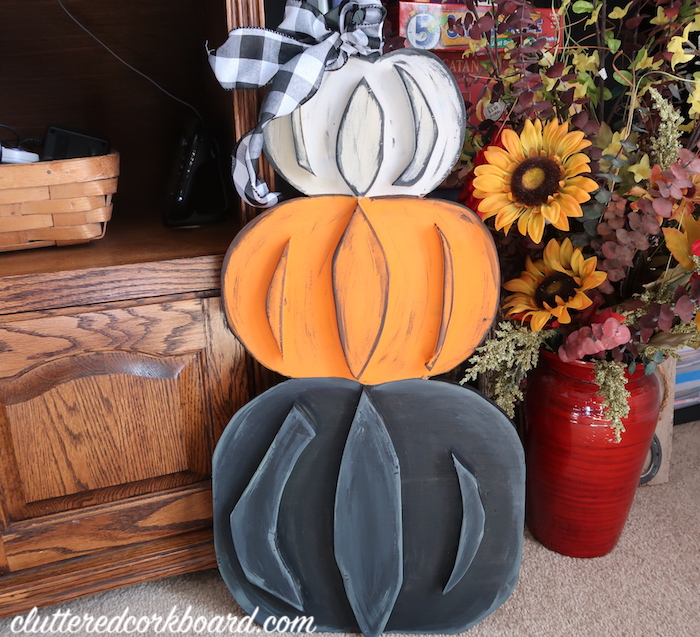
I decided to go ahead and add some distressing as well, and I just added a tiny amount of water to black for the top portion, and gray for the black pumpkin. I used a sponge brush to lightly go over the edges and different areas to give it texture.
I finished it off with a buffalo check bow.
I absolutely love how it turned out!
Since I had everything it cost me zero to make it, don't you love those kind of projects!
I made a video of how I made this as well, it is posted on my youtube channel.
Resources for this project:
See all materials


Comments
Join the conversation
-
Great idea. Thanks
-
Very cute. Think ill try it!
Thanks


Frequently asked questions
Have a question about this project?