


How to Make Pumpkin String Art
Add a pop of color to your fall decor with this pumpkin string art. Using a piece of wood, a few nails and colorful string you can make a custom work of art. Just follow this easy tutorial.
Watch this full tutorial on how to make pumpkin string art. Use these steps to create your own piece of seasonal string art.

Start with a wood board and paint or stain it. I chose a white chalk paint and let it dry completely.
Next you need a template for your string art. I printed a pumpkin I liked and sized it to fit my board, you could also sketch a design onto a piece of paper or use words. Use washi tape to secure the paper template to the board.
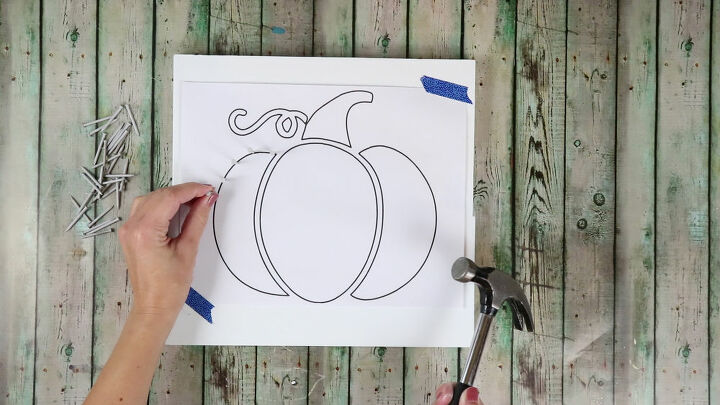
Then hammer nails into the board through the paper around the edge of the design. Make sure you keep them evenly spaced.
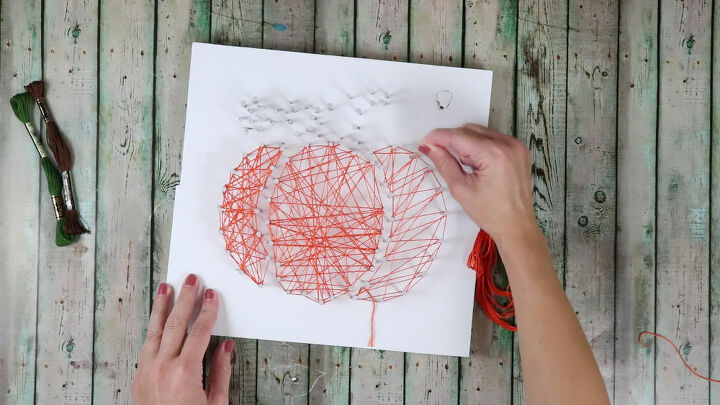
When all the nails have been added, tear the paper away and it's time to start adding color.
I used orange, brown and green embroidery floss for this project.
Just tie the floss to one nail and being to wrap it around each nail criss-crossing back and forth until each section is full to your liking.

When you are finished with one string of floss, tie it off around a nail and continue on with the next color.
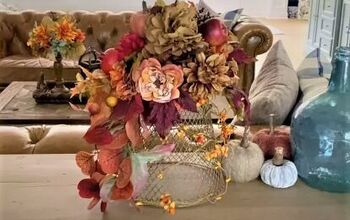
This pretty piece of fall art looks lovely on my buffet and brings some fun color to my decor.


Frequently asked questions
Have a question about this project?