


Laminate Cabinet Transformation Into Green Boho Style Cabinet
If you love this project, grab your quick start DIY guide & subscribe to our blog!
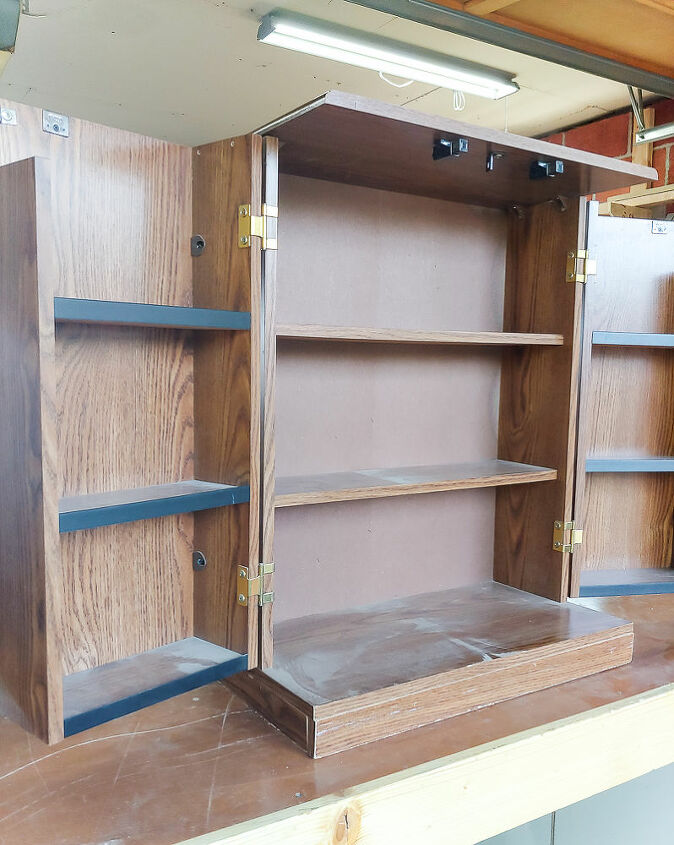
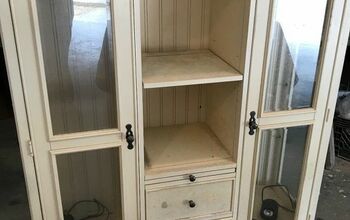
I snagged this laminate cabinet at a thrift store for $3! Just wait til you see the crazy transformation. I absolutely LOVE how this dark green boho style cabinet turned out.
I knew this fun thrift store challenge was coming up, so it was really meant to be…right?

Step 1: Sand cabinet. Start with a medium (150 grit) sandpaper. You want to just lightly rub it over all surfaces of the cabinet in a circular motion.
After you do the 150 grit, do another pass over everything with fine (220 grit) sandpaper. This will help smooth everything out.
Step 2: Clean cabinet. We used TSP to clean before starting to paint because that’s what we had on hand. It helps remove dirt, grease, grim and all that sanding dust.
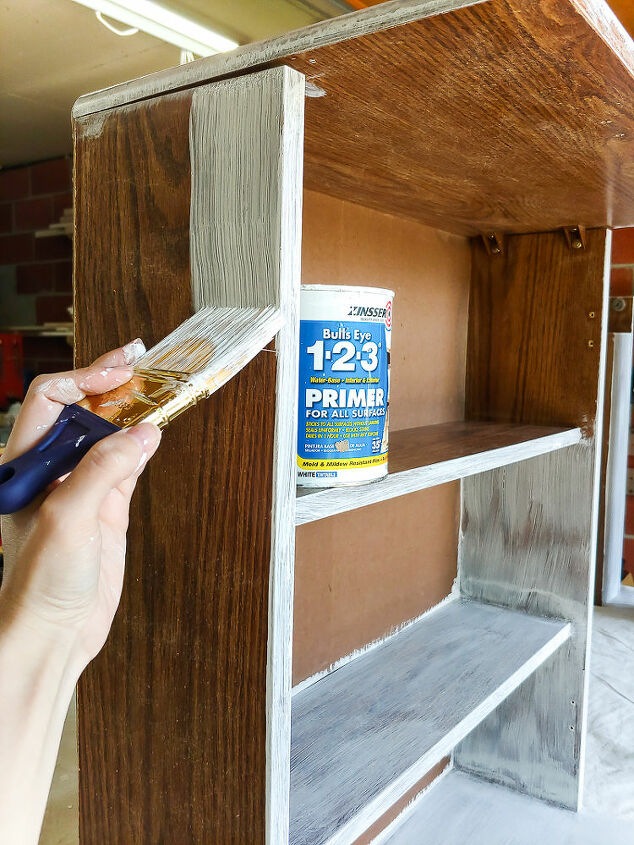
Step 3: Apply primer to cabinet. I applied 2 thin coats of this primer to all surfaces of the cabinet. Let the primer dry for 1 hour in between coats.
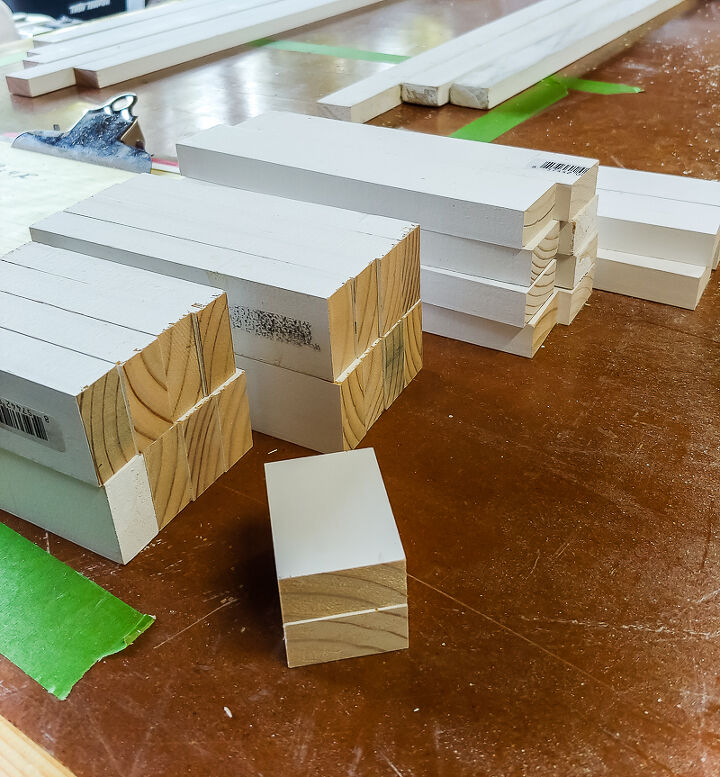
Step 4: Cut trim pieces for front of Boho style cabinet. Measure the front of the doors and mark out the area on the workbench with painter’s tape to have a flat surface to plan the design on.
Cut list for the miter saw:
- 4 pieces @ 10 inches
- 8 pieces @ 8 inches & 6 inches
- 4 pieces @ 4 inches

Step 5: Paint one coat of paint on cabinet & trim pieces.Before you attach the trim, it’s important to get a coat of paint on the both edges of the trim, the front and the entire cabinet. It would be really hard to get the paint brush down in between the trim pieces if you didn’t do before installing.
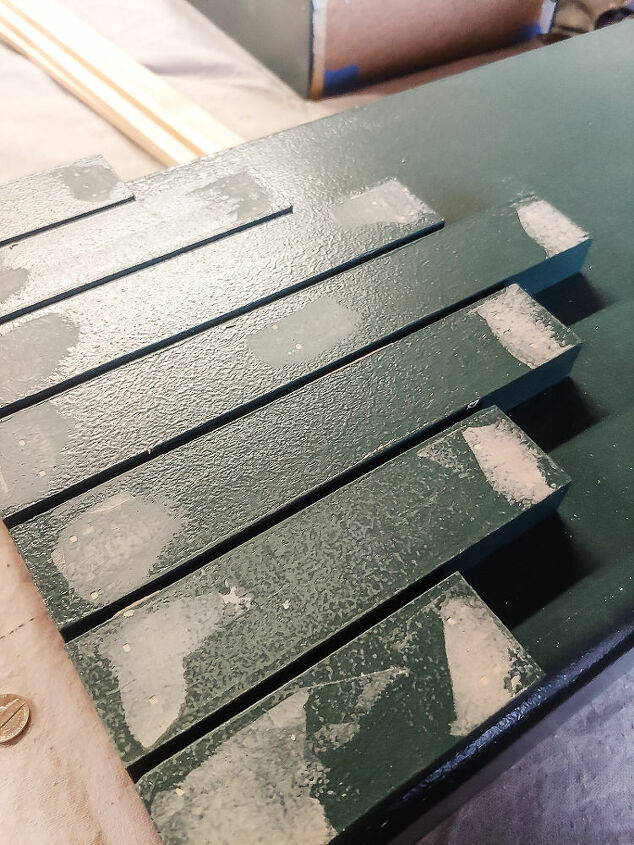
Step 6: Attach trim pieces to the front of doors. To space the trim pieces out, I used two nickles held at the top and the bottom to make sure the pieces go on straight and everything is spaced evenly.
The nails we had on hand worked, but it would been nice to have them be just a hair longer. So just to be safe, we used some Rapid Fuse glue on the back of the trim pieces before nailing them in place.
Step 7: Next, use wood filler to patch all nail holes and then, once dry sand them with fine grit sandpaper so they are nice and smooth.
Step 8: Paint entire cabinet. There are 3 coats in total.
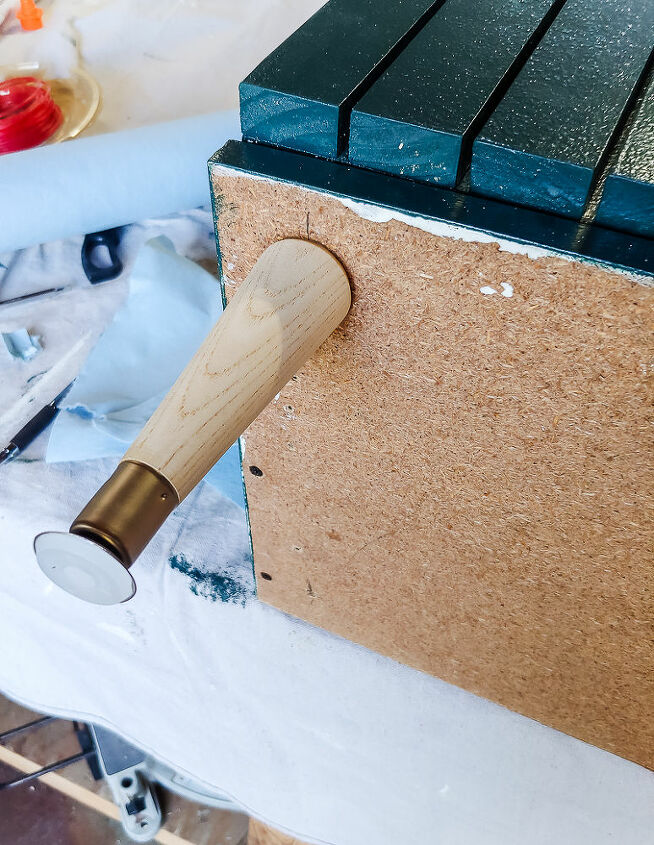
Step 9: Add furniture legs.We measured 2 1/2 inches in from the corners and drilled holes for the legs.
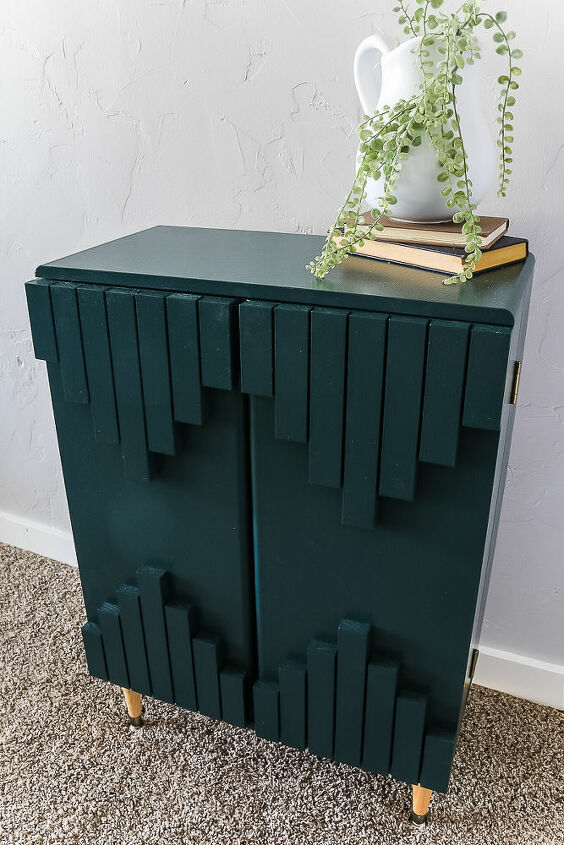
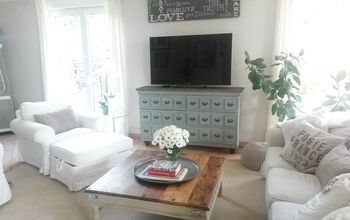
Here she is in all of her glory.
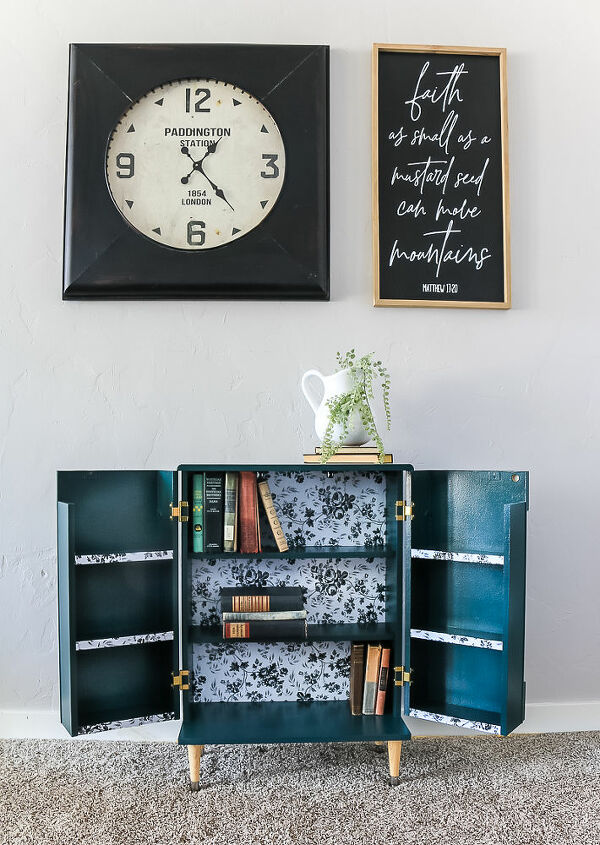
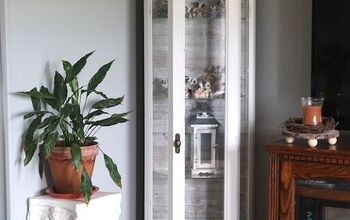
Let’s a take a look inside, shall we?
Resources for this project:
See all materials


Comments
Join the conversation
-
Wow it looks great. I thought know way can she make this better and i was so surprised. I love it!!!
-
Great update! I really like that!!!!


Frequently asked questions
Have a question about this project?
Was it your intention to have the paint texture raised by using a thick nap roller cover?
What kind of paint did you use? I have a laminate kitchen cart I need to paint but wonder what paint to use so it won't scratch off?
Did the trim pieces on front add a lot of weight to the cabinet? What size are they presently? Could I use a thinner board for the trim and get the same effect?