


Idea to Make a Christmas Tree
In today's tutorial I bring you an idea to make a Christmas Tree that you can very well use to decorate your house or use on your desk.
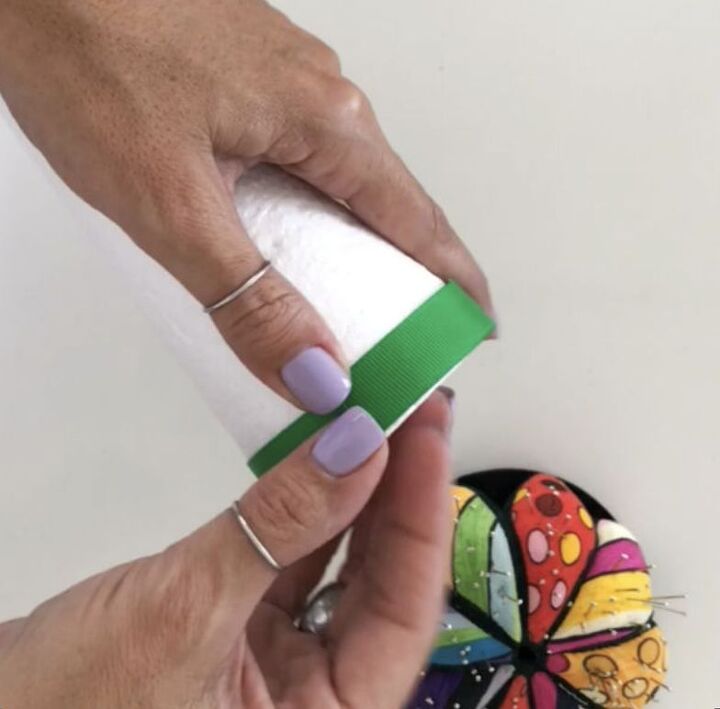
Cut a piece of tape enough to cover the base of the cone.
Place it on the edge and hold it with pins. You can also fix this with the silicone gun and avoid the pins.
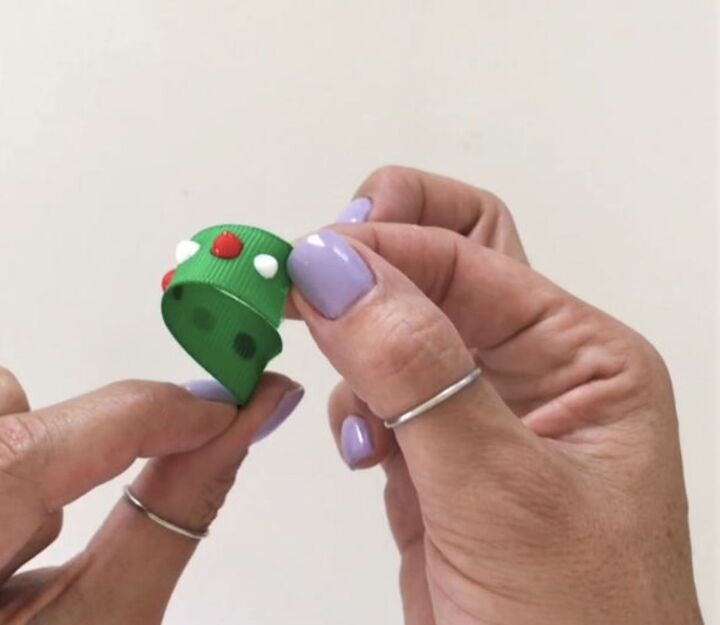
Cut the ribbon into 2 1/2 "pieces.
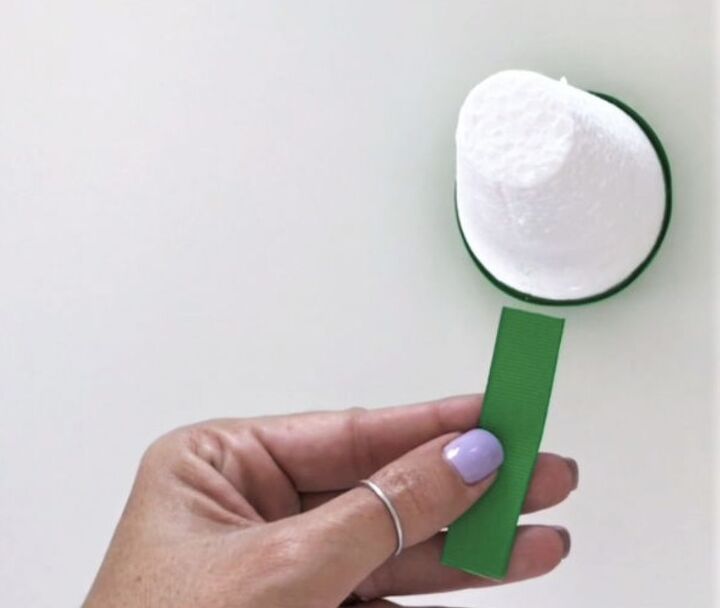
Fold the piece of ribbon in half and place it on the edge where you placed the ribbon covering the edge.
Try to put it so that it does not stick out so when the tree is on a flat surface the ribbon does not bend.
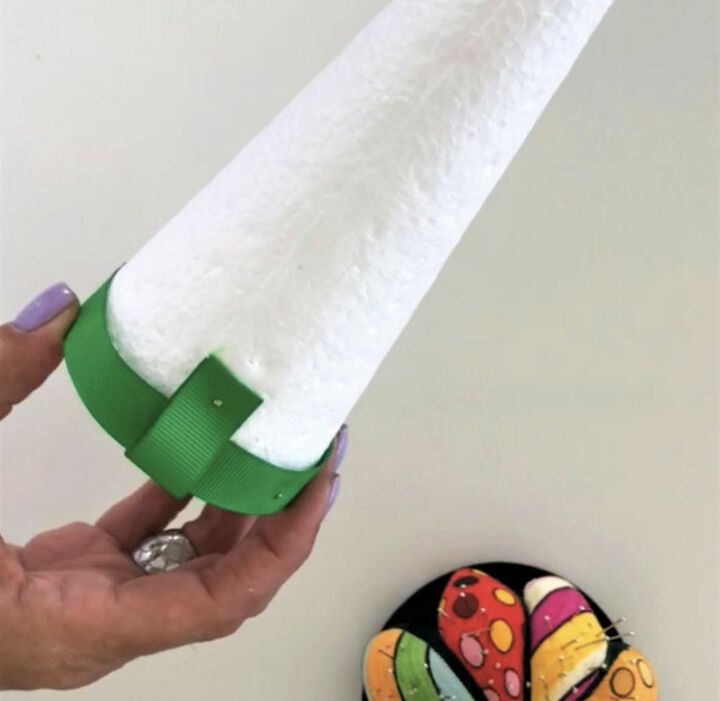
Continue covering that first row.
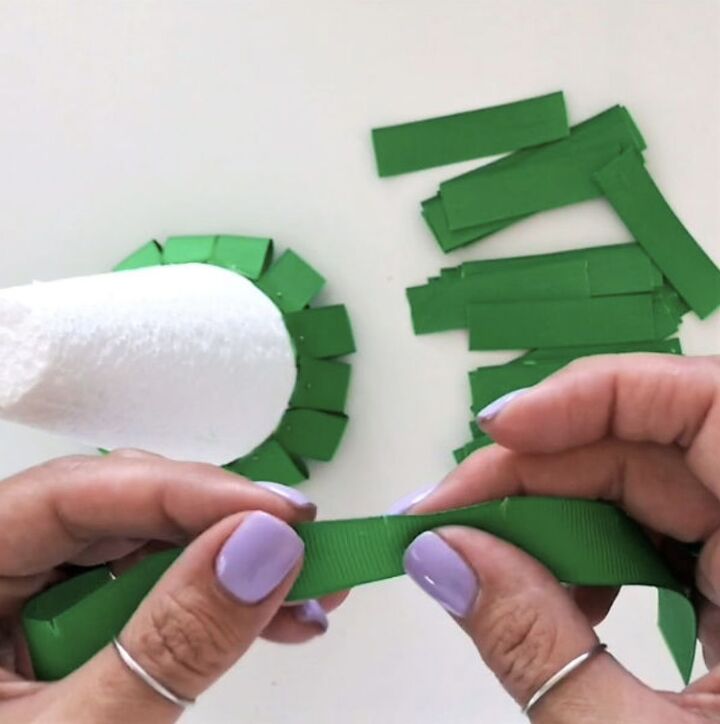
For the second row you are going to put another piece of ribbon and you are going to make some small cuts since it already begins to close the cone a bit and so that it does not have a lot of crease.
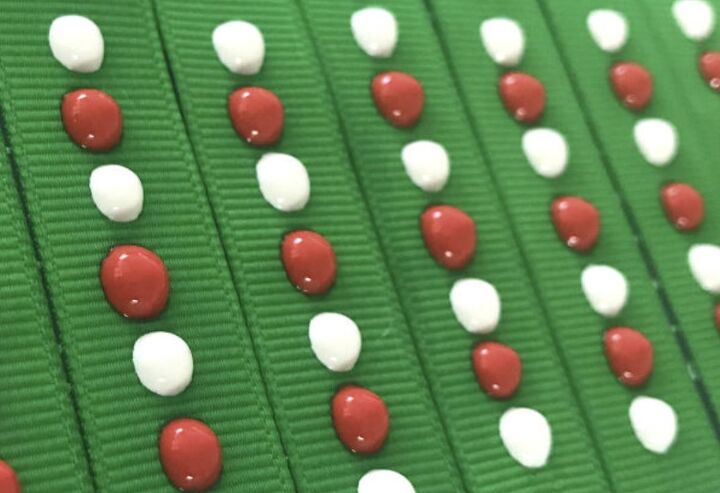
For this second row we are going to add a different touch. Take the 3D painting and make some dots interspersing the red and white color.
This step must be done with anticipated hours so that way you can allow the paint to dry completely.
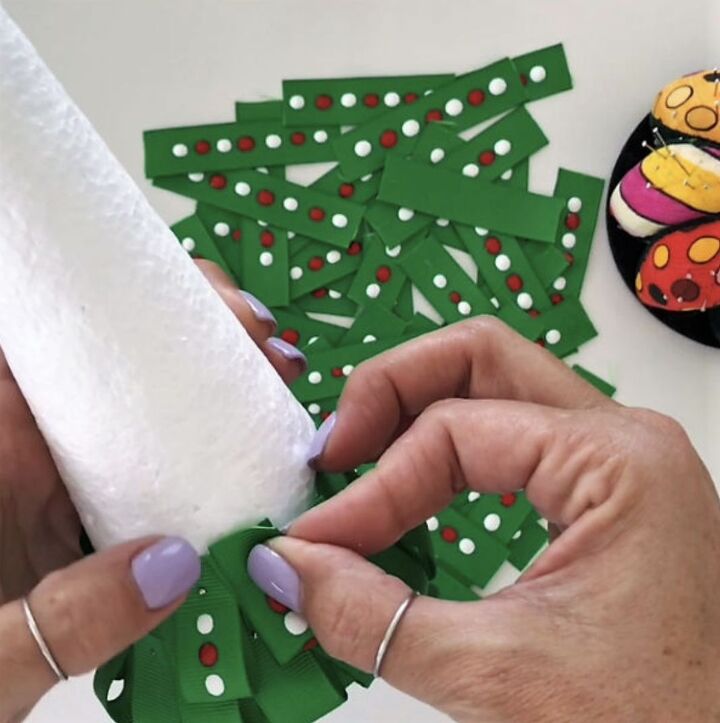
Once the paint is dry, continue with the second row and filling until you reach the top of the cone.
Remember to insert the pieces of ribbons and alternate them between row and row, one green and the next with the decorated ribbon and so on.
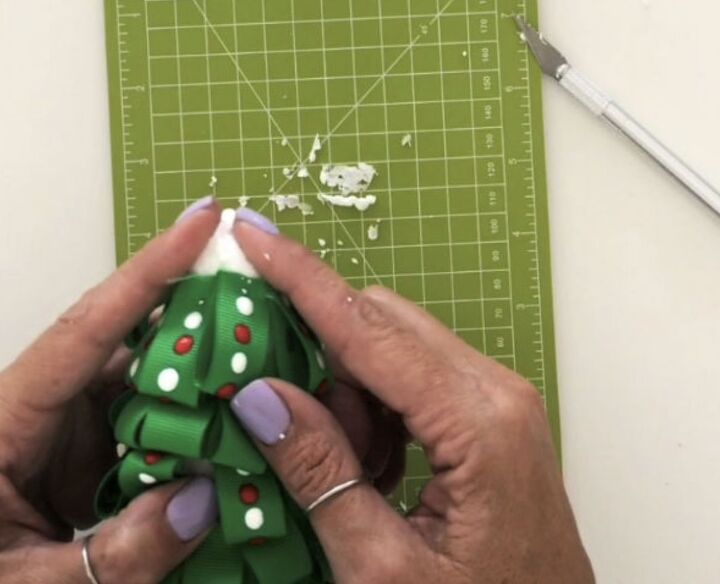
Do not cover the last inch of the top, since we are going to cut the foam a bit to make the tip a bit more pointed.
With an x-acto knife cut the foam to create a cap a little more pointy and then ends up covering the top of the Christmas tree.
To make the top star. Use a star cookie cutter and press on the foamy to mark the shape and then cut with the scissors.
Make 4 of them since they will be 2 filled stars.
Glue one star with another leaving one of the sides or peaks of the star unsealed because through that gap we go to fill the star.
Place the filling inside the star and with a wooden stick push the filling towards the tips and apply glue to close it. Do the same to create the second star.
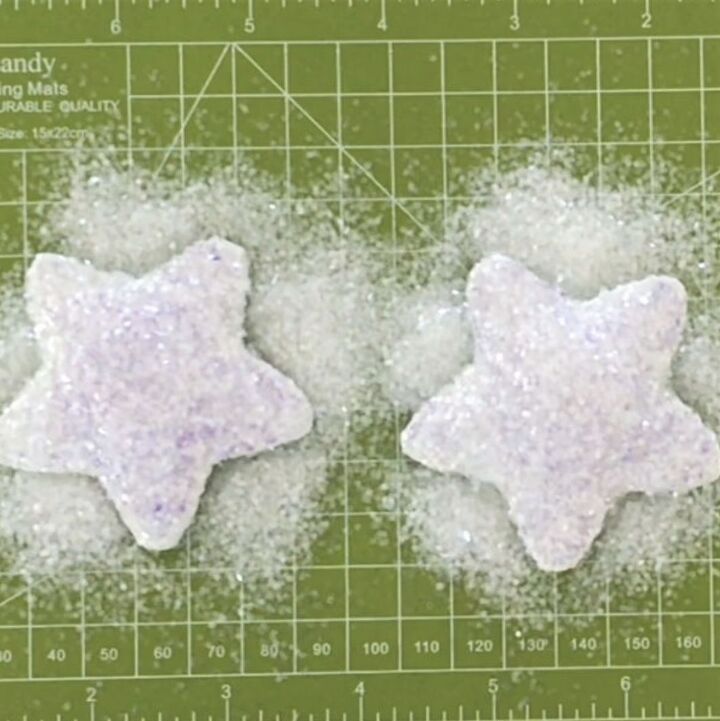
With needle and embroidery thread make an edge to each star.
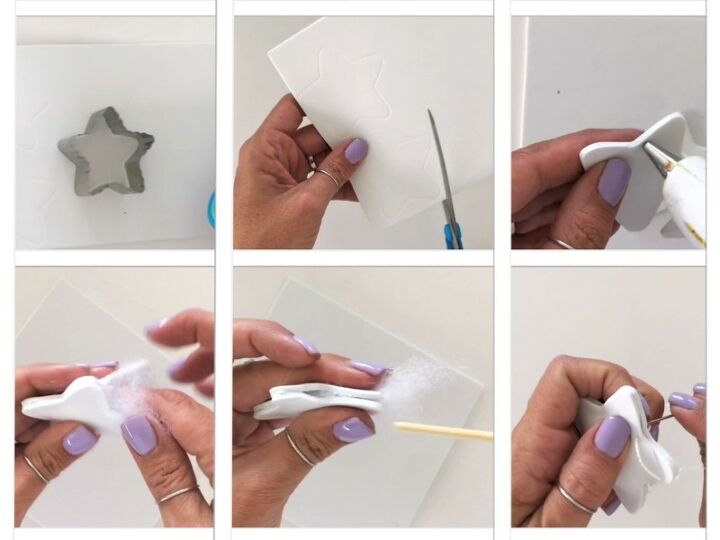

Then apply glue (for this I used the glue stick) and spread glitter to adhere to the stars.
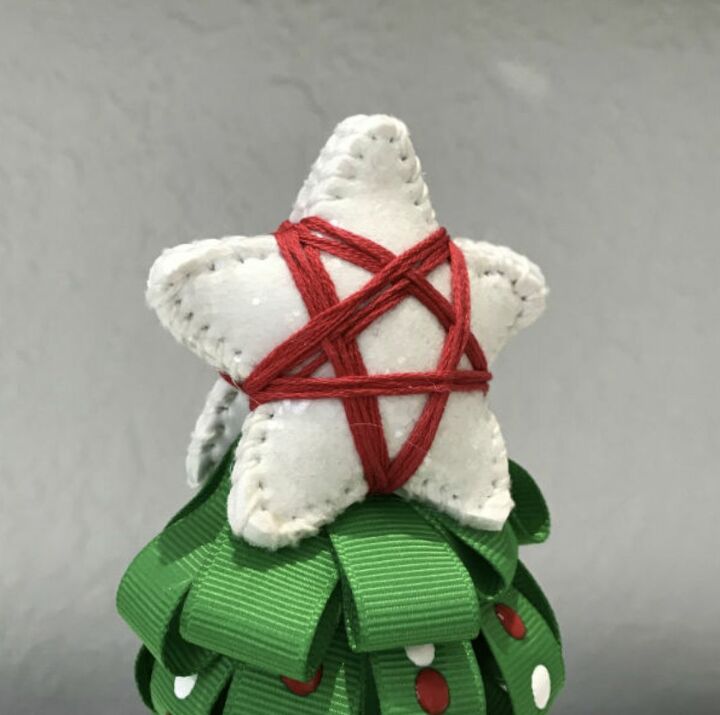
With red embroidery thread, border the sides of the star forming a star in the center.
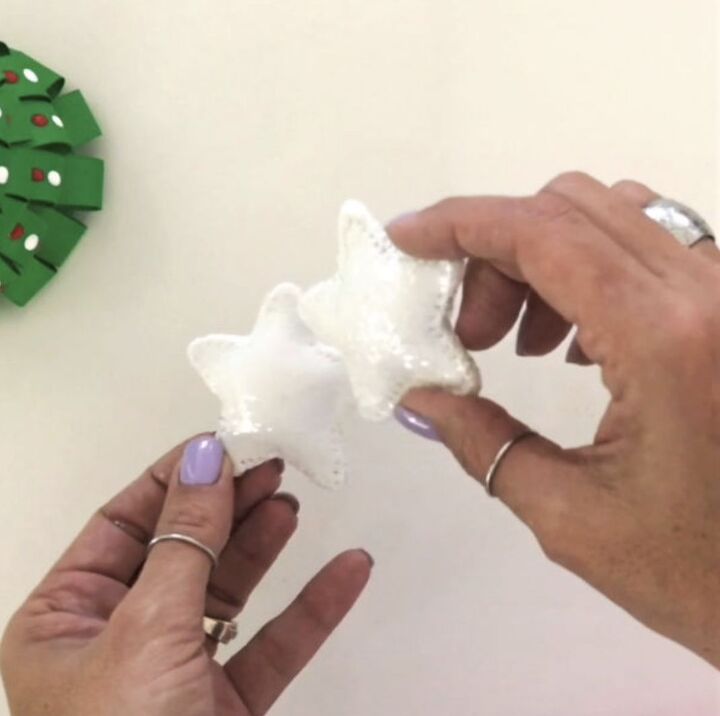
Then paste the two stars but only three sides, you will leave two peaks of the stars without glue since that space is to accommodate it on the top of the Christmas tree.
Apply glue and simply place the double star on the top. (if you have questions below I will leave the video for reference)
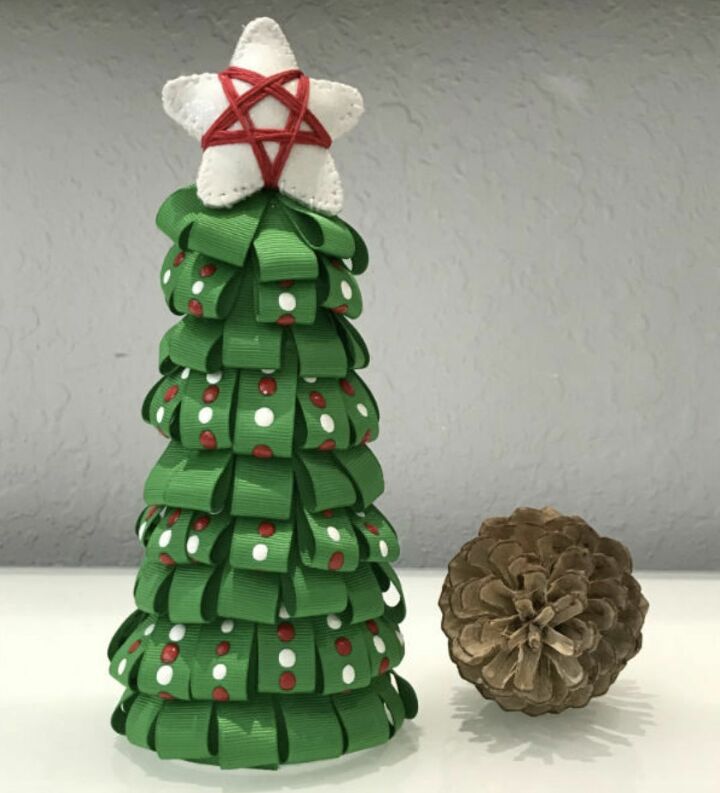
And this is how it ended up this Idea to make a Christmas tree that you can use for gifts, decorate your house or to use it on your desk.


Frequently asked questions
Have a question about this project?