


Succulent Pumpkin DIY
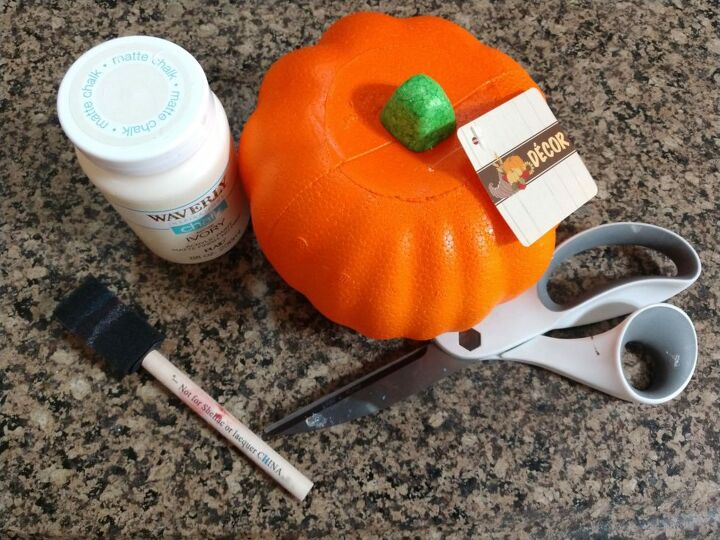
What you will need to start the first half of this succulent pumpkin DIY. Is scissors or objects for cutting, Waverly chalk paint in the color ivory, a piant brush or sponge and a styrofoam pumpkin.( Mine is from Dollar Tree).
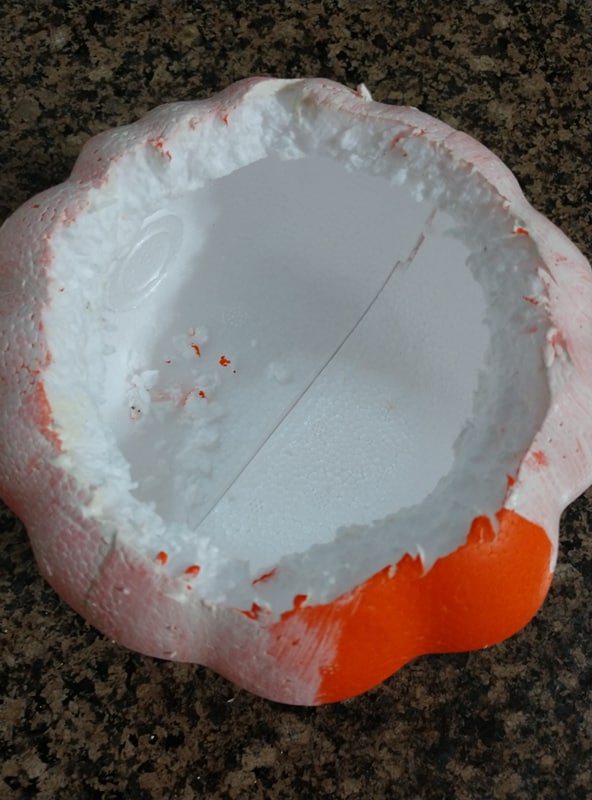
Then score around the top of the pumpkin. She will see in the picture I decide to go wider. Making sure there’s enough space.For putting in the filler.
I carefully cut the top portion off. Then paint the outside of the pumpkin with 3 layers of paint. Side note, If you choose the Dollar Tree pumpkin. Color is like a caution Orange. It may take more paint for coverage. Make sure you let each coat dry before adding the next.
You will need the top portion of the pumpkin that you cut out. To place in the very bottom of opening. Then you will need rocks or something with a little bit of weight. To keep it from being to top heavy. If, you don’t. After you applied all of the succulents. It will tip over.
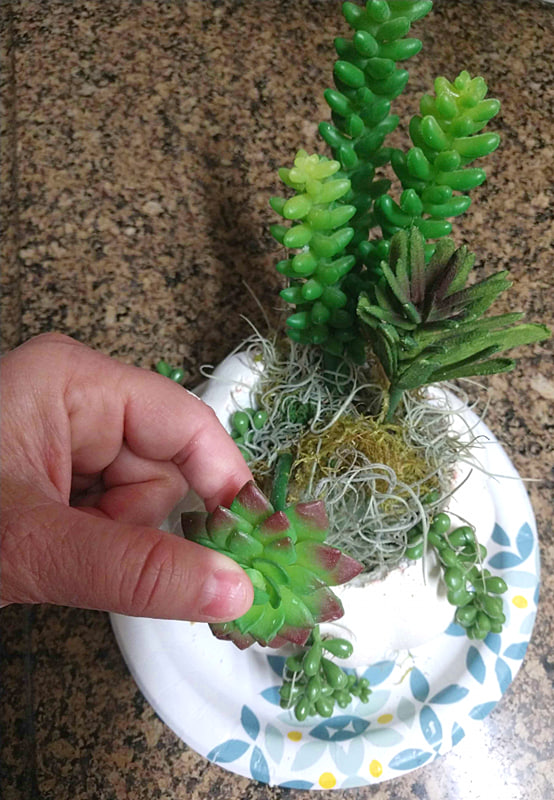
Then stuffed the inside with floral styrofoam. I choose moss to cover my insides. To give it a neater look.
Once that is inside. You can start placing your succulent plants. I used artificial to cut the cost and the mess.


Frequently asked questions
Have a question about this project?