


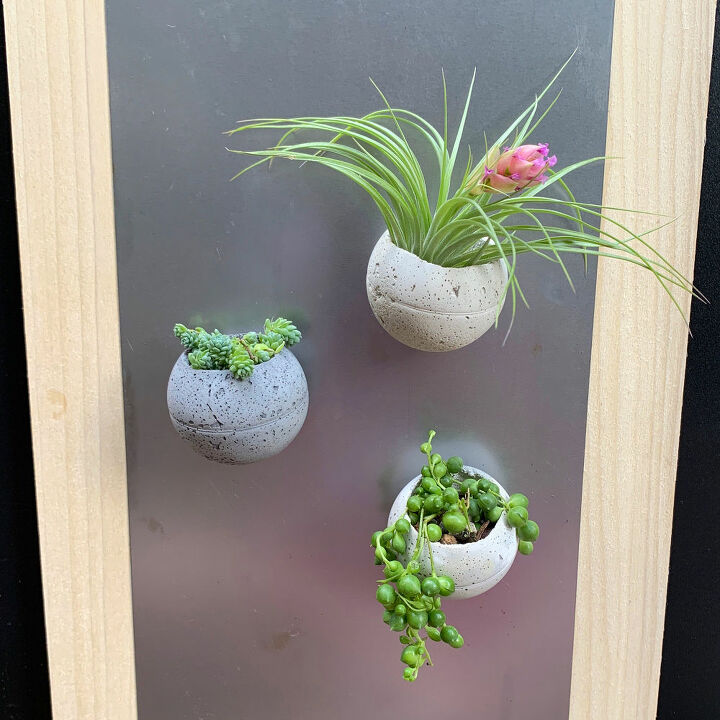
Magnetic Cement Planter Tutorial and Video
These magnetic cement planters are so easy to make, you actually won't believe how easy they are. I came up with this idea last summer when working on one of my other cement planter projects, which are the Mini Cement Balloon Planters. I was trying to figure out how I could make tiny round cement/ concrete planters and it occurred to me I could use plastic bouncy balls! So cool, right?

You can even make these without magnets and just sit them on a table top. They may turn slightly to one side, but not enough for the plants or soil to fall out. I added pigments to these, but you could also leave them plain.
**If you love making concrete crafts, you should grab my Free Pocket Guide To Concrete & Cement Crafts Mixes! 
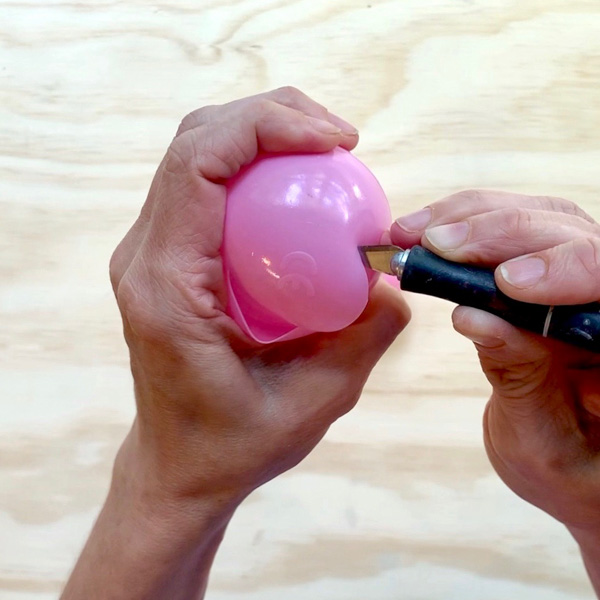
Slice the top of the bouncy ball with the X-acto knife. Slice it horizontally.
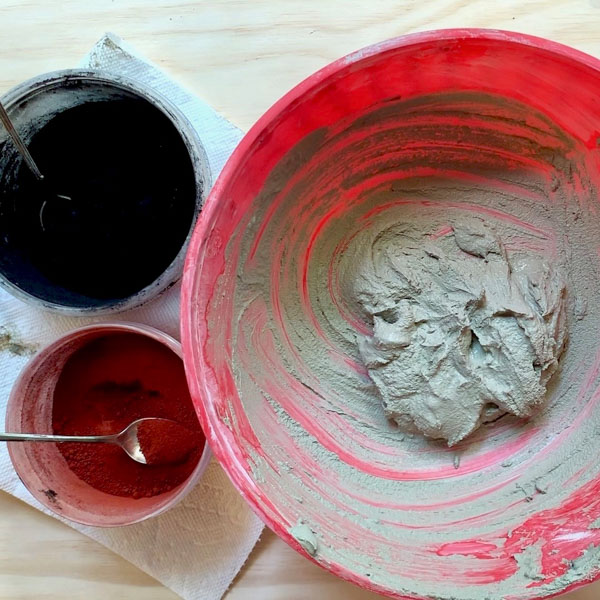
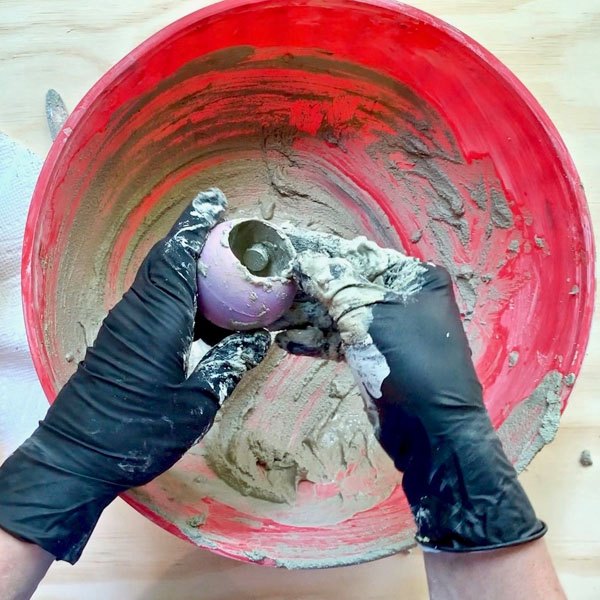
Add the cement to your disposable bowl, and add some water. Then, using either the craft sticks or your gloved hand mix the cement. Be sure to mix the cement in small batches.
The cement mixture should be mouldable and also fluid enough that it attaches to the sides of the plastic ball. If you are using gloves to mix, then the gloves I have linked to are seriously great and are very unlikely to tear.
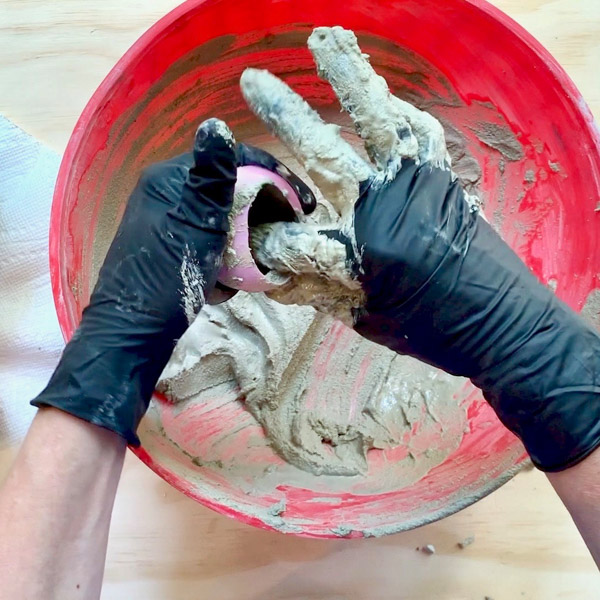
Scoop up some cement mixture and put it into the ball. You’ll need enough that the ball is half full. Then work your way around the ball with your finger, pushing it against the sides. The cement should be about ¼” thick.
** This is where you add the pigment to get the marbled look. See the video above for details.
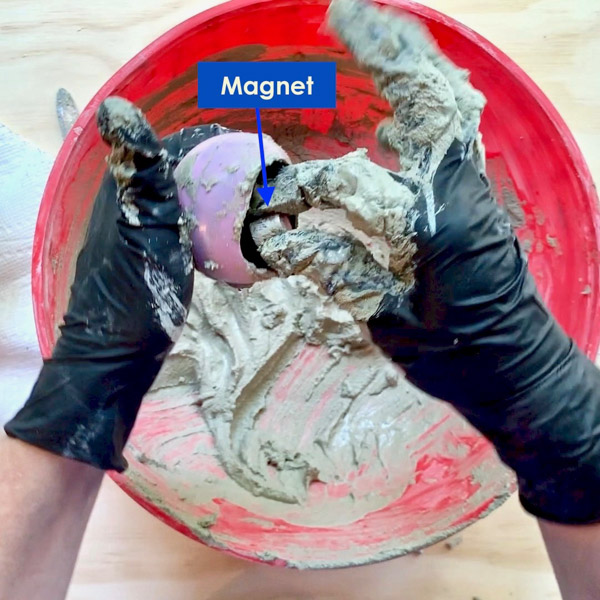
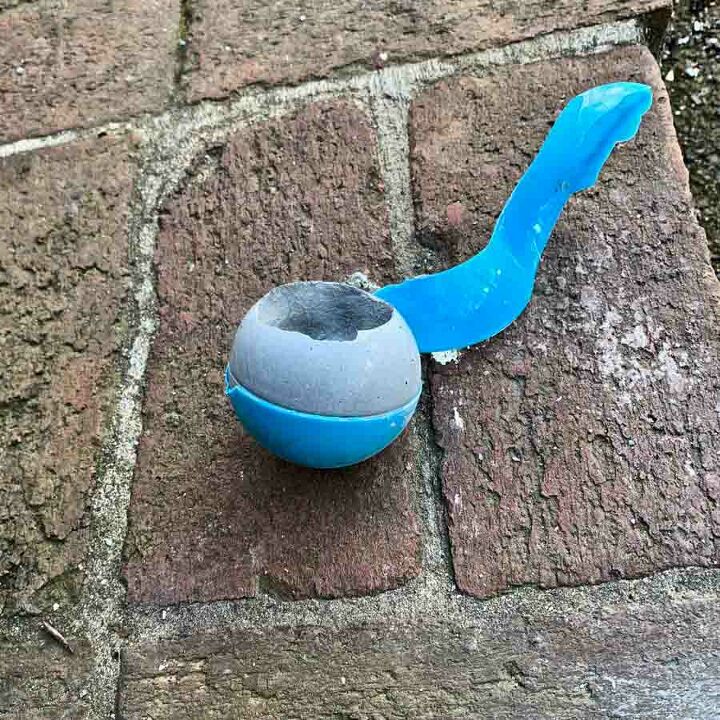
Position the magnet (remember, you must use really strong magnets)
around the mid-point of the plastic ball where the line is. Try to get the magnet as close to the plastic as possible, it’s okay if there is no cement between it and the plastic ball.
On the inside though, you will want to cover it with cement. I’m not a plant expert and it may not matter, but it seems like keeping the magnet away from the soil could be a safer bet for keeping the plants alive.
Just sculpt the cement around it, but don’t make it too thick, you don’t want to add unnecessary weight to the cement planter.
**If you like this tutorial, then it may be helpful to read my post Making Cement & Concrete Crafts, and see what I learned from my cement tests.
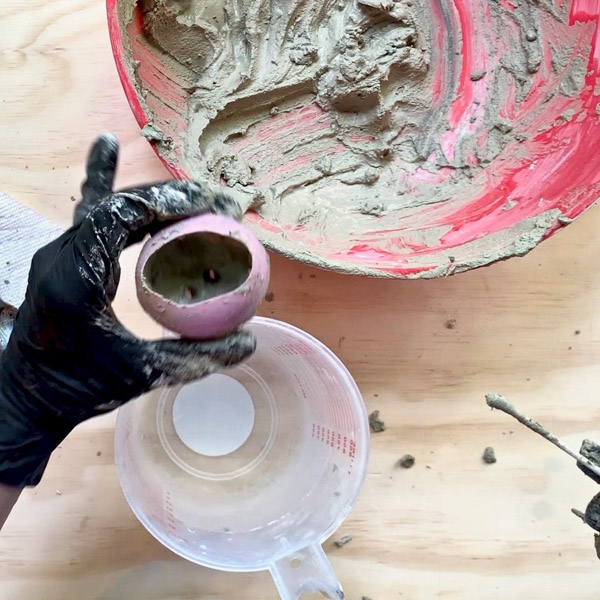
Now smooth everything out and make sure the cement at the top of the ball isn’t too thin. Try to make the cement nice and even all the way around. Next take a Q-tip and push two drainage holes in the bottom.
Place the balls onto something cylindrical like a small glass, I used leftover pieces of PVC pipe. This will help the ball keep it’s round shape while it’s curing.
The round cement planter should be cured in an hour. *However if you want the ball to be shiny, wait 2 hours. If you remove it before it’s fully cured, the cement planter will be matte, or part of it will be matte and part shiny. If you prefer the cement matte, then go ahead and remove it after an hour.
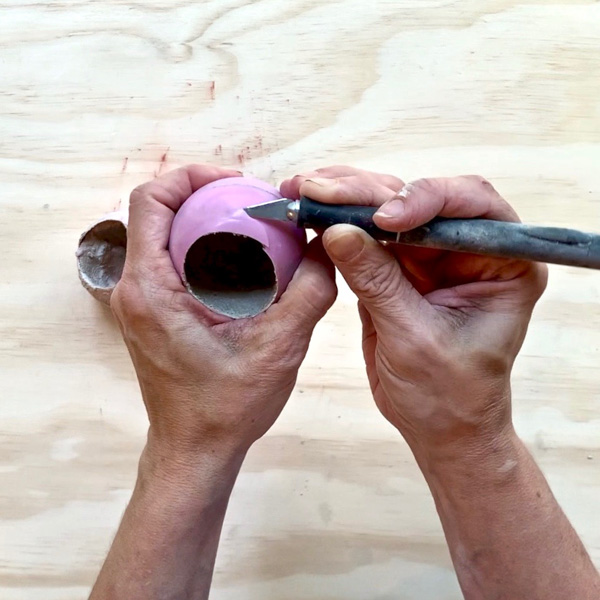
Use the X-acto to remove the plastic from the cement planter. Start at the top, keep the blade pointing away from you and slice away from the cement. Try to go a little past the mid-point line, then you can use your fingers to peel the plastic off.
You do not need to seal these if you don’t use pigment. Even if you do use pigment, it’s not necessary. I wanted to seal them because the pigment powder can get caked up in places where the cement has pits and will come off on your hands and sealing helps- it’s not perfect, but it does help.
** Also, the soil with later leaches through and causes a discoloration from the minerals. Sealing will prevent this.
First, spray the planter with the sealer. The instructions say to spray generously, but don’t saturate. I’m pretty sure I mostly saturated them. You let them sit for 3-5 minutes, then spray one more time. Then just let them sit for 25-30 minutes.
The instructions then say to wipe off the excess sealer, but on mine, there was nothing to wipe. It was completely dry and perfect looking. Score! Loving the sealer.
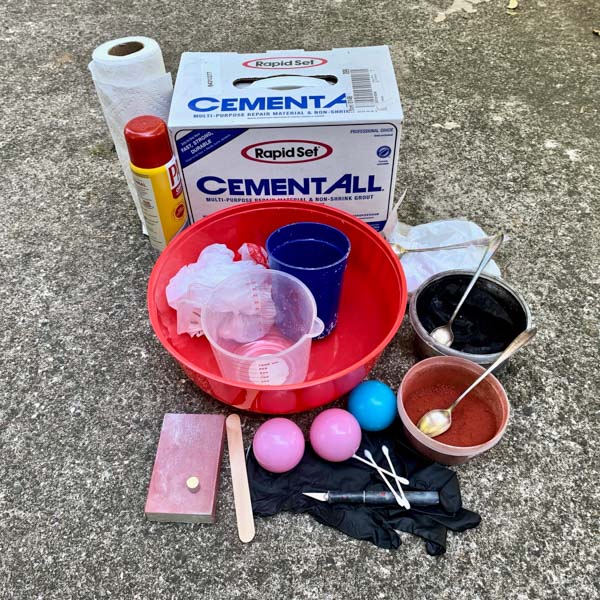
Resources for this project:
See all materials


Comments
Join the conversation
-
Shirley, every time I saw a pic with you using the knife, the blade was pointed toward your hand. If you slip, or if one of the folks who do this slip, it could be a very painful visit to the ER. Other than that, I love the idea.
-
I love the idea! Thanks for sharing!


Frequently asked questions
Have a question about this project?
If you add drainage holes you’ll need to keep the planters placed on a dish or in a sink until they’ve completely drained?
What kind of cement do you use
What did you use for sealant?