


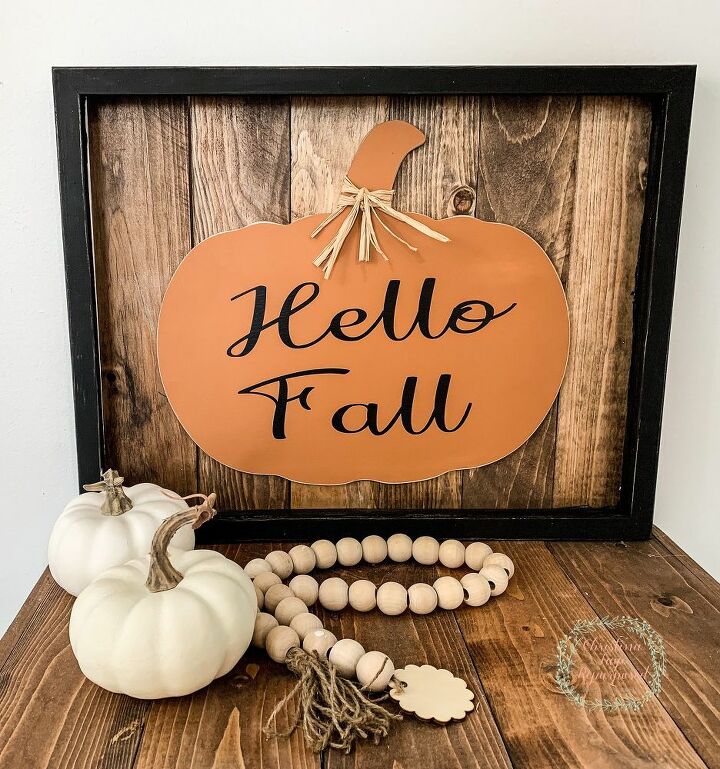
DIY Upcycled Frame Fall Pumpkin Sign
I love fall! The smell of pumpkin spice and the feel of cool, brisk air whistling through the trees!
Fall is always one of my favorite seasons. I love decorating my home with oranges and browns. However, being the wife of a police officer, we are on a limited budget, so I must think outside the box. Let’s face it, home décor can be pricey!
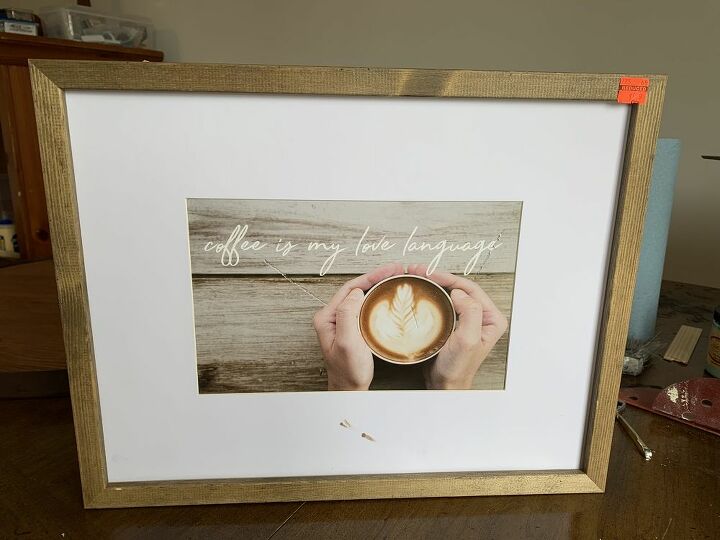
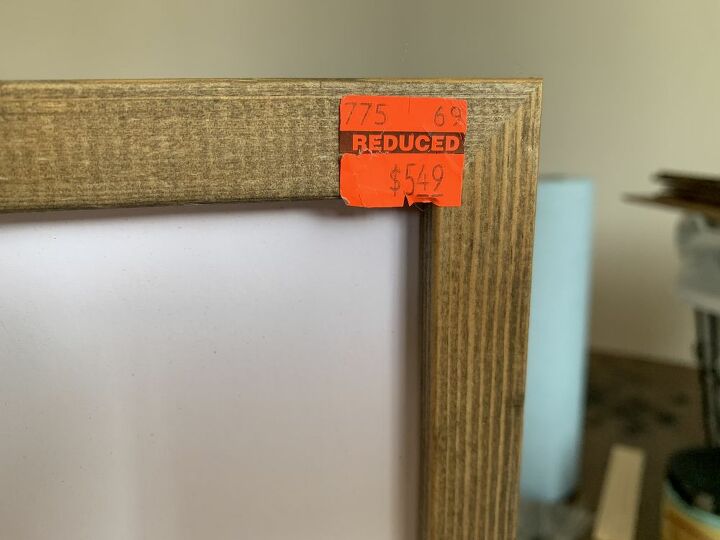
I found this damaged wood framed picture on the Hobby Lobby clearance aisle. It was marked down to $5.49 because it had a few scratches directly over the image itself. However, the frame was in great shape!
Supply List:
Wood Frame (An old picture frame would work!)
Scrap Wood (You could also use furring strips here)
Waverly Chalk Paint in Ink (Black)
Orange Paint (I used Sherwin Williams Copper Pot, but any orange will do)
Waverly Clear Wax
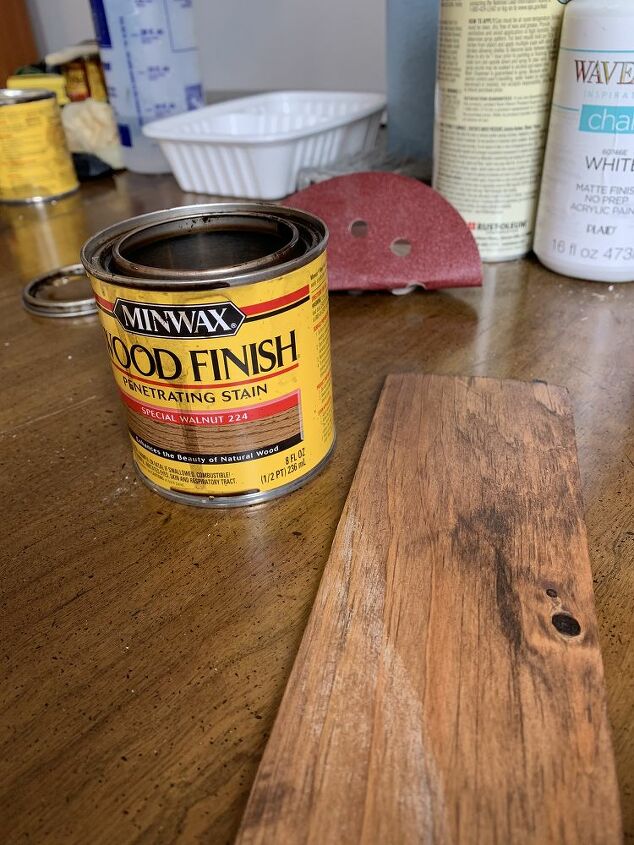
Minwax Stain in Special Walnut
Small Finishing Nails
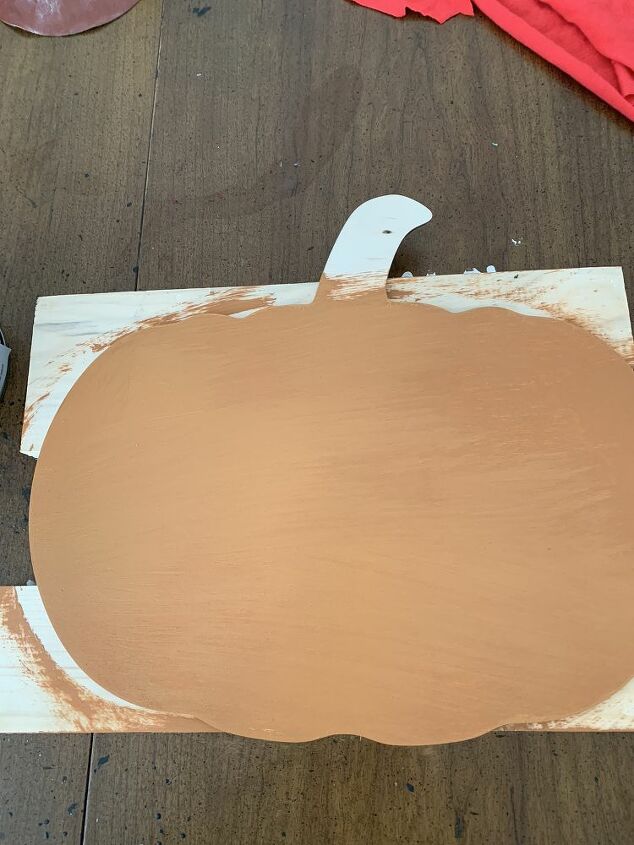
Unfinished Wood Pumpkin
Self-Adhesive Spray
Polycrylic Spray
220-grit Sandpaper
Cricut Machine or Stencil of Your Choice
Raffia
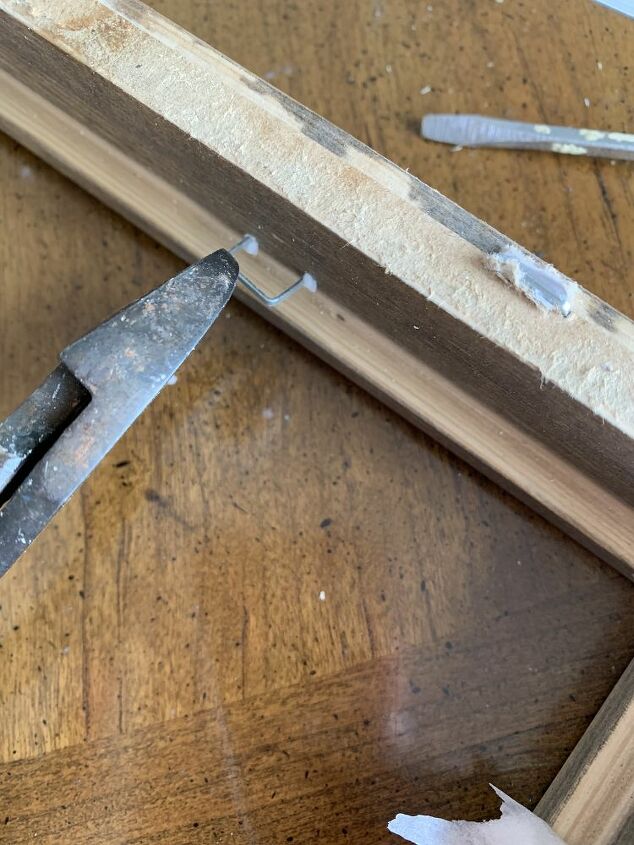
I started by removing the damaged image. It was stapled to the back of the frame. The staples had to be removed using a pair of pliers.
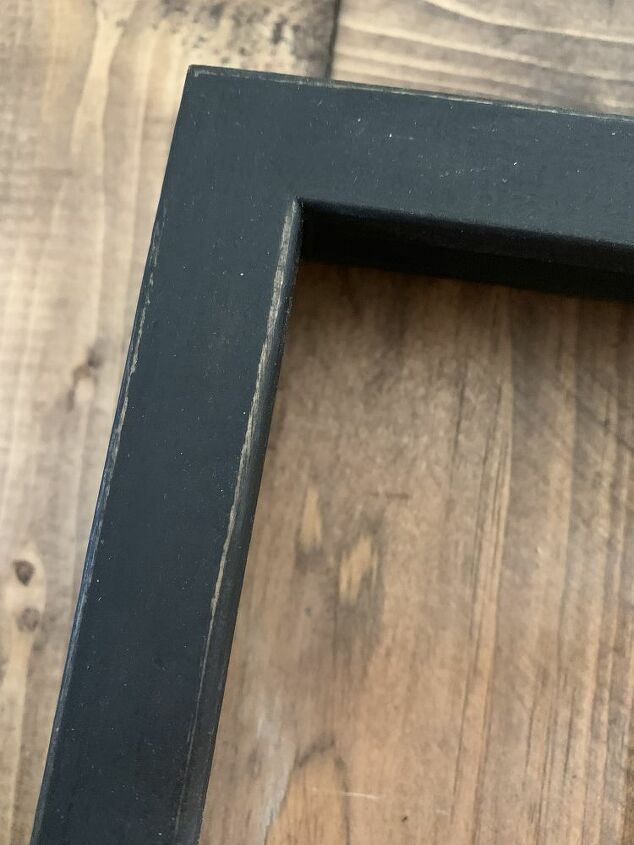
I applied one coat of the chalk paint to the frame inside and outside.
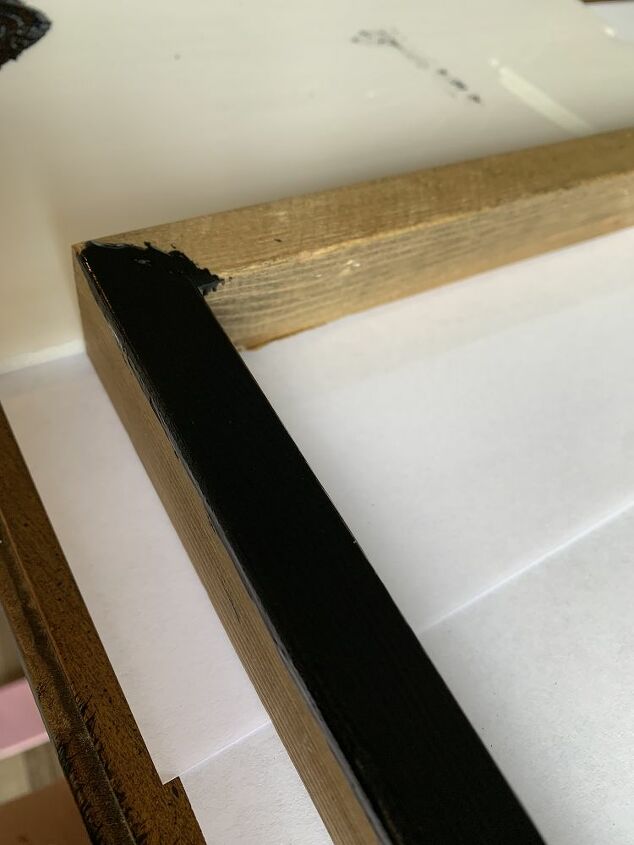
I then used my 220-grit sandpaper and lightly distressed around the edges and inside the frame, allowing some of the wood to peek through. The frame was sealed with Waverly Clear Wax.
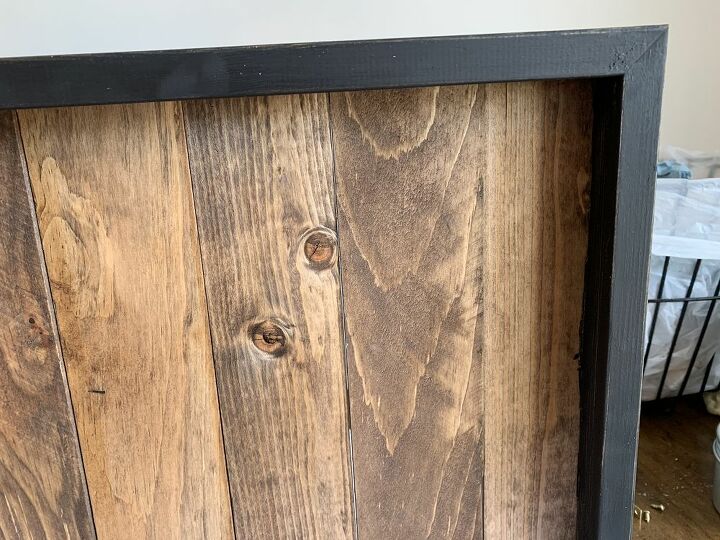
For the back of the frame, I used scrap wood from a previous project. I cut down the strips to fit horizontally on the back of the frame. You could very well use furring strips and cut those down to size (see here). I love adding wood to projects.
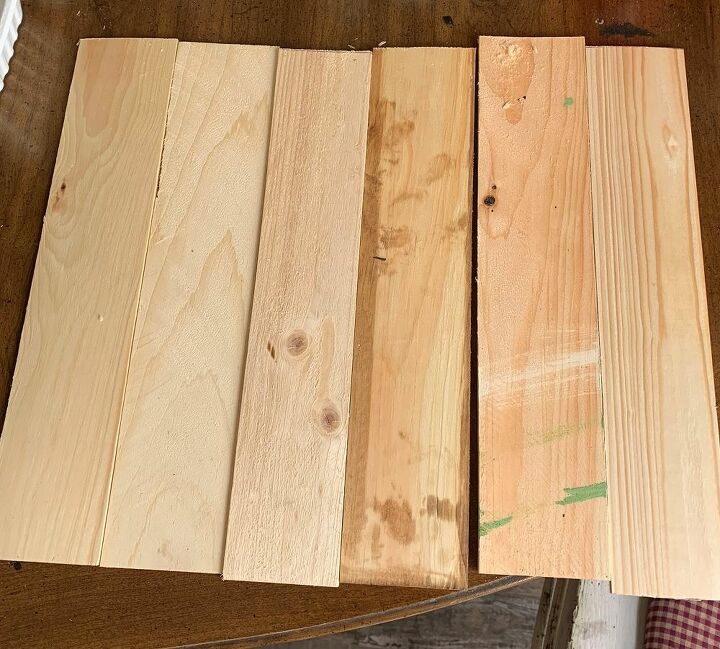
I gave the strips a light sanding with 220-grit sandpaper and then applied one coat of Special Walnut stain to each strip. It took six pieces for my size frame.
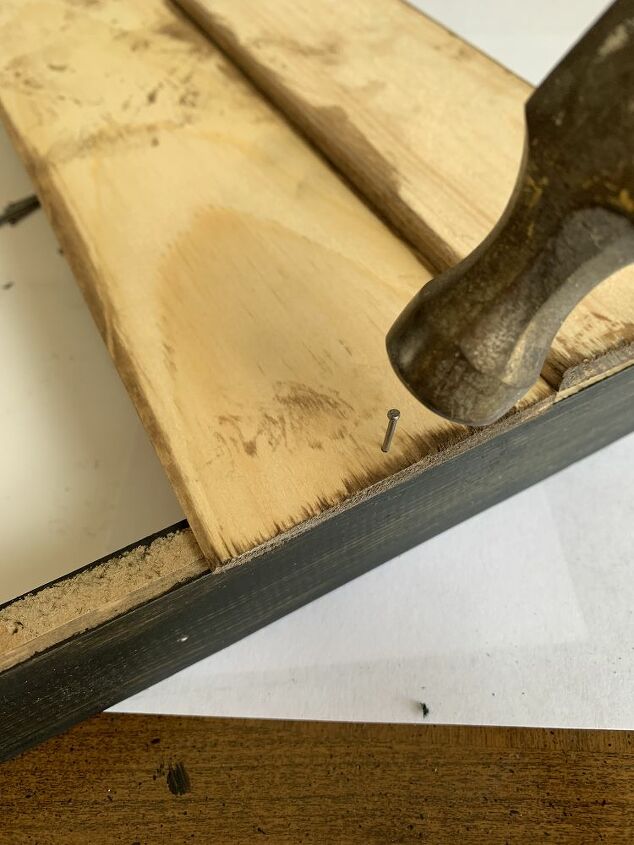
After the stain dried completely, I sealed the wood with Waverly Clear Wax. I attached the strips to the back of the frame using my finishing nails.
Here is the new back!
The unfinished pumpkin was painted with Sherwin Williams Copper Pot, which is a deep, dark orange. I distressed around the edges.
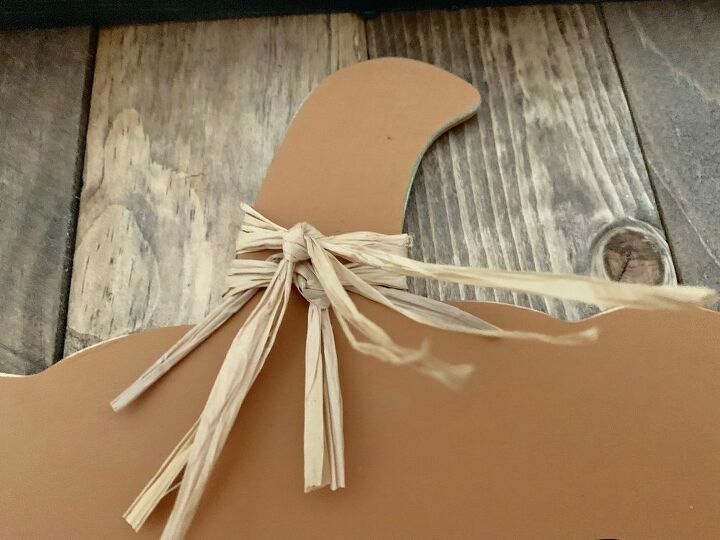
Before I attached the pumpkin to the back of the frame, I added my vinyl quote. A stencil or even premade letters could be used if you do not have a vinyl machine. I sealed it by spraying one light coat of Polycrylic.
I tied a few pieces of raffia around the stem and then attached the pumpkin to the frame back using my self-adhesive spray.
I plan to use this on my fireplace mantel once I start decorating! Old picture frames are always available at local thrift stores and for pretty cheap. Be on the look out the next time you visit yours!
Be sure to visit me over on the blog! If you love DIY projects and repurposed furniture, be sure to subscribe while you are there! Scroll on down!
Christina xxoo
Resources for this project:
See all materials


Comments
Join the conversation
-
Love that you framed it, great idea! I thought about framing but I didn't on some new pine cone art I did recently, maybe I'll do that with the Christmas ones I making because your's is awesome!


Frequently asked questions
Have a question about this project?