


DIY Pottery Barn Inspired Vases
Re-purpose not so pretty thrift store vases into designer home decor!
I'm all about getting a little "retail therapy" from time to time. But sometimes I really enjoy some "create therapy".
Especially when I can challenge myself to re-create an inspiration piece that I find at my favorite decor store!

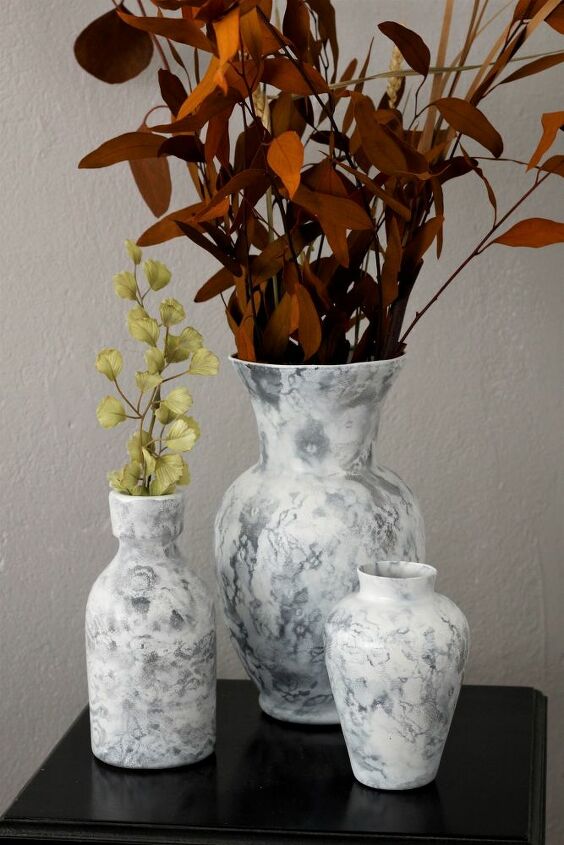
I absolutely loved these gorgeous vases I found online at Pottery Barn recently! Unfortunately the price for all three was a bit out of my budget. So I decided to try and re-create them by picking out three thrift store vases that were similar in size and look.
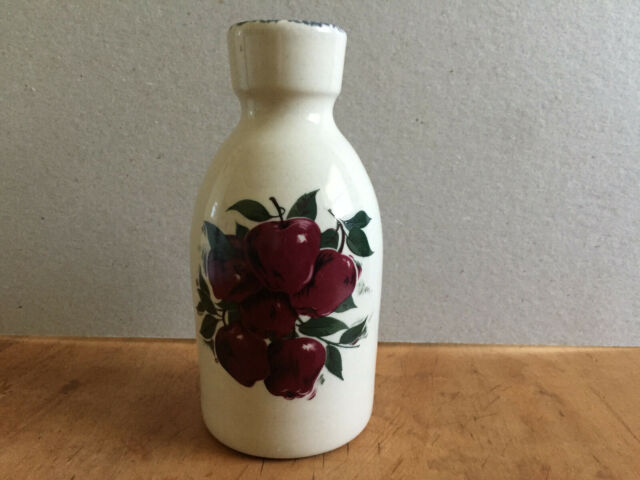
That wasn't as easy as it sounds but after searching several thrift stores I finally found this bud vase that was pretty close to the mid size vase.
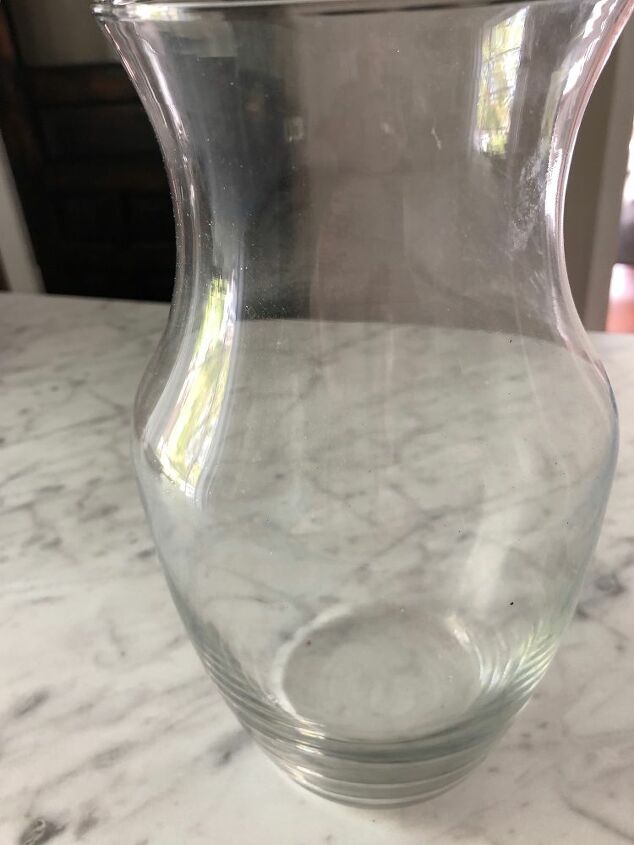
And I already had this glass vase so all I needed was the small size vase.
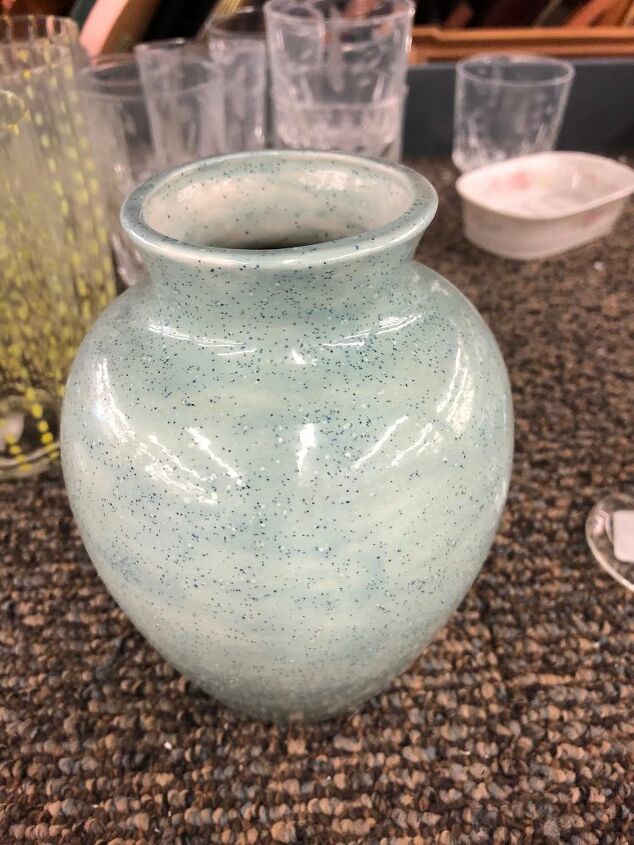
This one wasn't even close but I wanted to get started on the project and it was only $1 so I bought it. I guess it wasn't meant to be because shortly after I completed the first step in the project this vase had an unfortunate accident and broke so I rushed out and grabbed the first small vase I could find. **Apologies I didn't get a photo of it but here it is painted!
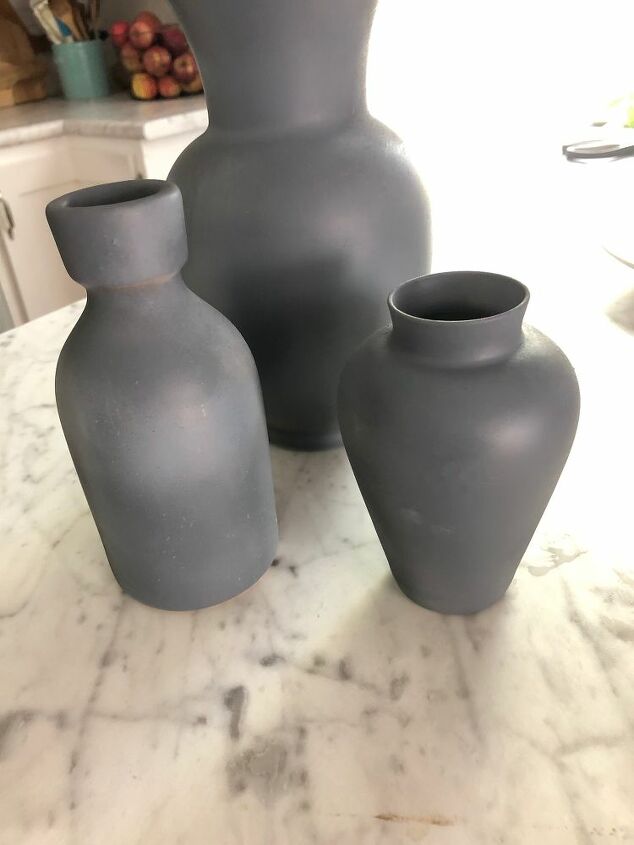
Which is the first step in re-creating these thrift store vases. Paint. I used Rust-Oleum spray primer in grey. This is how they looked after the first coat. It actually took two more light coats(drying time in between) before they were covered completely.
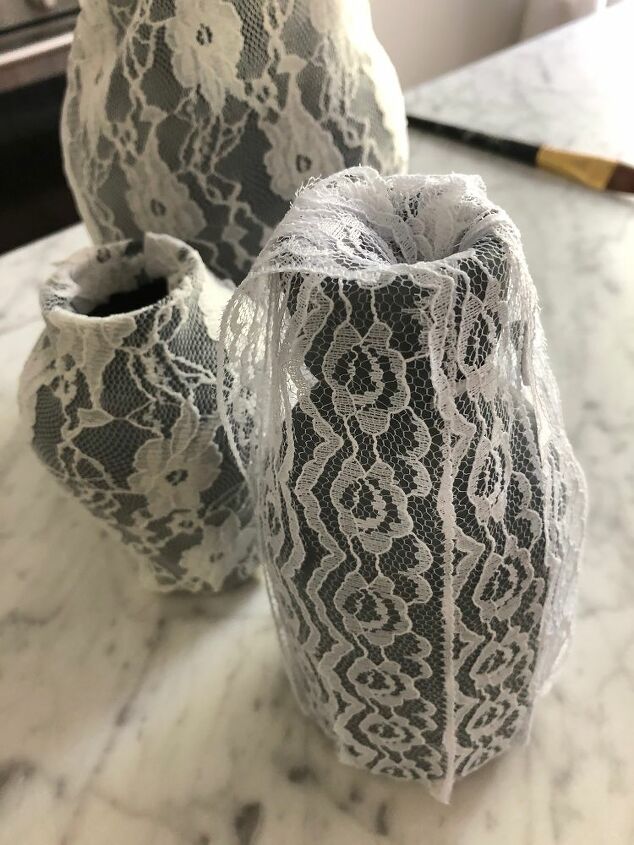
Next was creating the design on the vases. To do this I picked up a small roll of lace at the Dollar Store, along with some I found in the scrap bin at our local fabric store. I cut the roll of lace into strips and taped each piece into the inside of the mouth of the medium vase and then the bottom. I simply wrapped the other two vases with the scrap lace. It didn't even require any glue or tape to hold.
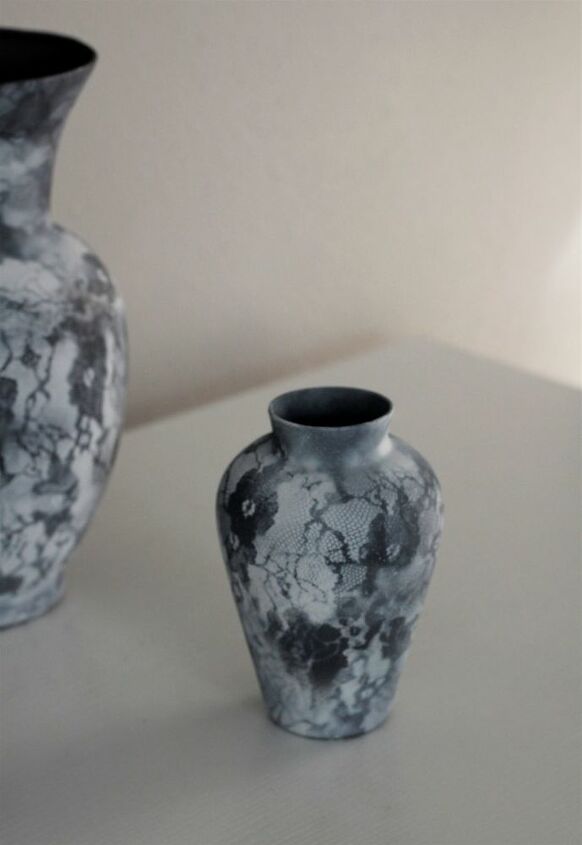
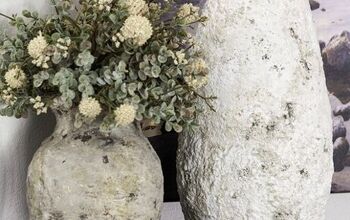
Once the lace is on it's time to spray the top coat. I used Rust-Oleum white spray paint for this step. You really need to be careful at this stage and make sure you hold the can at the recommended distance and spray lightly to avoid drips. I also recommend NOT removing the lace right away as it will smudge the paint. (See top of small vase). Thankfully, after several applications (dry time in between) I was finally able to get the look I wanted.
Once I had the design the way I wanted and the vases were completely dry I gave them two coats of clear coat.
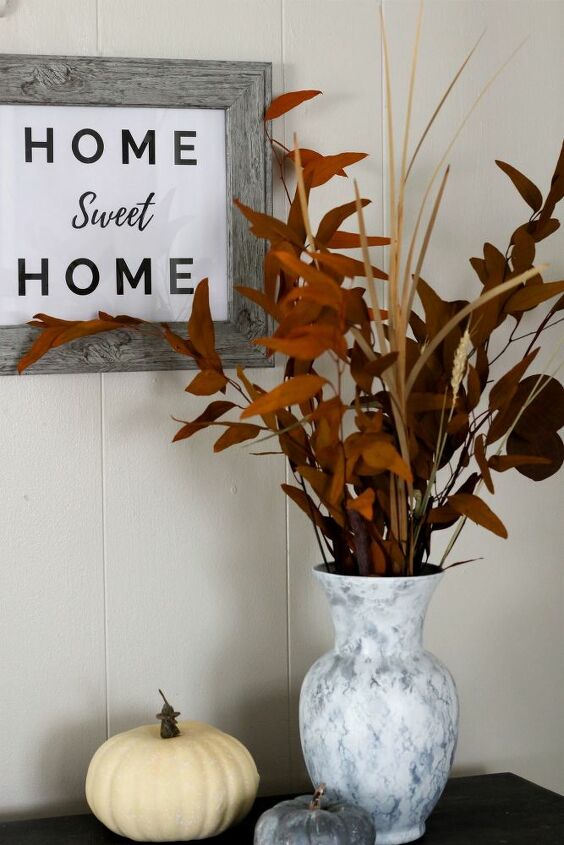
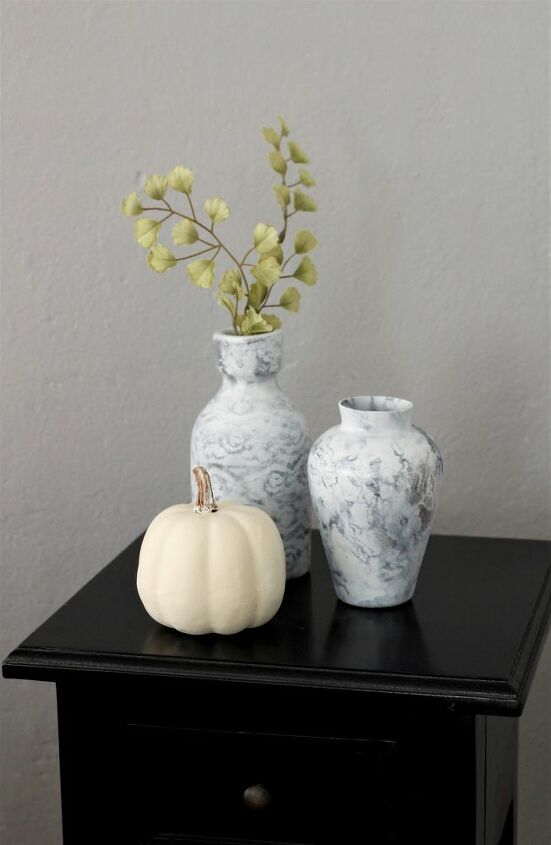
This project was a little more time consuming then I has originally planned but in the end it was well worth it. And since I already had the clear coat and paint the total cost for the vases and lace was $5.50. That's about a $154 savings from the inspiration pieces cost!
You can find the complete tutorial over on my blog!

Resources for this project:
See all materials


Comments
Join the conversation
-
Gorgeous! Many possibilities instantly came to mind. Vases, picture frames, cookie platters, flower pots to name a few. Thank you for the inspiration!
-
I like your smudged look better than the original!


Frequently asked questions
Have a question about this project?
Do you move the lace each time or leave it in one place for all the layers of white paint?
Hi, thanks for sharing a really cute idea. I was hoping to recreate the look of the Pottery Barn originals. The lace pattern in your large vase would be really pretty but your project appears to look more smudged rather than distinct. Do you have any idea about how to do this project and preserve the lace design as you paint it on?
Could do this over silver plated vases