


Easy Marbled Pumpkins
Craft these cute and easy marbled pumpkins with something that you might not expect...water!
I found my little foam pumpkins at...(if you follow my projects, you know)...
a thrift store!
They were just a quarter each and those faint orange streaks peeking through tipped me off that someone had played paint with them already.
Now it's my turn!
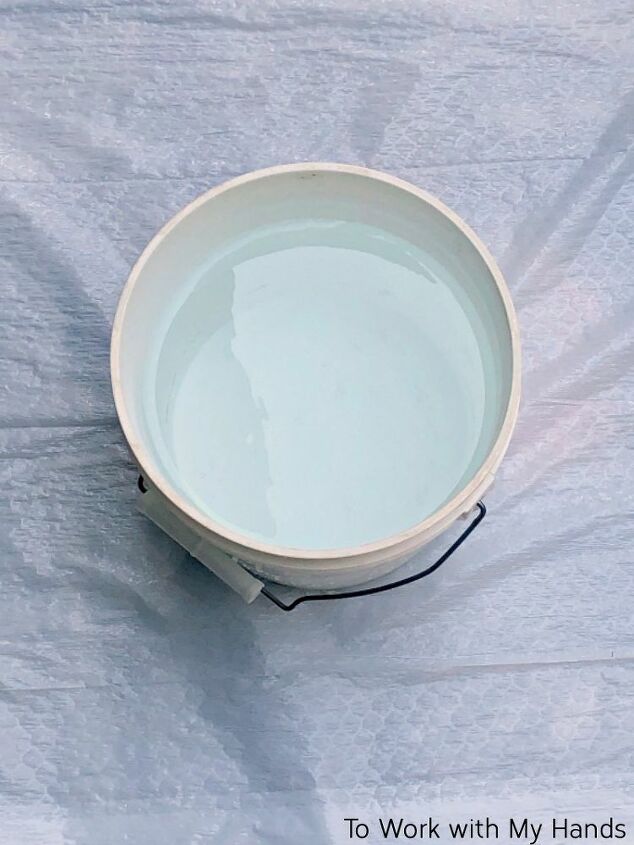
I mentioned that there's water involved in this project. Maybe an unlikely start, but keep reading to see how this easy magic works.
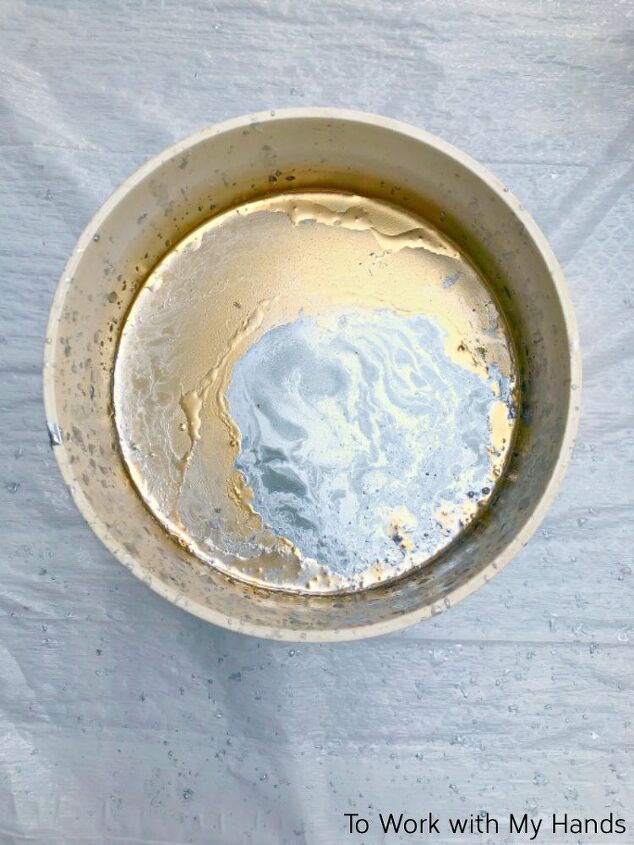
Grab a few gloss spray paints that you love and alternately spray them right into the bucket of water. I was going for a metallic look so I stuck with silver and gold.
Just keep spraying until you have a nice amount. If you find later it wasn't enough, you can easily add more, so don't sweat it.
Be prepared for it to really cloud up over the bucket. Rubber gloves are a good idea and give yourself plenty of breathing room - of course do this outside. I spread a garbage bag underneath too to catch any overspray.
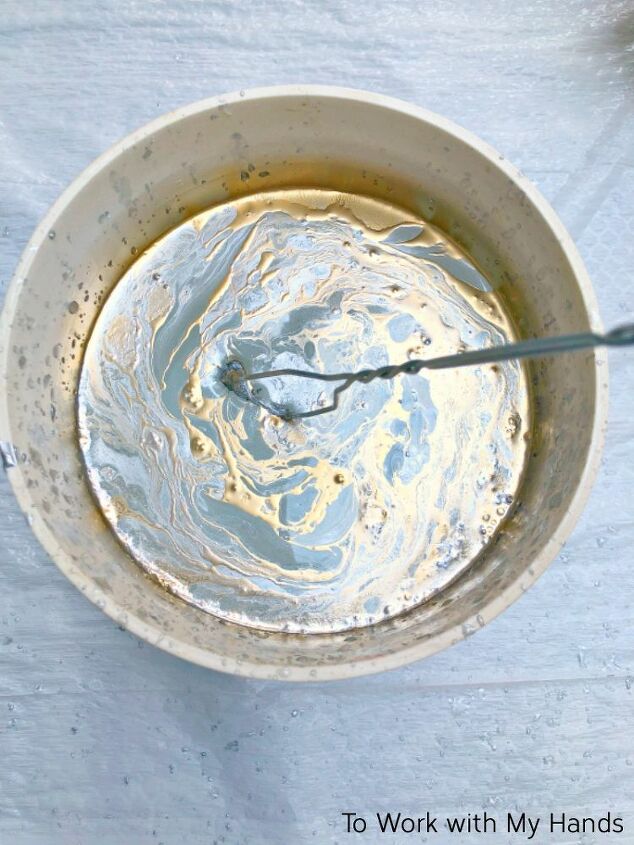
Give it a gentle swirl to blend the colors well.
Now you're ready to dunk those pumpkins!
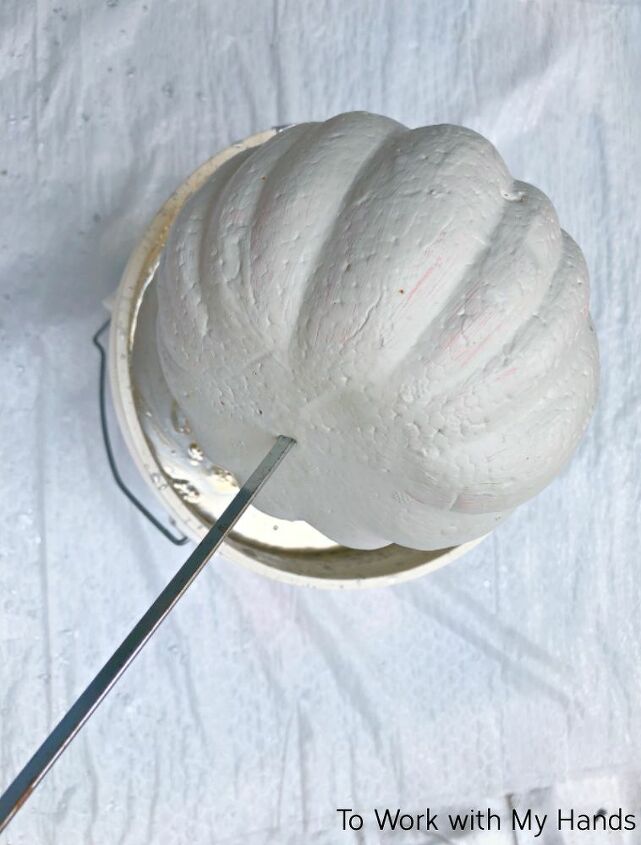
I used a metal skewer in the end of my pumpkin, because that's what I had. A wood skewer would work too. Or an old fork...whatever you have.
Lower the pumpkin into the water at an angle. You'll have to put a little force behind it since the foam will want to bob back up quickly.
Once under the water, slowly rotate it so paint can grab on all sides.
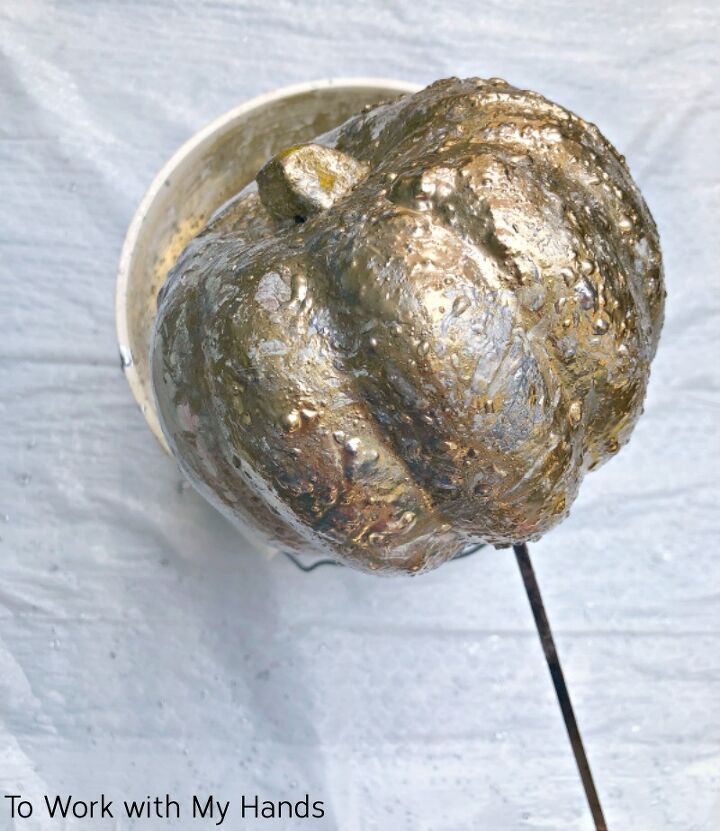
Bring it out of the water and see what you think. You can dunk again if you need more coverage. This pumpkin had been under a few times.
And don't worry about the water droplets. You can gently wipe them off after a few minutes or they'll dry on their own.
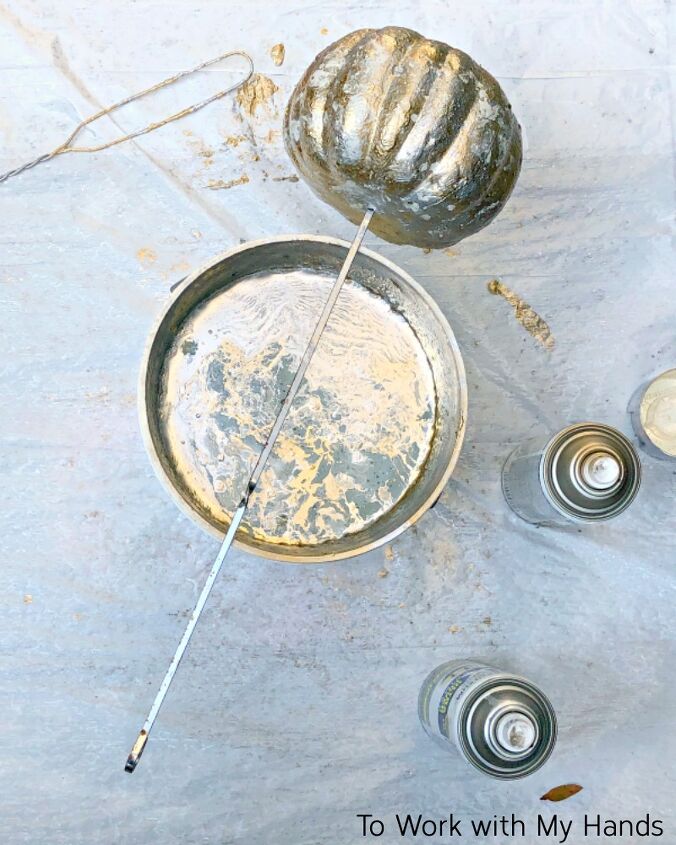
I stretched my skewer over the top of the bucket for easy drying.
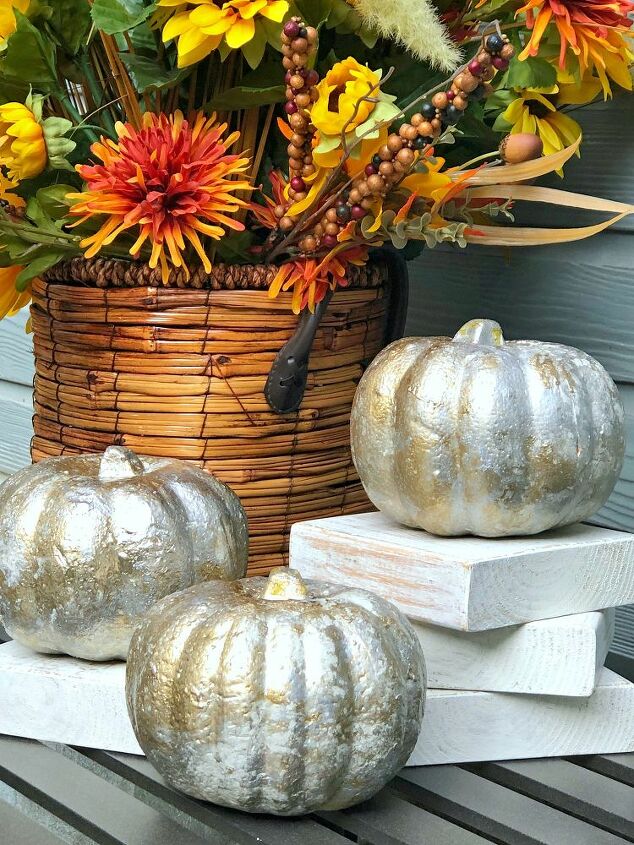
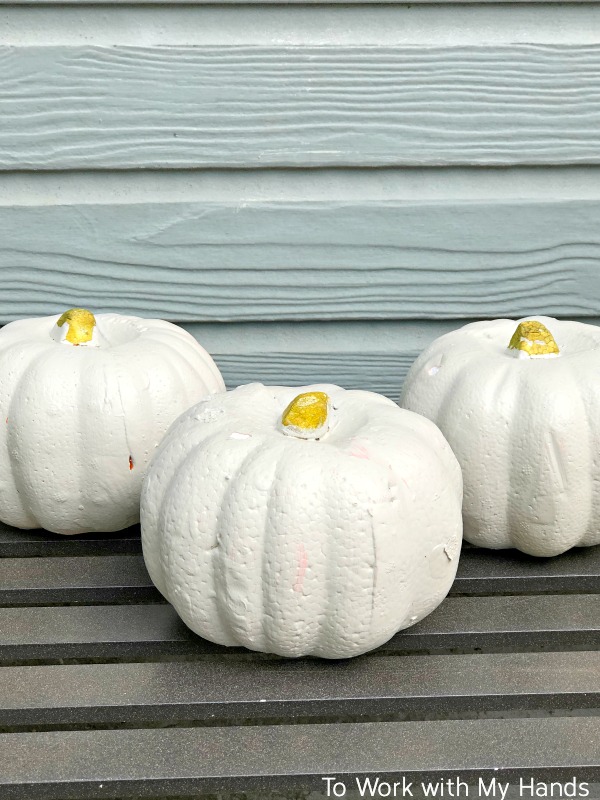
Ta-Da and done!
These little pumpkins are cute and easy. You can paint them any color combination you like.
Full disclosure: this project is not my original idea. Visit the blog for details.
Happy punkin' dunkin'! 
Karen
Resources for this project:
See all materials


Comments
Join the conversation
-
I think I have to make these! Since I'm addicted to bronze anything, and have cans of bronze paint on hand (and a gold, too!), all I have to do is find the pumpkins!
-
Love the technique! Been wanting to try nail polish on my nails


Frequently asked questions
Have a question about this project?
Will the color hold up if the pumpkins are in an outside display?
I love this, they look great and I love metallics!
I have a dumb question, where do you dispose of this water & paint combination, when you are finished doing the pumpkins?
Great idea and looks great! I've seen where people dunk almost anything like this. Although I wonder if it would do like a tye-dye if it wasn't stirred or mixed?! Have you tried it!? Just wondering if it's best to mix? I guess that's what is great about crafting though, isn't it?