


DIY Large Wood Toy Storage Chest
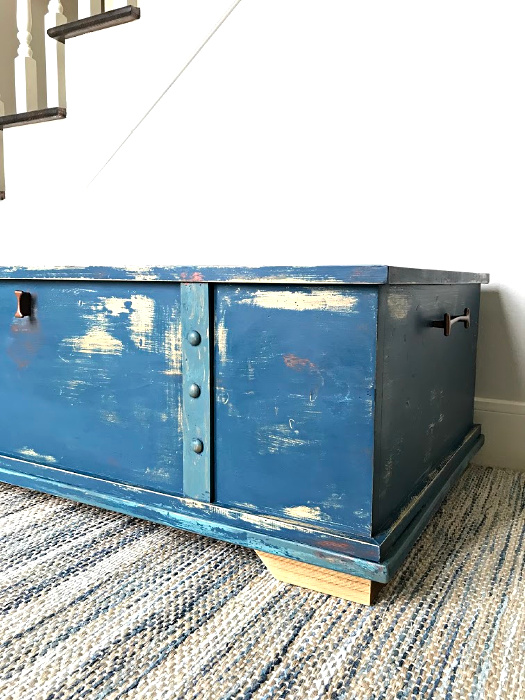
I'm back with another beginner-level woodworking build for you all. Building a box is pretty easy and straight-forward guys. I used 1x12's for the sides and bottom to make the build as quick and easy as possible. Then I added faux straps and chunky feet to give it a Vintage Trunk look.
That shabby, distressed paint look is totally optional, you can paint or stain this toy storage chest to match your room and style. I really love how this turned out. You can grab the exact measurements and printable build plans on my site.
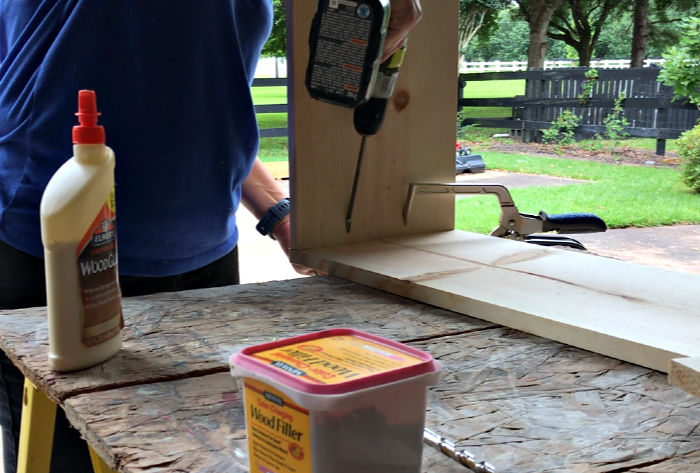
Start by cutting the 1x12's to size with a circular saw. Then drill 2 kreg jig pocket holes on each end of the short boards.
Use wood glue and screws to connect the short sides to the long sides to assemble the box frame.
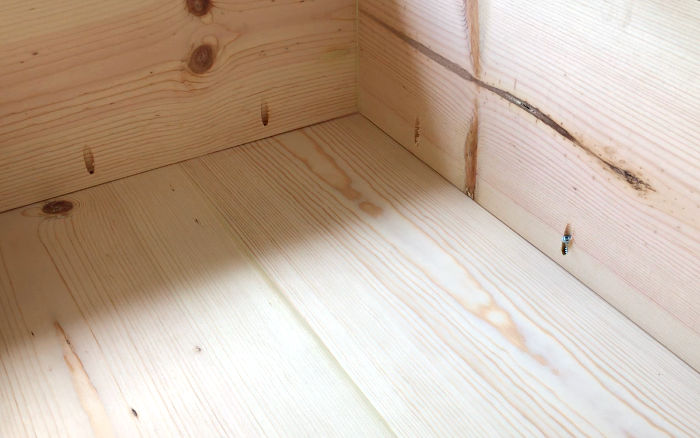
The bottom is 2 - 1x12's joined together with pocket holes and glue. The sides are attached to the bottom using pocket holes and glue too.
All of these pocket holes and the 1x12's make assembly really fast and easy.
I used 3/4" plywood for the top so that I didn't have to worry about cupping or warping on the top. I applied edge banding to the sides of the top to make it look like a pretty, solid piece of wood.
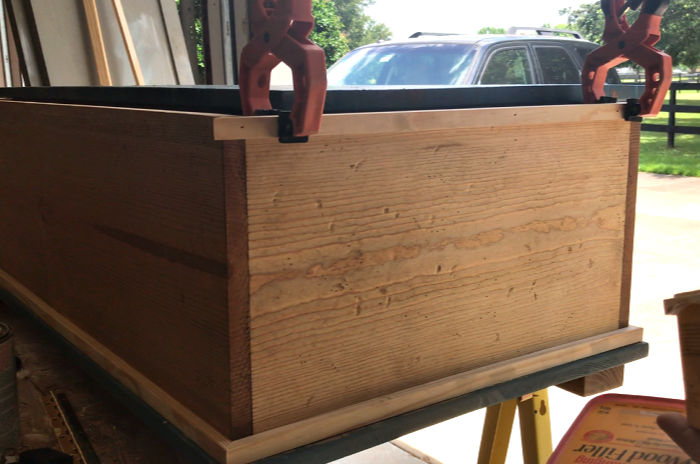
Now, to add some extra details and style. First, I attached 1/2" x 3/4" moulding along the top and bottom edges of the sides. I used glue and my brad nailer for this. Clamps make it easy to hold the moulding in place while I work.
I attached 4 feet to the bottom of the trunk. I used 2x4's for the feet. I shaved off the curved edges on the 2x4 first. This is called resawing. So, I resawed about 1/8" off the sides to get squared lumber. Then used my Miter Saw to cut them to size and give one side a 45-degree angle.
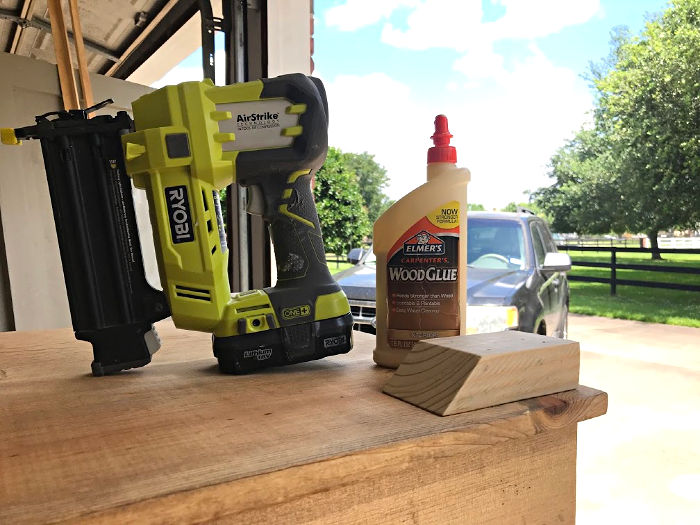
The feet were attached with glue and brad nails. I made sure to set them back 3/4" from the bottom edges so that they were even with the sides of the box frames.
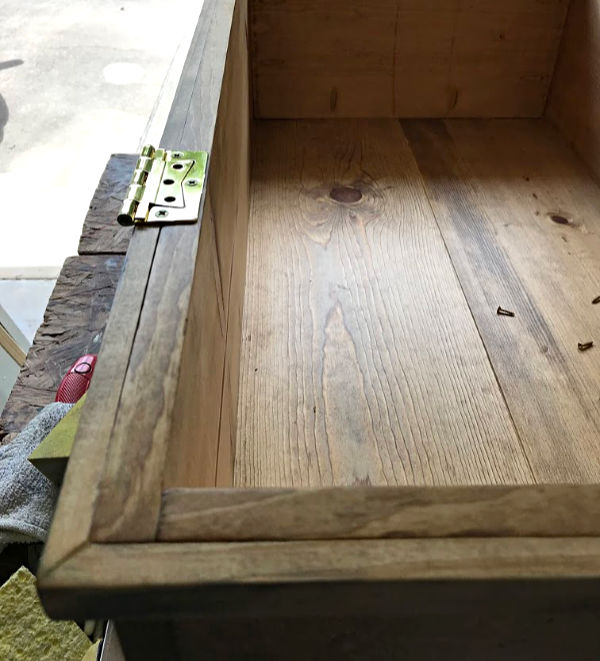
I attached 2 hinges to the toy storage chest to connect the lid.
The faux straps are lattice boards with 3 wood button plugs attached. You can get a good look at how I did that in the build overview video above.

This vintage chest look is really my style, guys. I think this would look great as a Living Room Coffee Table too. And/or with a 2" thick Pine Top. So many options for customizing this build. :)
Resources for this project:
See all materials


Frequently asked questions
Have a question about this project?