


Hot Mess Canvas for Fall

If you follow me, you know furniture is my favorite hobby! To further that venture, we opened a booth in a mall/marketplace. This requires what they call “smalls.” So, to help with the creation of said “smalls,” we bought a Cameo Silhouette. Ooh, what fun can I create? First I cut a design to put on the glass doors of a cabinet (that is it’s own post), and then I decided to give canvas art a spin!
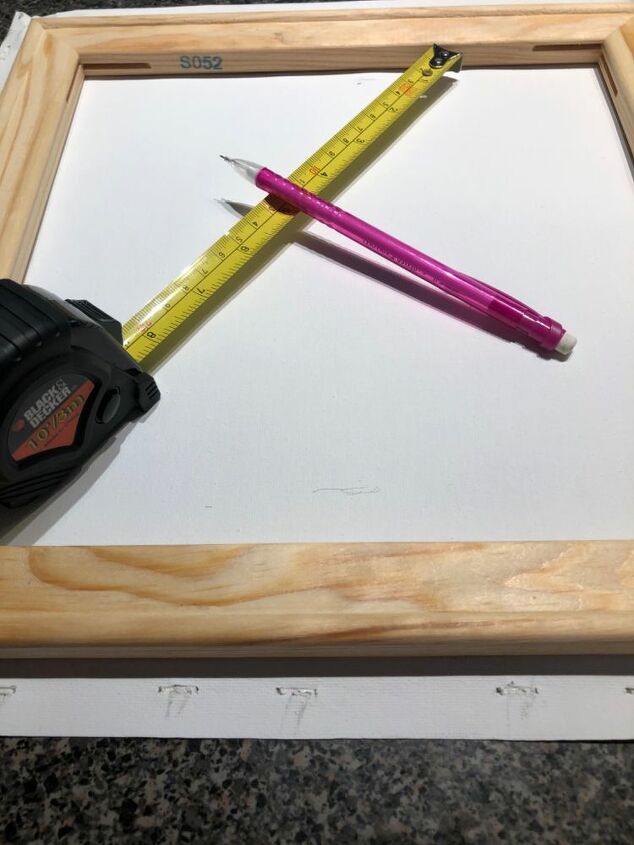
I started with a 12x12 canvas, pulled the canvas off the frame (reverse canvas), and measured to allow where my art would go. I had already picked out a design for this piece.
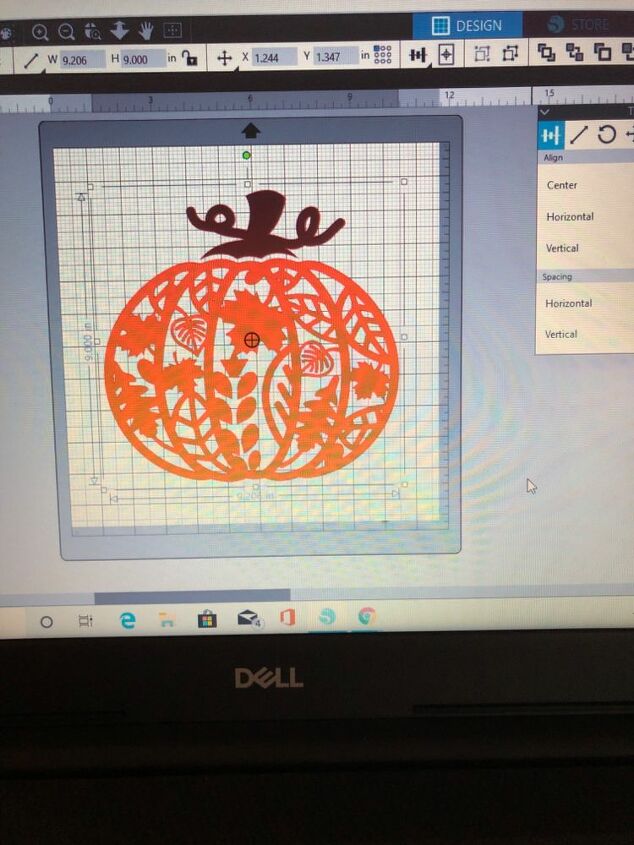
I picked design from the Silhouette store (note: make sure you get business/commercial license if you plan to sell item). Having measured my canvas, I knew what size to make the pumpkin.
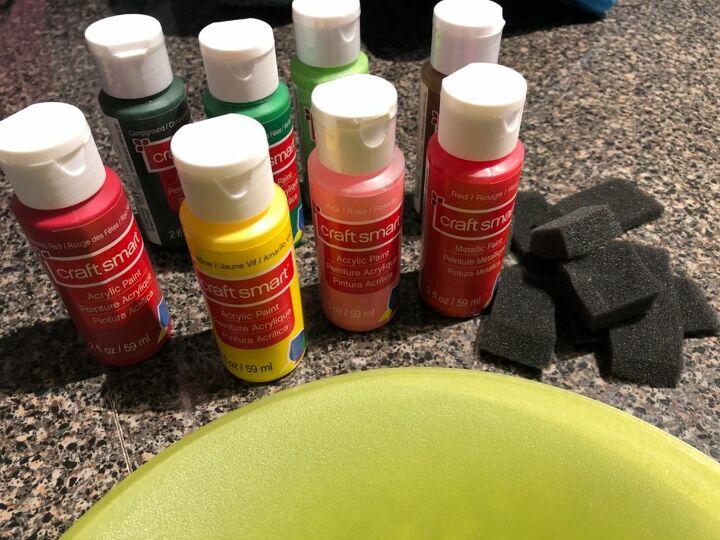
I picked out some paint colors and cut up a sponge brush to use. Can you believe I had no orange paint on hand?!
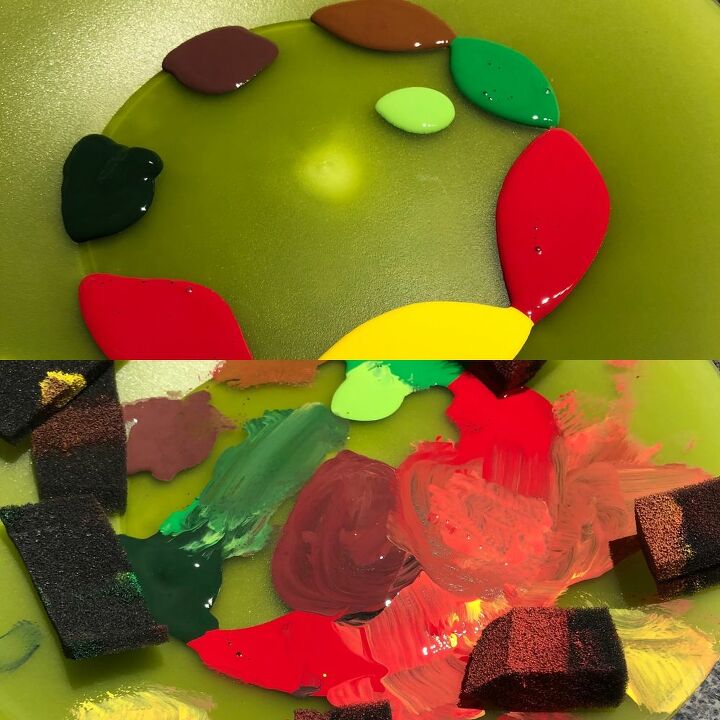
I squeezed out my colors on my plastic plate/palette, and using my cut up sponge brush, I applied my colors mixing and blending colors as I went.
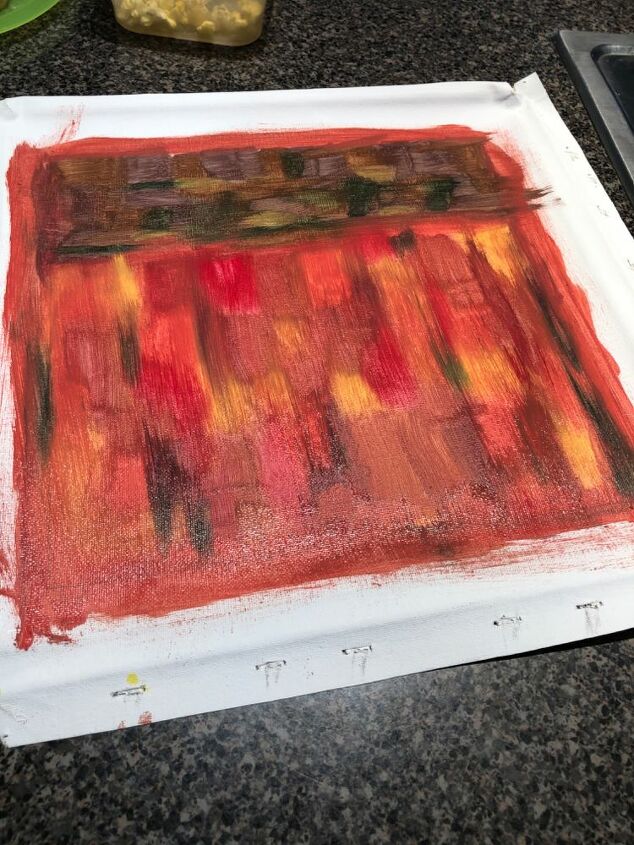
Since I knew where my design was going, I was able to lay out my colors accordingly. Once I was pretty happy with my color placement, I went over the whole canvas LIGHTLY with a chip brush. This just blended the edges and made sure I had a nice even finish for my vinyl. I sat my canvas aside to dry overnight. Make sure you let that paint cure so it won’t peel up.
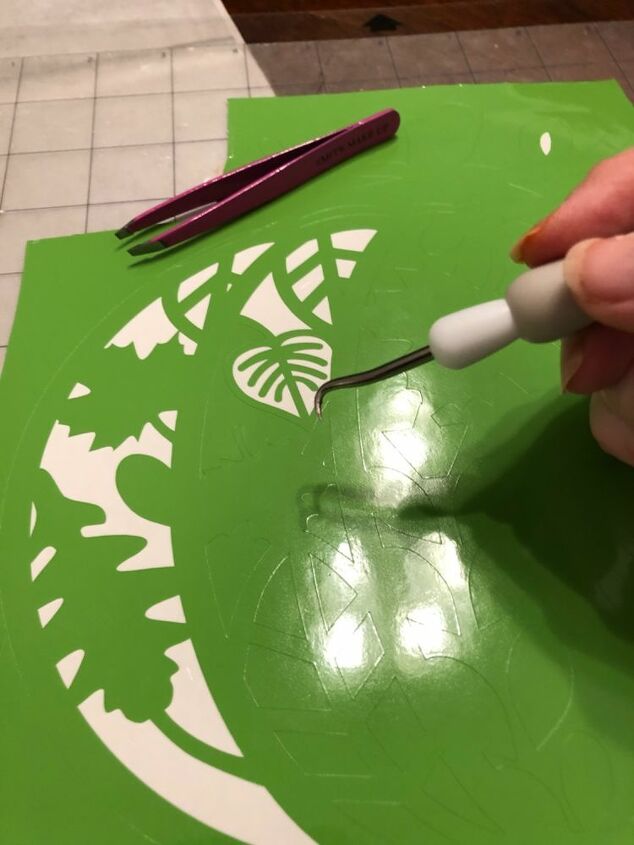
I forgot to take a picture of the machine cutting the design. 🤦♀️ But here you can see the weeding process. The color of vinyl doesn’t matter when you are removing it at the end.
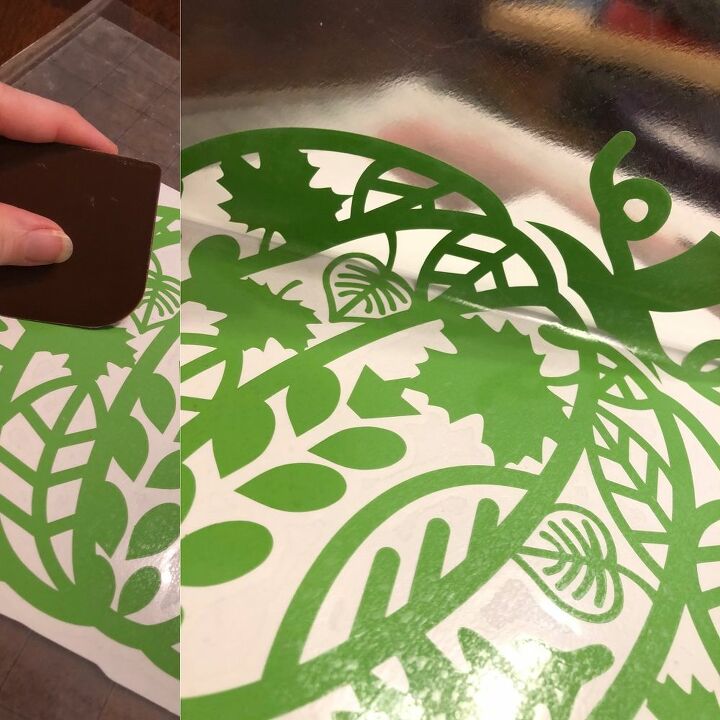
I laid transfer tape over the design, after weeding it, and then burnished it. On the left you can see me using a scraper to burnish it, and on the right slowly lifting transfer tape ensuring all my vinyl has adhered.
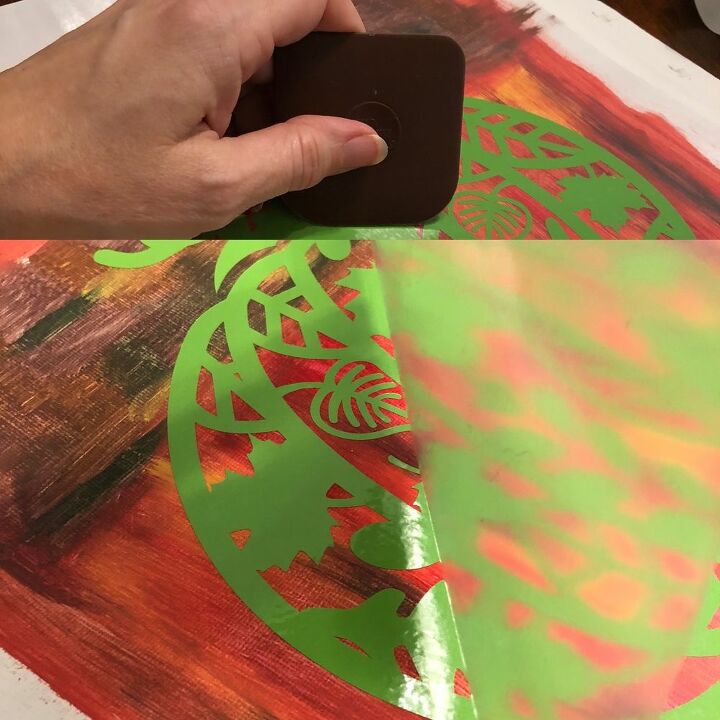
I lined up my design over the canvas, and burnished the heck out of it, front and back of the canvas. You want to make real sure it is on the canvas as you lift the transfer tape. Leaving the vinyl design behind.
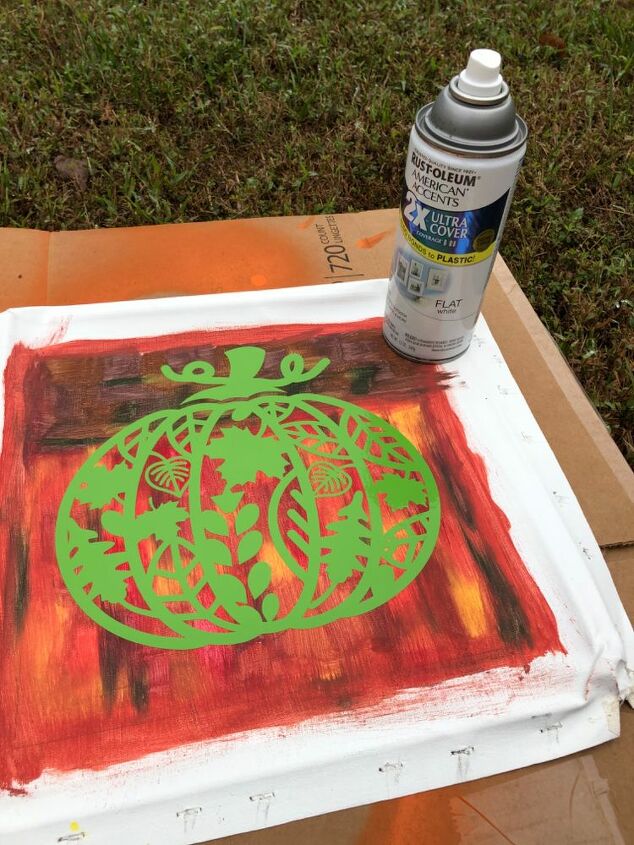
I was so nervous that I forgot any more photos of this part. I sprayed white (I chose flat) paint over the whole canvas. It took about three coats as I had a bit of bleed through (note for future, a light spray of clear coat before spray paint when using a light color over dark).
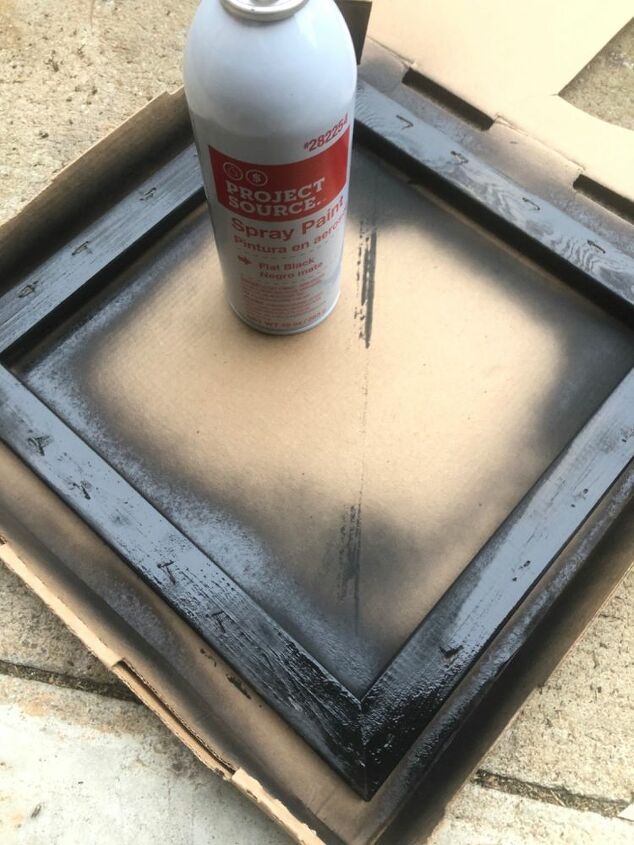
I spray painted the “frame” with flat black and finished with a spray of clear coat (matte finish).
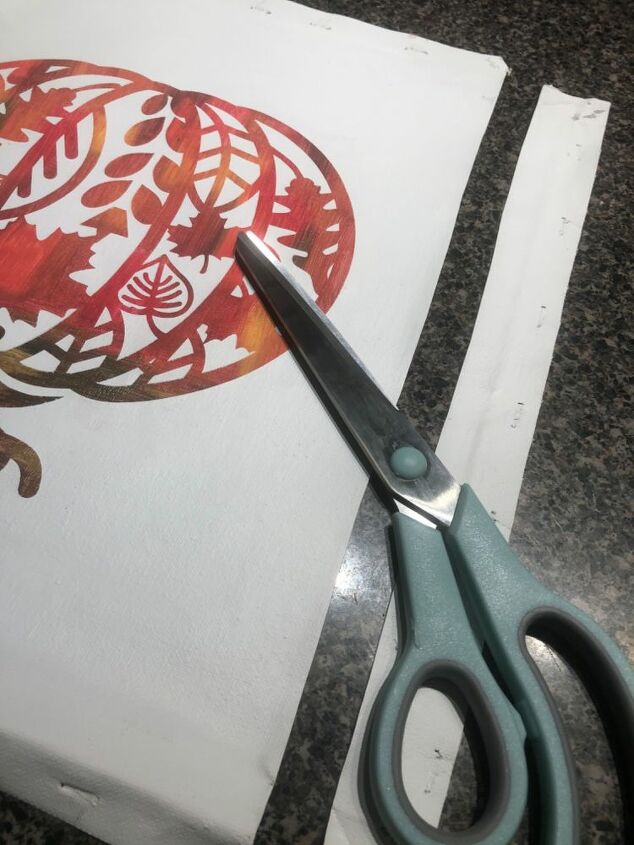
I peeled off all my vinyl...can you see what was left? I trimmed the canvas to fit to the back of my frame.
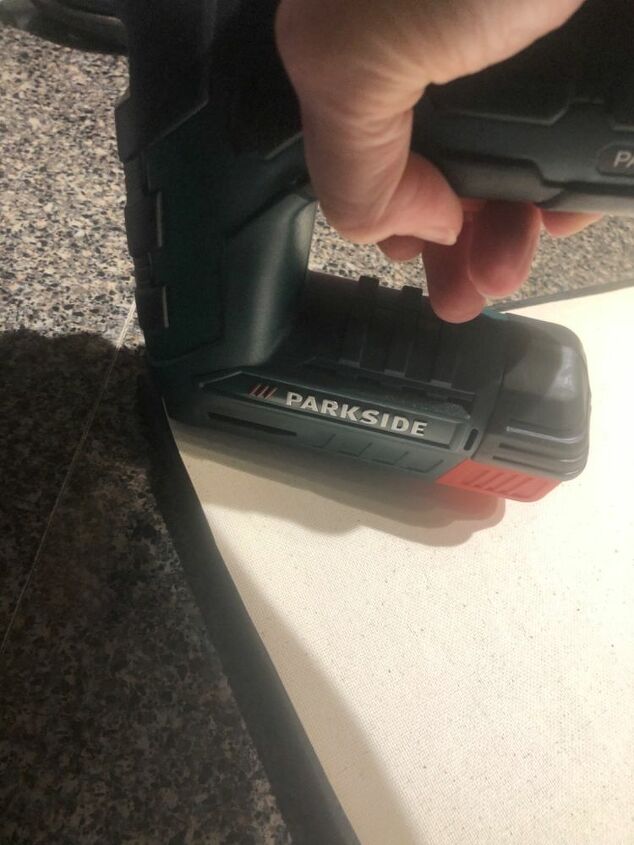
I stapled a corner, stretched it, and stapled opposite corner. I did the other corners and then around the whole
frame.
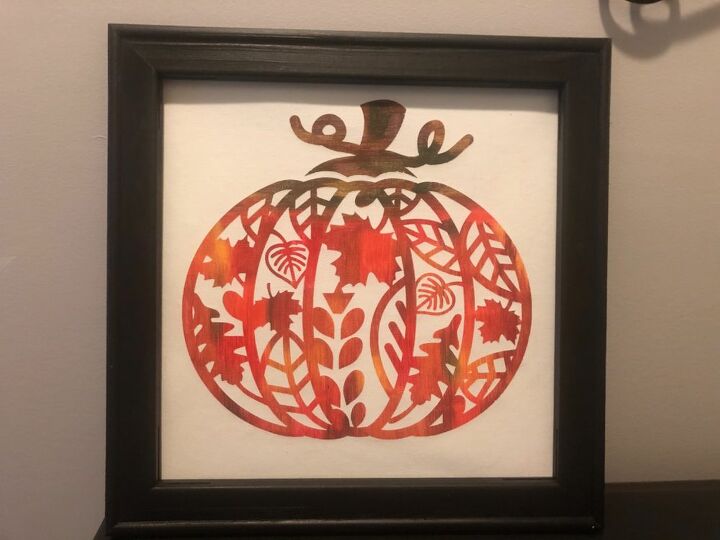
Oh my goodness! How adorable is this?! I will be making more of these cuties for sure.
Resources for this project:
See all materials


Comments
Join the conversation
-
Simple and beautiful! This tutorial is great!


Frequently asked questions
Have a question about this project?