


How To Clean Rust From Steel Tools With Citric Acid

I had some steel tools and parts lying around the house that were looking a little rusty, so a couple of weeks ago, I decided to clean them. I’m not a fan of chemical-based cleaners so I decided to use citric acid instead.
It worked pretty well, so I thought I’d share the cleaning method for removing rust from metal with you all in case anyone else wants to try it. A word of warning, though; make sure you test this out before using on anything important to make sure it doesn’t yellow it, and don’t use it on any tool with etching as it might ruin it.
Ok, here are the steps..
Step One - Clean With Water
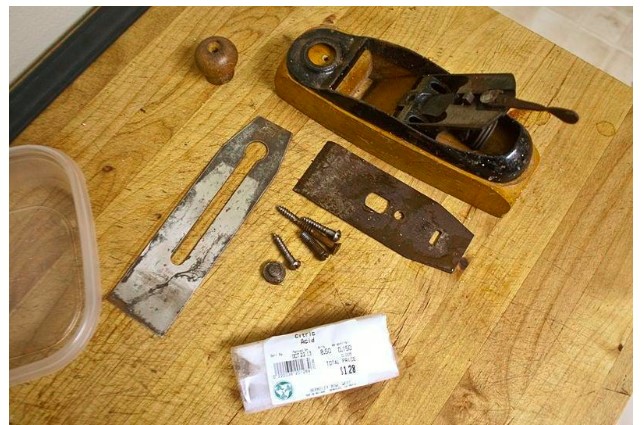
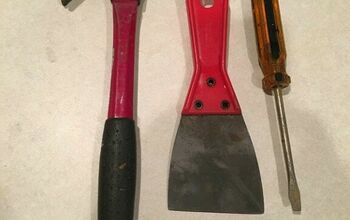
Here are the rusty objects I tried this out on first. As you can see, they’re very, very rusty. To follow this method, you’ll need to get ahold of some citric acid powder from your local drug/grocery store, a plastic container, a scouring pad, and some rubber gloves for safety.
Before I applied the citric acid, I made sure to clean off all the excess dirt and grime using good old fashioned water.
No need to use soap or anything here, just use water and a sponge to get rid of the dirt and proceed to the next step.
Step Two - Prepare Your Citric Acid Solution
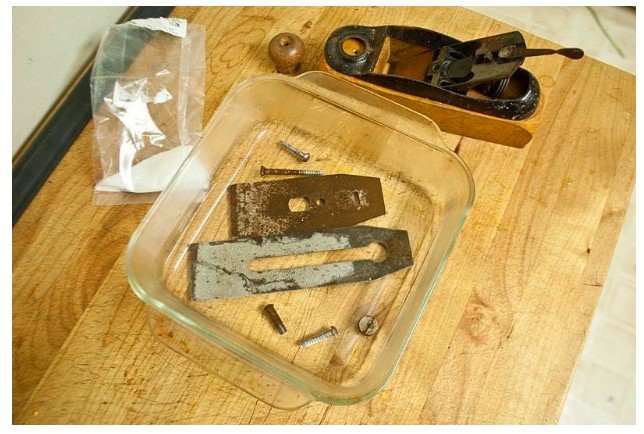
Grab your container and pop your rusty parts in there. Make sure they’re lay down flat so that they can be completely covered by your solution.
Start by adding warm (not too hot) water to the container so that the parts are covered, then add some citric powder and stir it in. I personally used a ratio of around 1/30, but you can experiment to see what works best for you. I’d recommend somewhere between 1/10 and 1/30.
Step Three - Scrub Every 30 Minutes(ish)
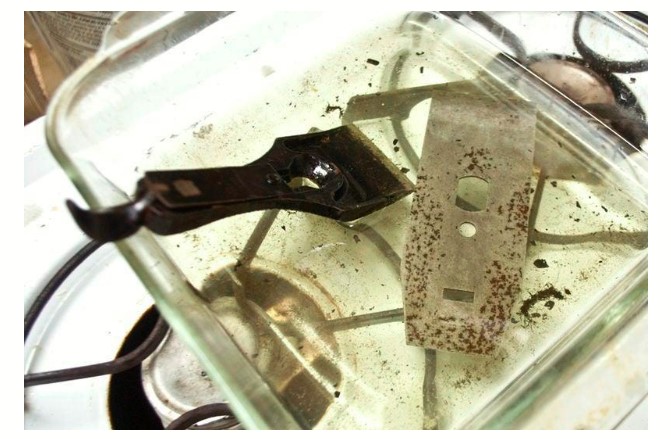
Leave the parts covered until bubbles start to form on the part and flakes of rust begin to appear, then scrub them with your scouring pad. Repeat this as necessary every 30 minutes - 1 hour until the rust is completely gone.
The length of time it will take depends on how rusty the parts are. It might only take 30 minutes, it might take 4 hours or even more if it’s heavily rusted. After you’re done, pour the solution away.
Step Four - Rinse and Oil

Ok, now the final step. Rinse off the remaining solution on the part with water and then dry the parts thoroughly. At this point, it’s important to oil them to prevent the rust from coming back. Use whatever oil you prefer.
The Results
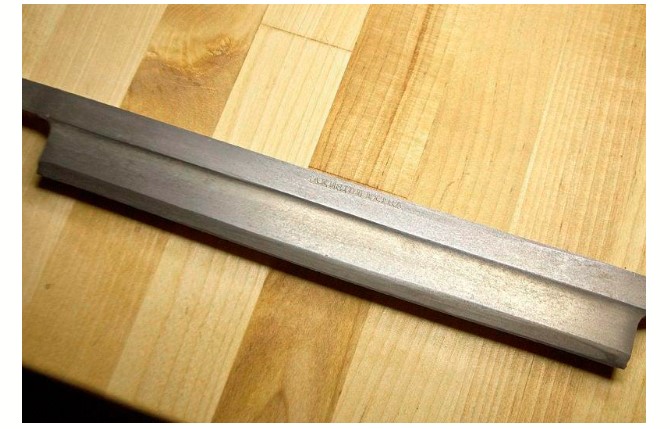
That’s all there is to it. Here are the final results that show a de-rusted metal piece after I’d run it through the whole process. It’s pretty great considering the fact that you hardly have to do any scrubbing at all.
I hope this helps. Good luck!


Comments
Join the conversation
-
Interesting. I sell a lot of antique and vintage tools on Ebay. I use the electrolysis process to remove rust with baking soda, water, sacrificial metal, and 12VDC. May give this a try.


Frequently asked questions
Have a question about this project?