


How to Make a Wooden Wall Calendar
I made this calendar for the residents in our aged care home. We were finding that birthdays were being missed for some reason. When you get to the age of 80 and 90 there are not reasons to have a party, so a birthday is a big deal. And there is nothing worse than everyone forgetting your birthday. With this wall calendar everyone can see when the next birthday is coming up.
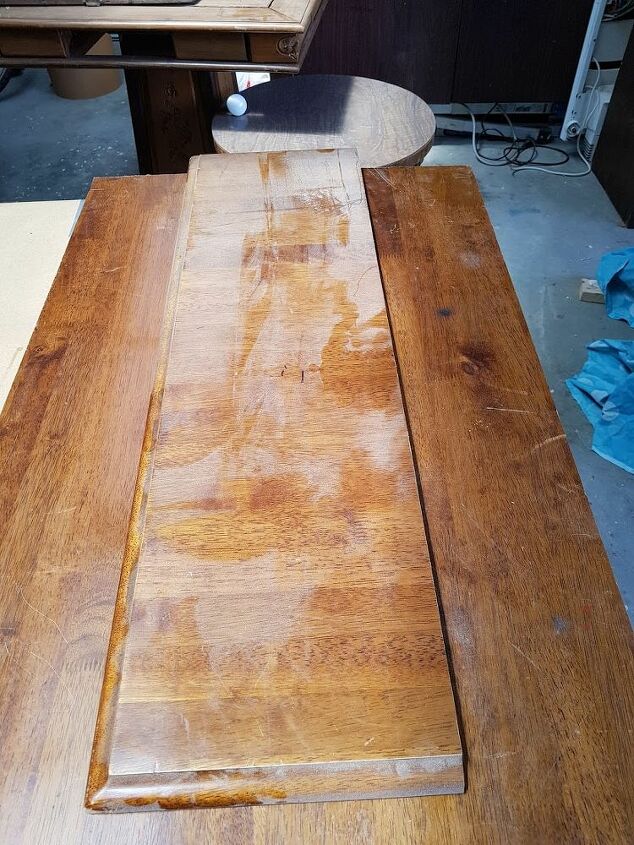
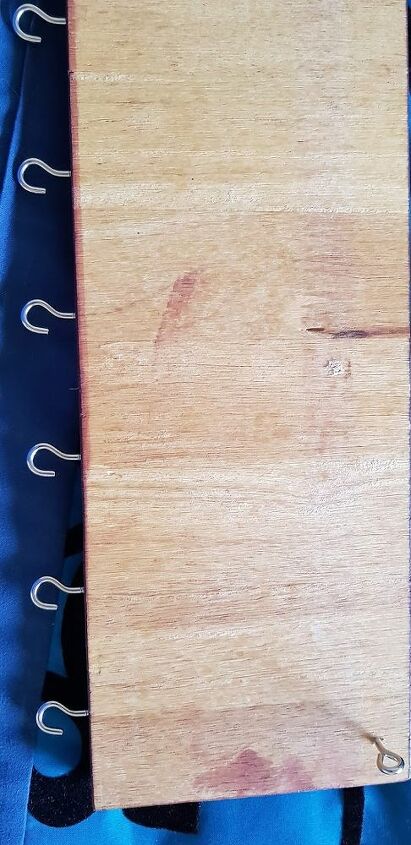
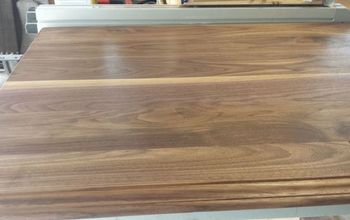
To start find a scrap piece of wood to use as your base. Mine was an off cut from an old table. Any wood will work for this project.
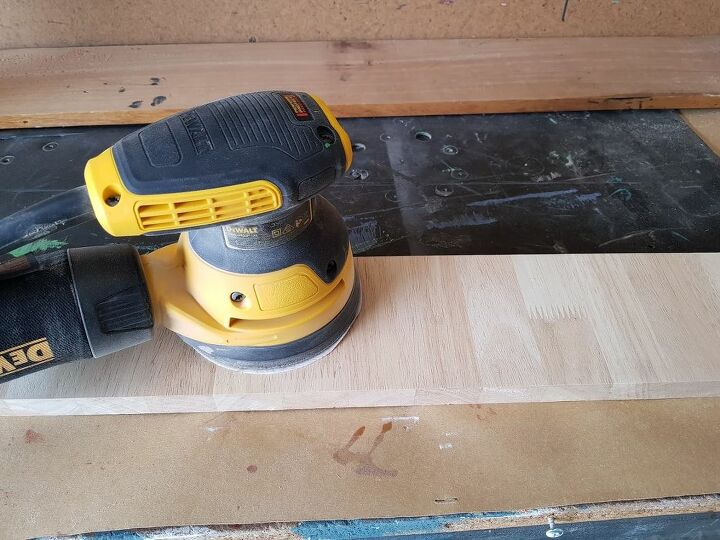
Sand the surface to remove all the old stain and varnish and smooth the surface.
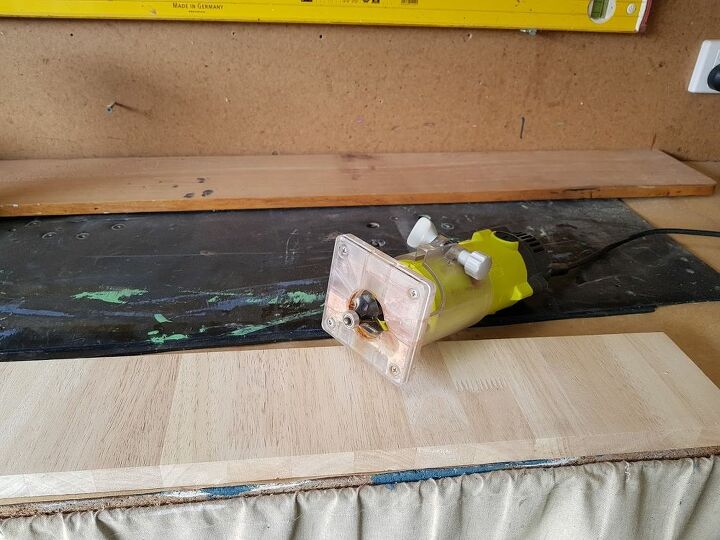
Using a wood router, remove the edges for nicer cosmetic look. This is optional.

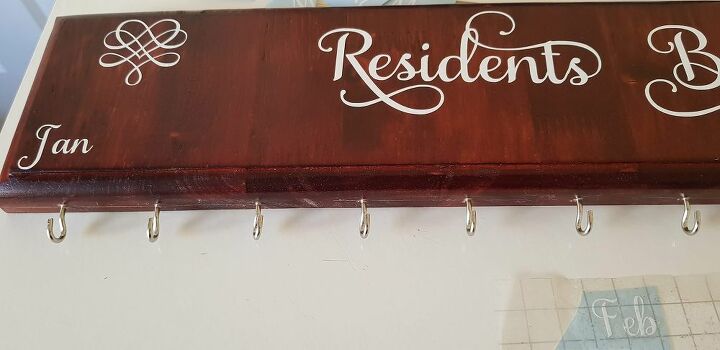
Stain and varnish the surface. If you are using stencils don't add the varnish yet. The details can be painted onto the wood. It will depend on your artistic level.
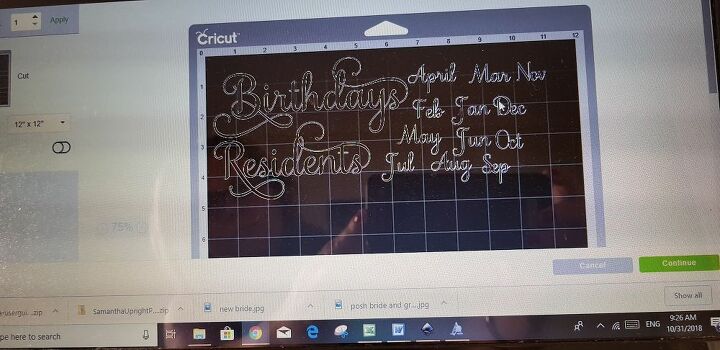
I have a terrible handwriting, so for this step I used vinyl decals made using a Cricut. It is as simple as typing out the words on the screen and cutting them into the permanent vinyl.
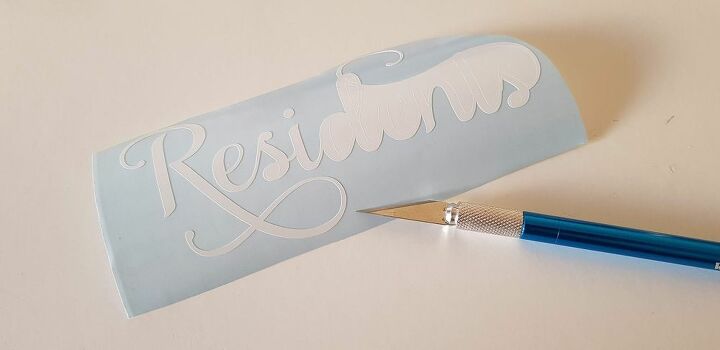
Remove all the excess vinyl you don't want to transfer.
Measure your board and divide the surface evenly into 12 and add your small screw in hooks. This will help with the placement of the months.
Using transfer tape, transfer the vinyl across to the wood.
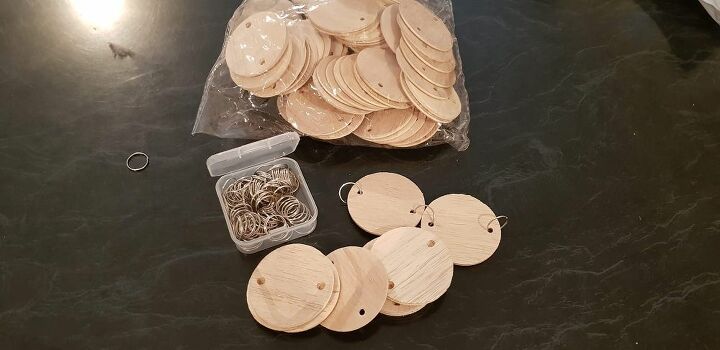
In my opinion, unless you have a laser cutter it is not worth trying to cut your own discs. You can buy them from Amazon for cheap. Add the hoops to the disc and join them together.
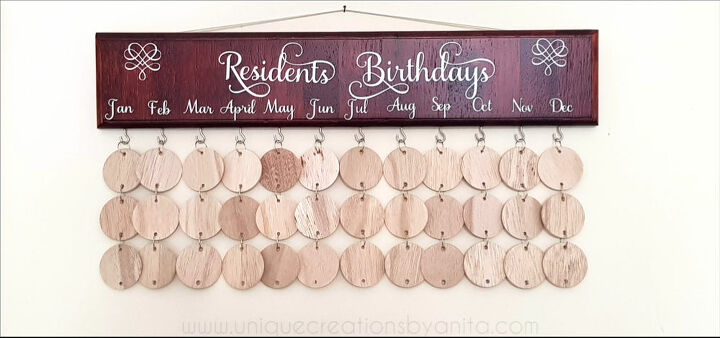
The residents names are then written on the disc with the date of their birthday. For more detailed information on this project can be found on my website listed below. Looking for your next project check out these two below.
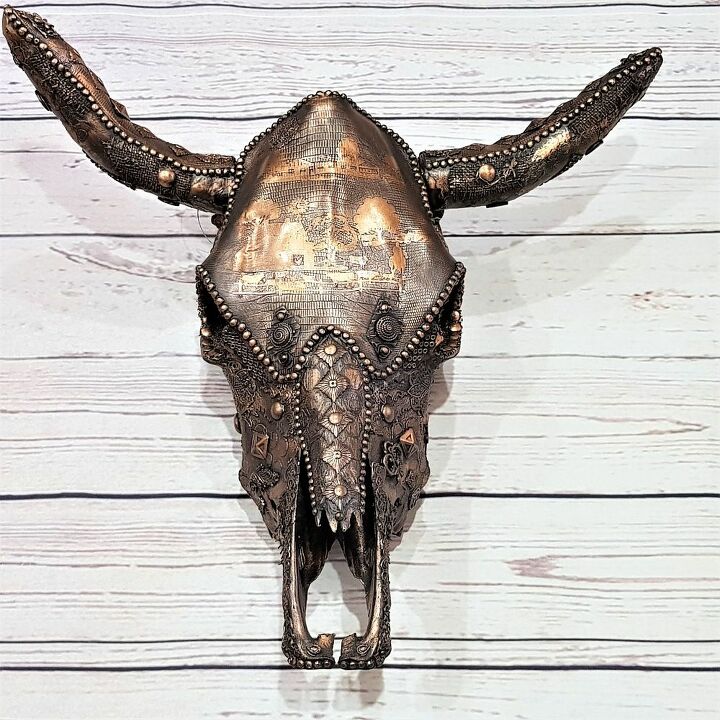
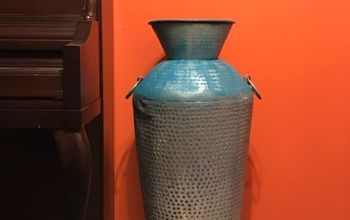
If you are into the trend of cow and other animal skulls, check out this very unique cow skull. This skull was given a mixed media make over with a farm scene added to the skull using vinyl decals.

Or Check out these simple PVC pipe photo planters that would make the most perfect gift for any occasion.
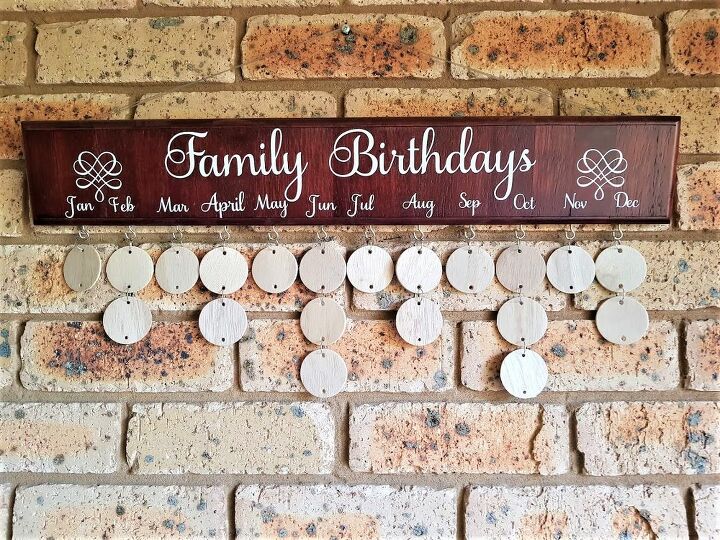
This project can be changed to include any special dates you want to remember.
Resources for this project:
See all materials


Frequently asked questions
Have a question about this project?