


DIY Resin Coasters With Dollar Store Leaves

I really enjoy creating art with epoxy resin because of the glossy, durable finish it produces on many of my colorful projects. I love that it preserves and enhances whatever medium I choose for my creations. I wanted a change from painting and when I saw a package of faux fall leaves at my Dollar Store, I decided to turn them into resin coasters using my favorite silicone molds. Countertop epoxy provides high shine, water-resistant finishes and is commonly used to enhance the beauty and durability of countertops or tabletops; but it is also a popular crafting material and it was so easy to use to create my coasters. With only two materials I was able to design and create colorful leaves coasters that will make such a gorgeous addition to my home and tablescapes.
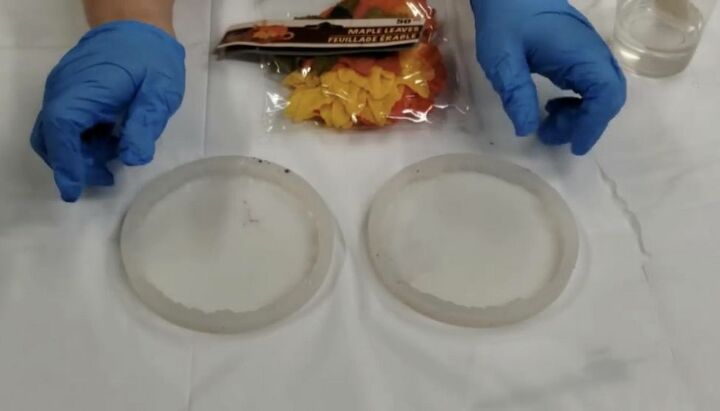
You Will Need:
- Protective Gloves
- Round Silicone Molds
- Epoxy Resin (I used Countertop Epoxy Resin)
- Metallic Dust
- Faux Leaves (find ones that are flat)
- Heat Gun
- Paint Stick
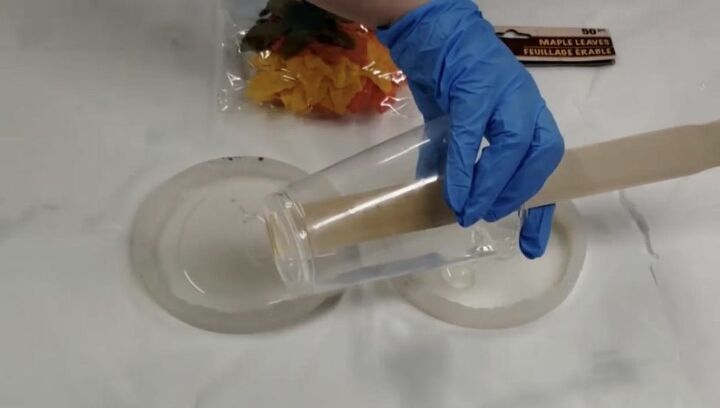
Step 1: Gather Materials and Measure and Mix Resin
I had leftover epoxy from another project that I decided to use for this one but you will need to mix your epoxy before starting. Read the directions for your product thoroughly and mix according to the directions included. I slowly mixed a ratio of 50% resin and 50% hardener in a plastic container with a flat paint stick. Mix accurately to ensure the best curing results and for around five minutes, scraping the sides and bottom of the container. Do not worry if bubbles form because they can be eliminated with the heat gun.
Step 2: Pour Epoxy into Molds
I slowly poured the mixed resin into my silicone circle molds. Pour enough to create a small circle that doesn’t completely fill the mold to give the material room to expand and fill in. Allow the resin to flow out from the center and self-level to a thickness of about ¼ inch. The round silicone molds are ideal for this project because they easily release the finished product. Be sure to work in a clean area as free of dust as possible to prevent anything from blowing into your product and ruining your final finish.
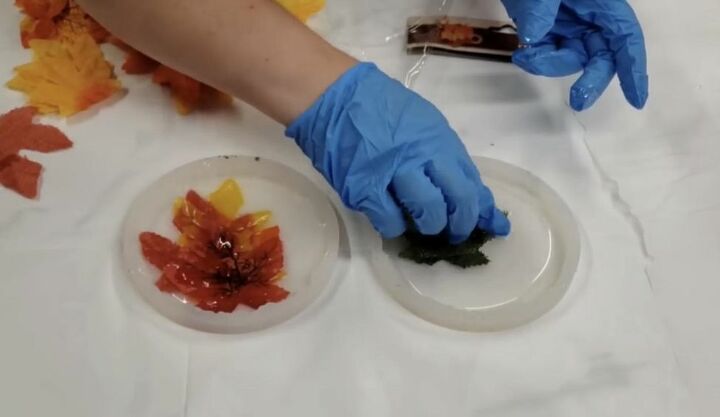
Step 3: Arrange Leaves in Molds
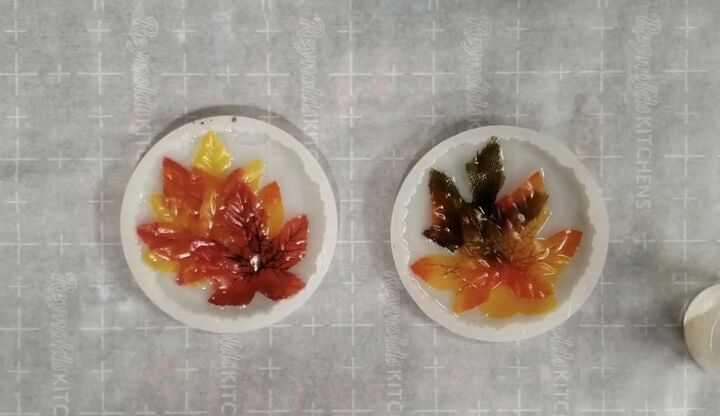
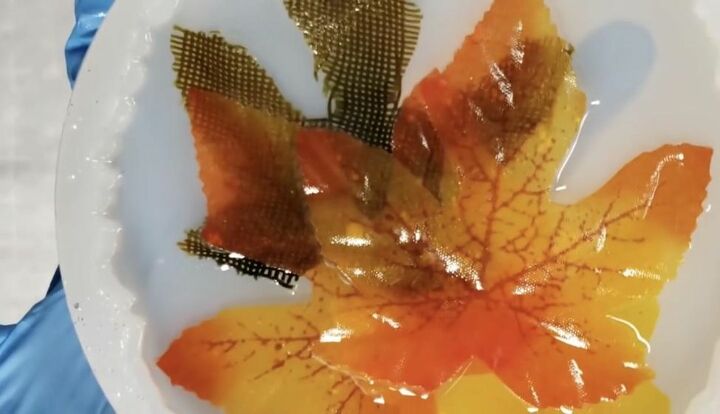
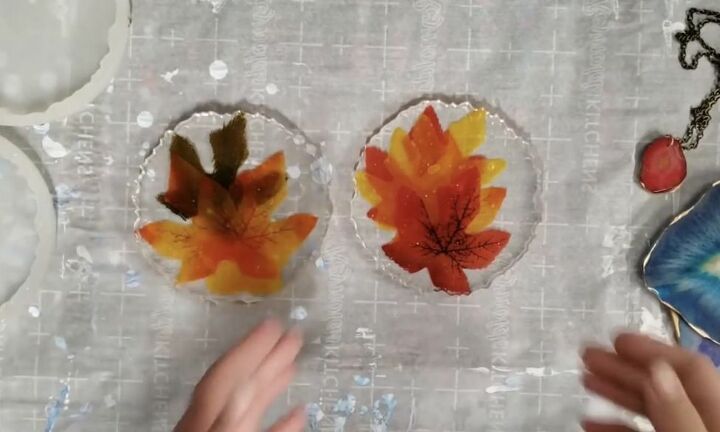
I wore protective gloves and gently pressed my leaves flat down into the epoxy. The leaves I chose were perfect for this application because they are very flat and not shaped with plastic veins that would make them difficult to press and remain down. I chose to cover half of the surface with leaves and leave a portion of the coaster to harden clear but depending on your taste, you can use more or fewer leaves in your design.
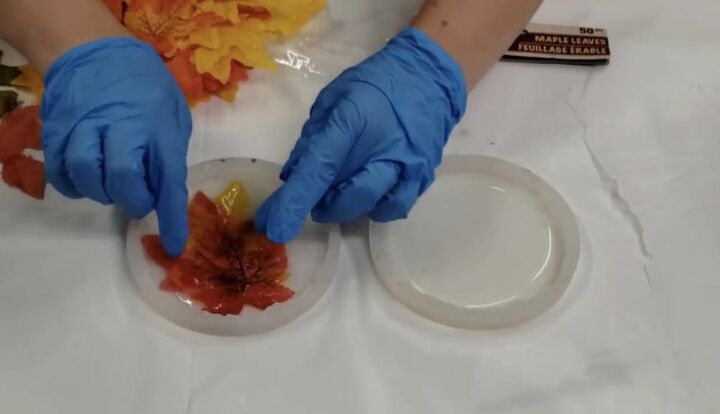
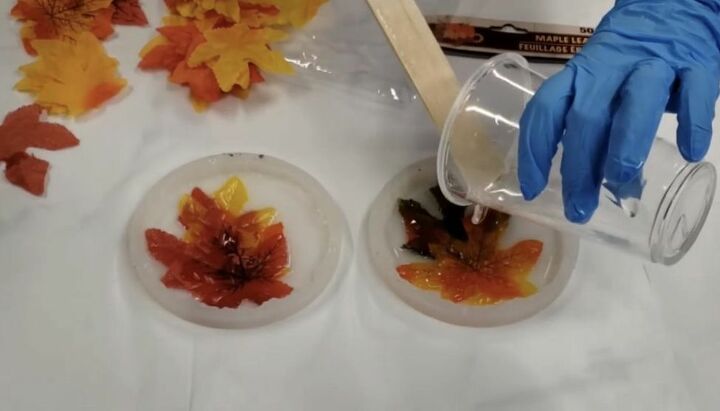
Step 4: Pour Remaining Resin Over Leaves
After I pressed the leaves into the mixture, I poured the remainder over the top of the submerged leaves. Use your paint stick to gently scrape the contents of the cup over the leaves.
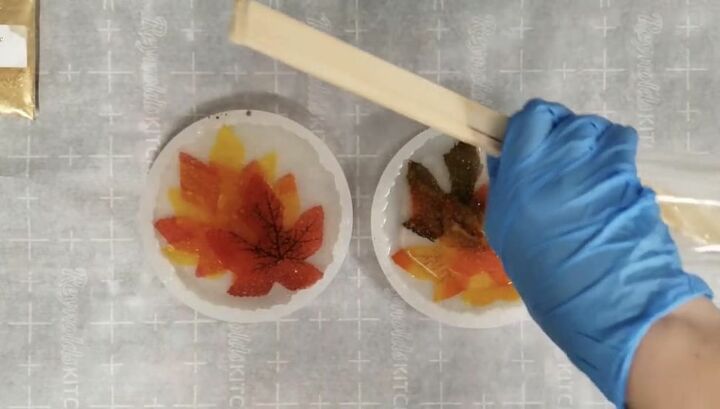
Step 5: Remove Bubbles with Heat Gun
After arranging the leaves in the epoxy the way I wanted them, I applied heat to the surface with a heat gun to remove air bubbles from the epoxy. A heat gun will produce much greater heat than a hairdryer but is still going to blow air on your surface and so it is important to work in a clean, lint-free area that won’t risk blowing too much dust into your wet finish.
Step 6: Dry
After removing as many bubbles as I could with the heat gun, I let my coasters dry for about four hours and while they were still slightly tacky to the touch I prepared to apply a second coat. If you are not going to do a second pour, let the coasters dry and harden according to the recommended time on your specific product.
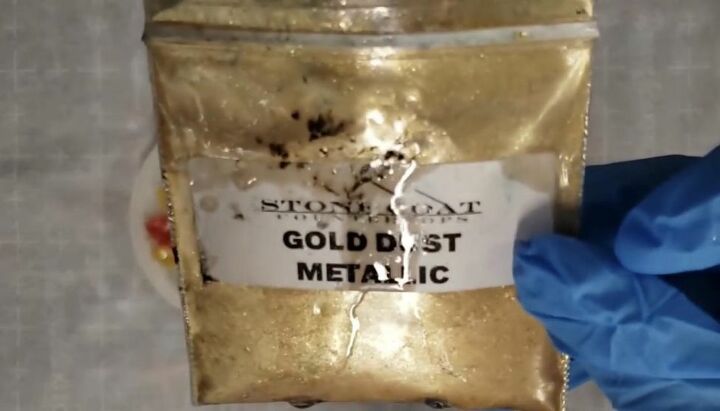
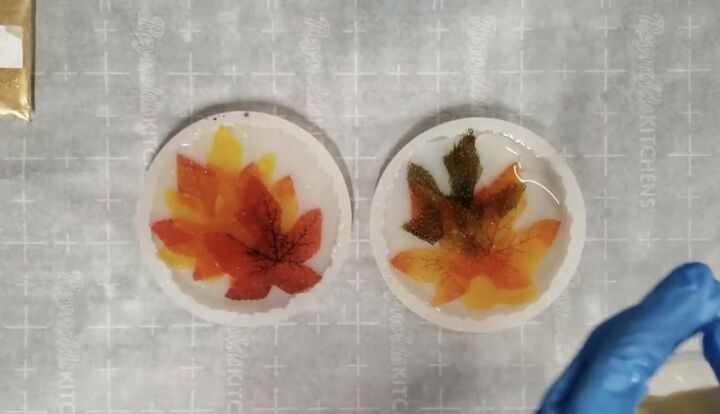
Step 7: Remix Additional Resin and Apply Metallic Shimmer Layer
When my first coat was still slightly tacky, I mixed a small amount of gold dust into a cup with epoxy and poured it over the top in the same way I poured into the mold initially. This acts as a beautiful clear coat with some added shimmer over the finished product.
Step 8: Remove Bubbles with Heat Gun and Dry
After pouring on the second layer of resin, I used my heat gun to remove air bubbles from the surface. Because bubbles can continue to firm throughout the curing process, continue to check on the coasters and touch up with the heat gun if necessary.
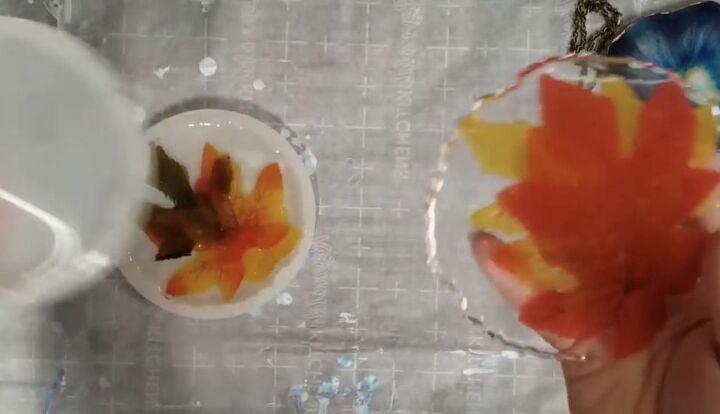
Step 9: Remove from Molds
When my coasters were completely dry and hardened, I slowly peeled the sides of the silicone molds away and removed them.
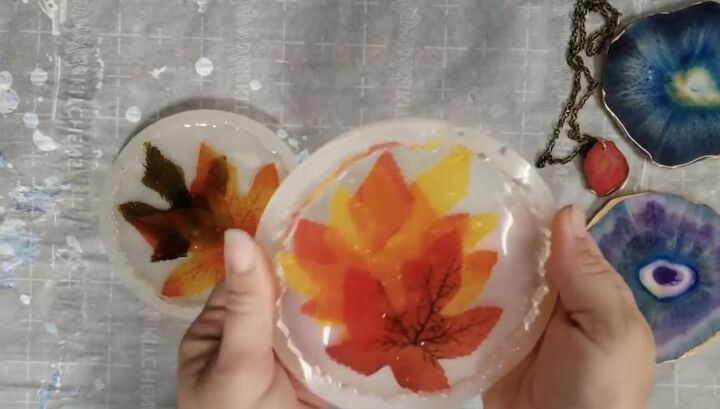
This was such a simple project and the result is stunning! I couldn’t be happier with the way my leaves coasters shine and add beauty to whatever space I use them in. I cannot wait to gather and press autumn leaves for another round of these with real leaves. The possibilities for materials you could use in your own coasters are endless and this is such a beautiful way to protect and display items that you might want to preserve like children’s art. Get creative and use different materials for each season to create lovely and whimsical coasters for your home.
Have you used resin to create unique and colorful DIY projects that you use in your home decor? Share your best tips for working with unexpected materials to turn everyday home decor into one of a kind works of art at Hometalk!
Comments
Join the conversation
-
Love to see the other blue project.


Frequently asked questions
Have a question about this project?
Love to see the agate video process! They are all fabulous, where is the glitter coming from the resin or the leaves?