


Vintage Frame DIY Makeover
One of my favorite items to upcycle are vintage wood frames. I found this unique set at my local thrift store. The set was marked at $2.99, but it happened to have the Color of the Day tag. Therefore, I scored them for $1.50. Read on to see the Vintage Frame DIY Makeover that is simple and easy!
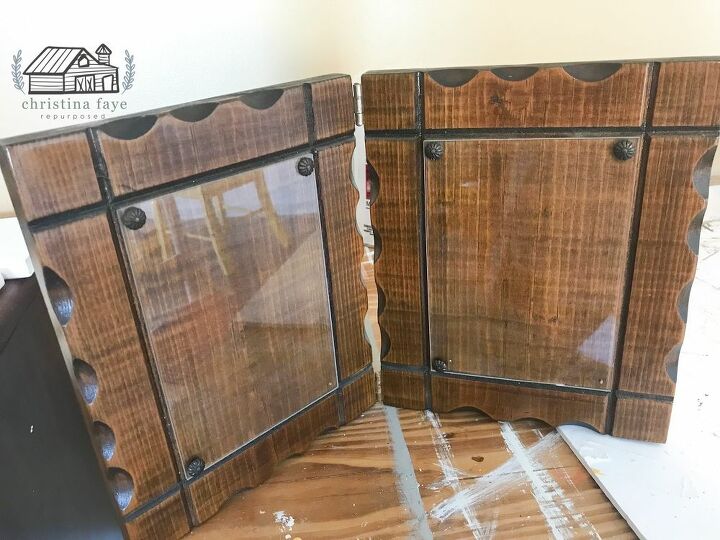
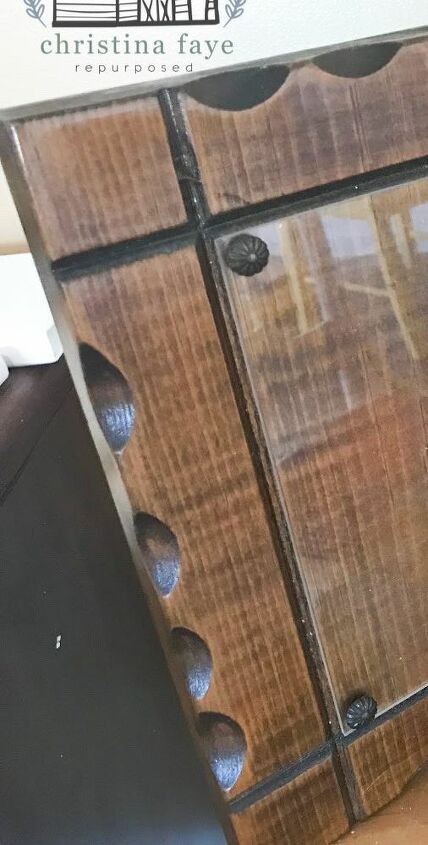
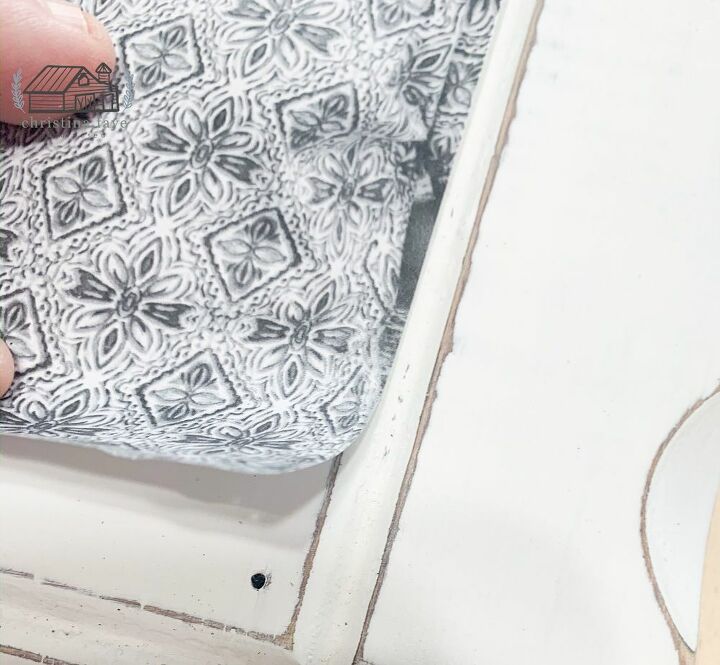
Don’t you just love the curves! And the cute flower tacks?
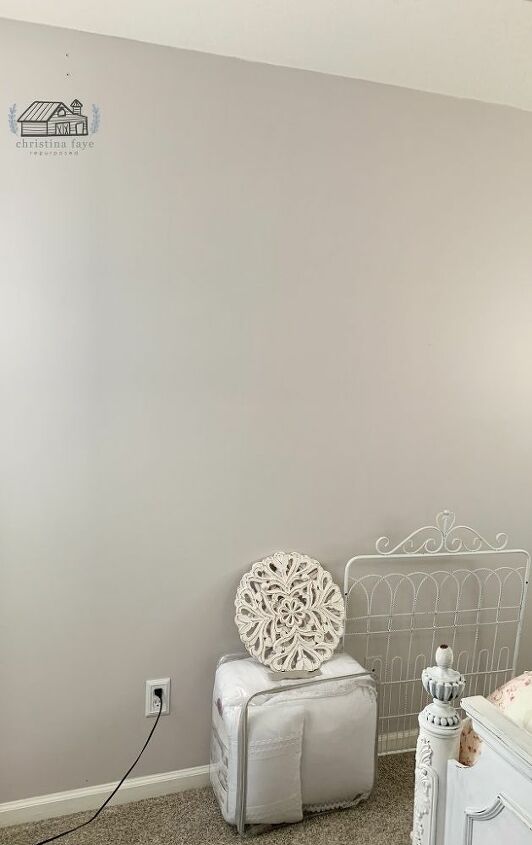
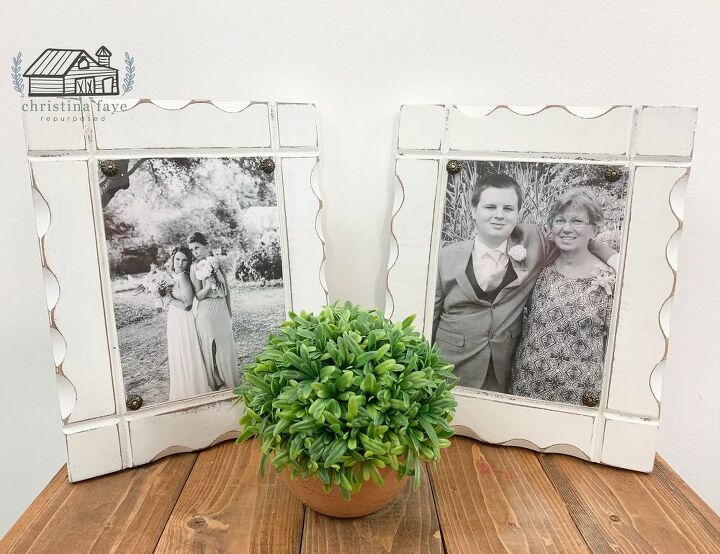
I knew the perfect place for these frames. Our master bedroom makeover is about to start, and these would look awesome on our wall displaying our wedding pictures. This is the wall I plan to use them on with a few other items that I have. It is painted light gray. Stay tuned for blog posts sharing all the renovations! You can see I have been collecting items!
Now, let’s get started making these pretty!
Supply List:
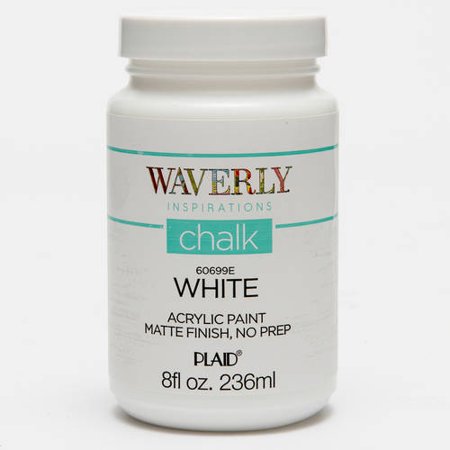
Waverly Inspirations White Chalk Paint
Frames (Can be any frames that you may have)
Minwax Paste Finishing Wax
220-grit Sandpaper
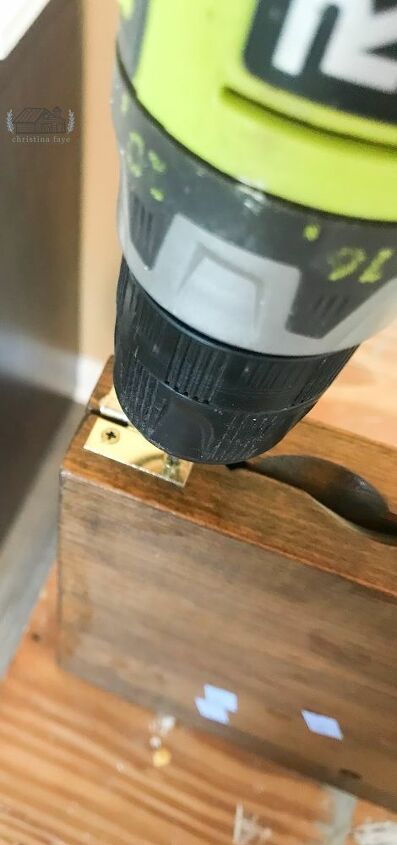
First, I removed the hinges so that I would be left with two separate frames.
Next, the flower tacks and the plastic protector needed to be removed as well. The frames were wiped down with a Lysol wipe. Not only does it disinfect, but they also smell good!
My color choice for the frames was white. The overall theme for my master bedroom makeover is the farmhouse theme. I wanted items that would look worn and old. I knew the frames, with their beautiful curves and dark wood would be perfect for distressing!
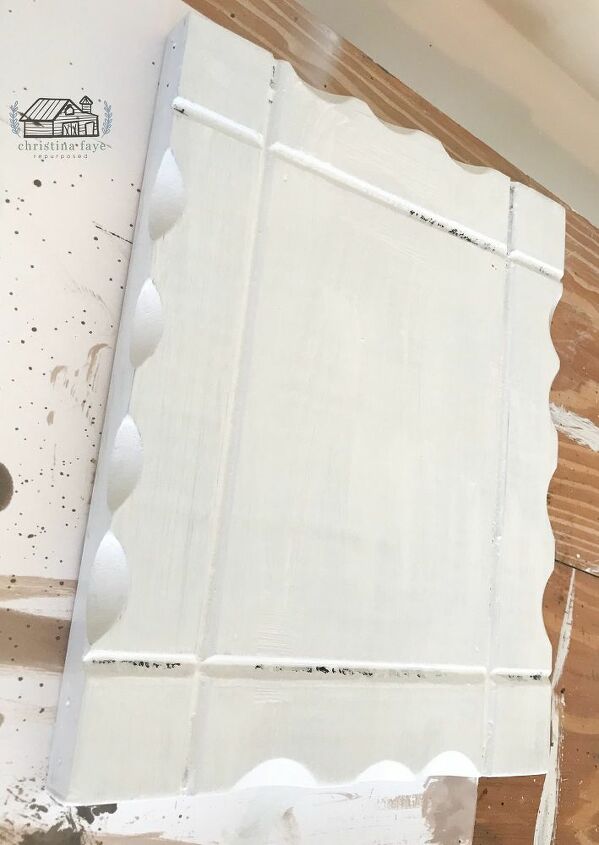
Each frame took exactly three coats of the paint. I allowed about 30 minutes of drying time between each coat of paint. This was after the second coat.
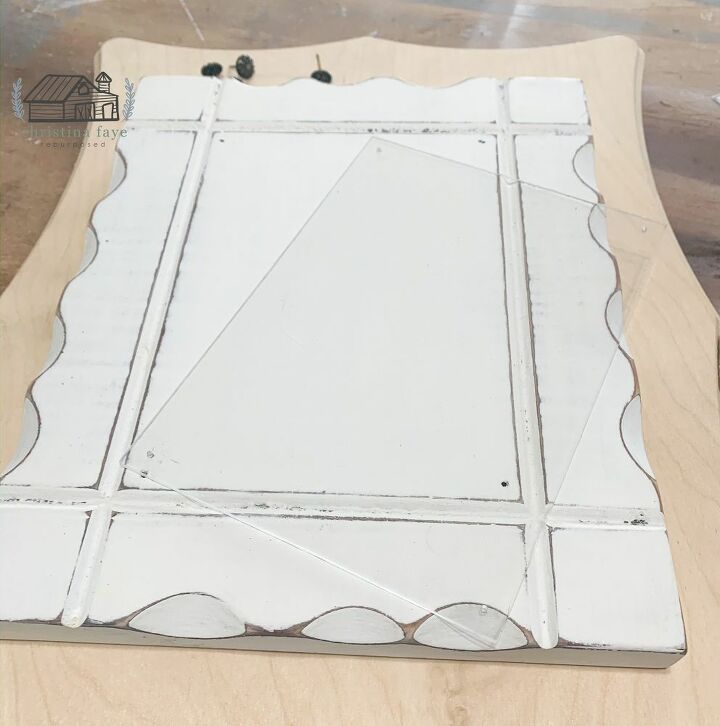
After the frames dried, I used my 220-grit sandpaper to distress around the edges and the curves. See how they stand out now? Not just a white blob.
I removed the sanding dust with a piece of tack cloth. To seal the frames, I applied one coat of Minwax Wax using a lint-free cloth.
I reassembled the frames after the wax dried overnight.
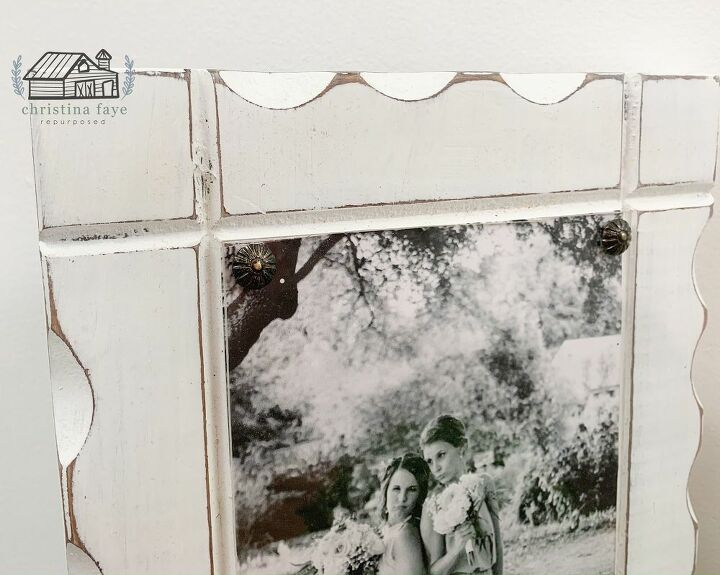
I placed two black and white photos under the plastic piece, and the cute flower tacks held them in place. Make sure to hold the picture up so you can line up the holes with the tack.
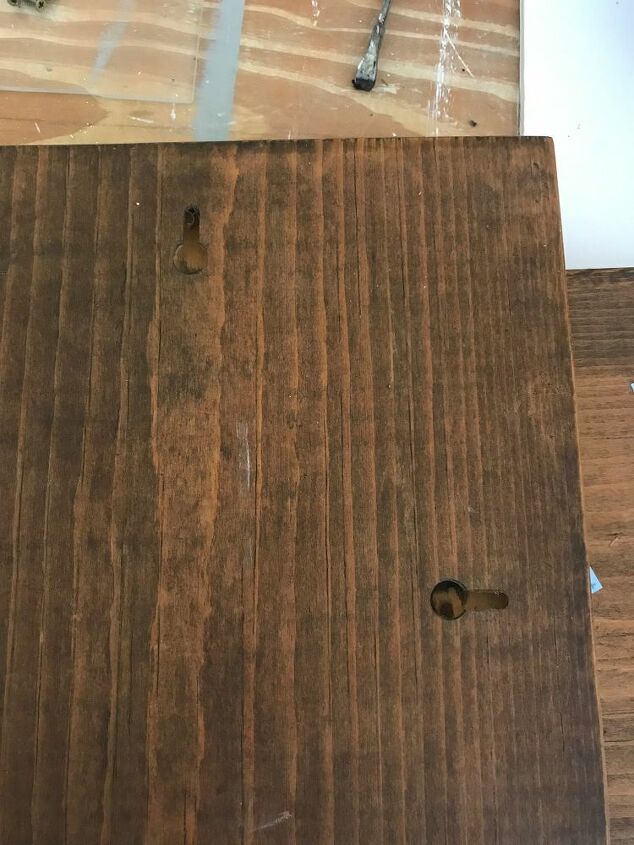
The back already has predrilled holes to hang.
This project cost less than $5.00 and took only about 20 minutes to complete. Check out the difference! Such beauties now!


Frequently asked questions
Have a question about this project?